Behind the scenes: Beyond Tellerrand 2025 Title sequence
How I made and 'played' the title sequence for the creative festival 'Beyond Tellerrand' in Düsseldorf
Here's the story of the 'Beyond Tellerrand' titles. It all began with the friendship of the nicest man on the planet, Marc Thiele. Marc is the founder, organizer and 'host' of Beyond Tellerrand, a creative event / festival / gathering he's been running for the last fifteen years. We've known each other for ages, Marc is often attending other conferences around the world, and we've been bumping into each other for many a year. In 2022 I had a blast speaking at his Berlin event, and since then we've always chatted about creating the title sequence for one of his events. The planets finally aligned and 'Düsseldorf 2025' was the target.
For a few years now I've loved making music on my Teenage Engineering OP-Z, whilst making use of their feature that allows you to hook it up, via MIDI, into the Unity game engine to create reactive creations. The beauty of the OP-Z is that you can sequence everything, so all the kicks and snares and hats and more can be sent as their own signal, meaning you can really create a huge variety of audio reactive stuff.
I was really just playing - my knowledge of Unity is very rudimentary - but enjoying being able to muck with physics and 3D and all that good stuff. I've always wanted to do more with it, especially as I make my musical noodling a part of my on-stage talks now, but it's always been firmly a passion project though, no real outlet other than just learning new skills.
Until me and Marc are talking about the titles for BT 2025 and then it hits me! This is it, this could be the project that finally takes the OP-Z + Unity + Visuals out of the hypothetical and into the practical for me! So I send Marc a message...
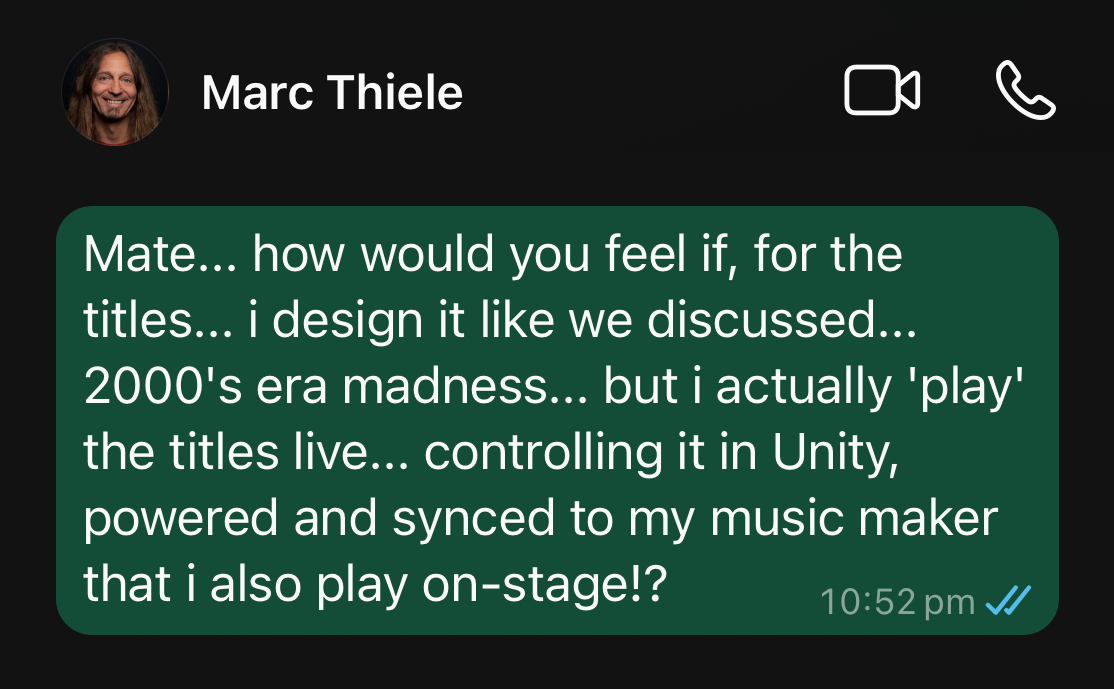
Luckily for me, Marc is an incredibly trusting guy, and fully embraces the spirit of creative exploration (he's made an entire festival about it!). Thankfully he said 'yes' to the idea, and with that, it was time to get cracking!
"Listening and trusting my gut to let Gavin just go with the idea he had, offering him a totally open playground. My first thought was 'Well that can be an absolutely fantastic experience for everyone or completely fail.' But then I thought 'But IF it fails, Gavin is the absolute right person to make the best out of that.'
- Marc Thiele
Before any music could be made or interactive stuff be programmed, I had to design the thing first! Marc's conferences also carry the theme of the titles over into the design of the whole event, and I absolutely wanted to do all that too, so getting the overall design language of the event had to come first.
Representing a creative festival can be a tricky thing, as the big variety of the speakers means there's a variety of styles and disciplines and aesthetics. I wanted to design something that had energy and fun and impact. Being born in '82 and starting my professional career in 2000 means that the early noughties aesthetic is a big part of my DNA, and I'm always trying to channel it. Back then, particularly digital / web design had real personality and expression, it was beautifully bonkers. I wanted to make a love letter to that era of chunky vectors, illegible type and visual overstimulation! These were my early mood boards that I sent over to Marc to give him an idea of what I was going for.
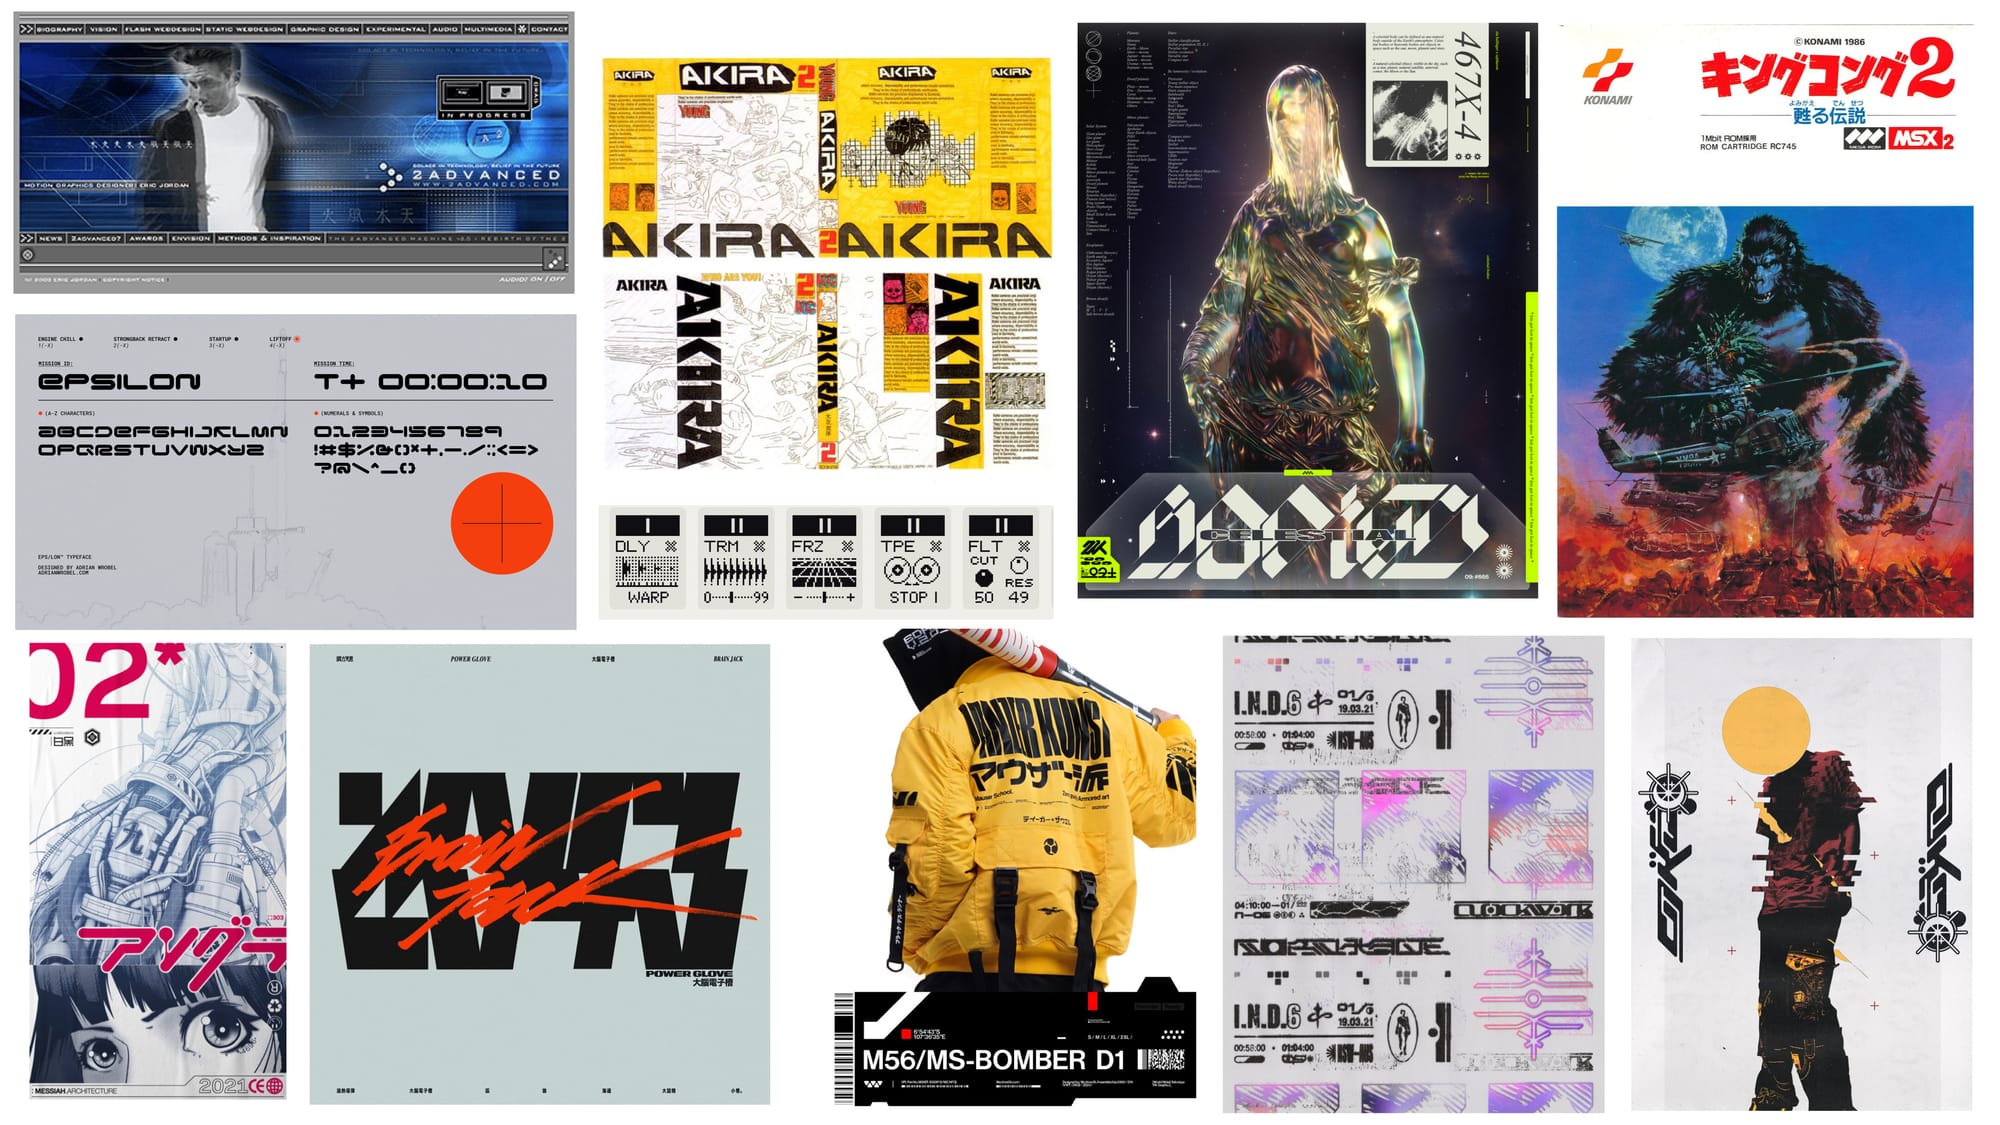
There's design from all eras here, but it's that mixture of large and small type, photography and vector, crisp aliased pixels and smooth curved edges that spoke to me and really summoned that golden 'web 1.0' era that was so formative for me. That's what I tried to channel going forwards, a melting pot of influences: 2advanced / k10k / designIsKinky / David Carson / The Designers Republic / Don Pendleton & Alien Workshop / 123Klan / Gatecrasher club flyers / PlayStation and Super Nintendo box art - but also modern influences like antireal and safehaven.
The first place to start was in the typography. I knew I wanted each speaker to have their own set of fonts, so I fired up Adobe Fonts and went trawling. Finding things that felt like classic 00's staples - Helvetica and Futura - but also newer stuff that had an interesting aesthetic. This is my v1 sheet of choices that I started with...
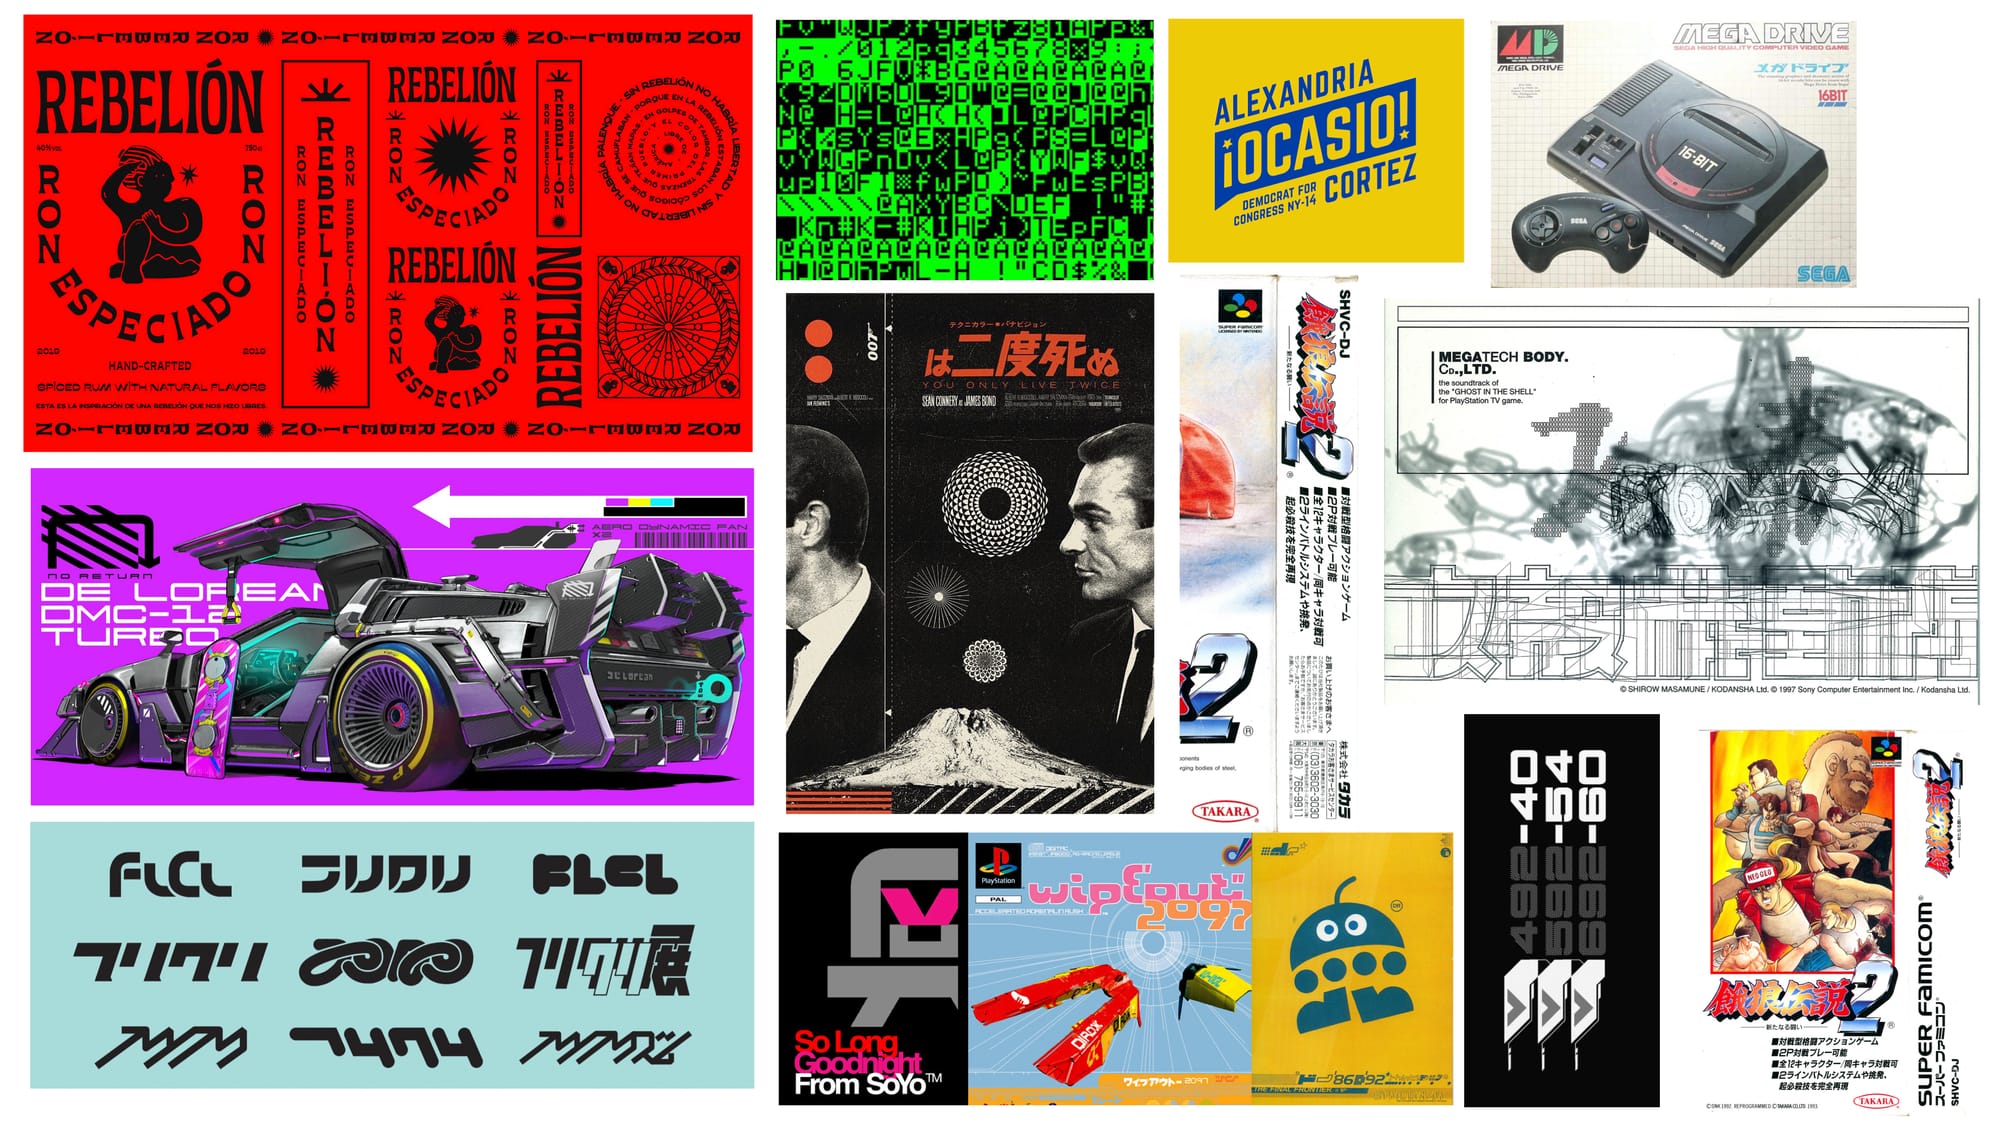
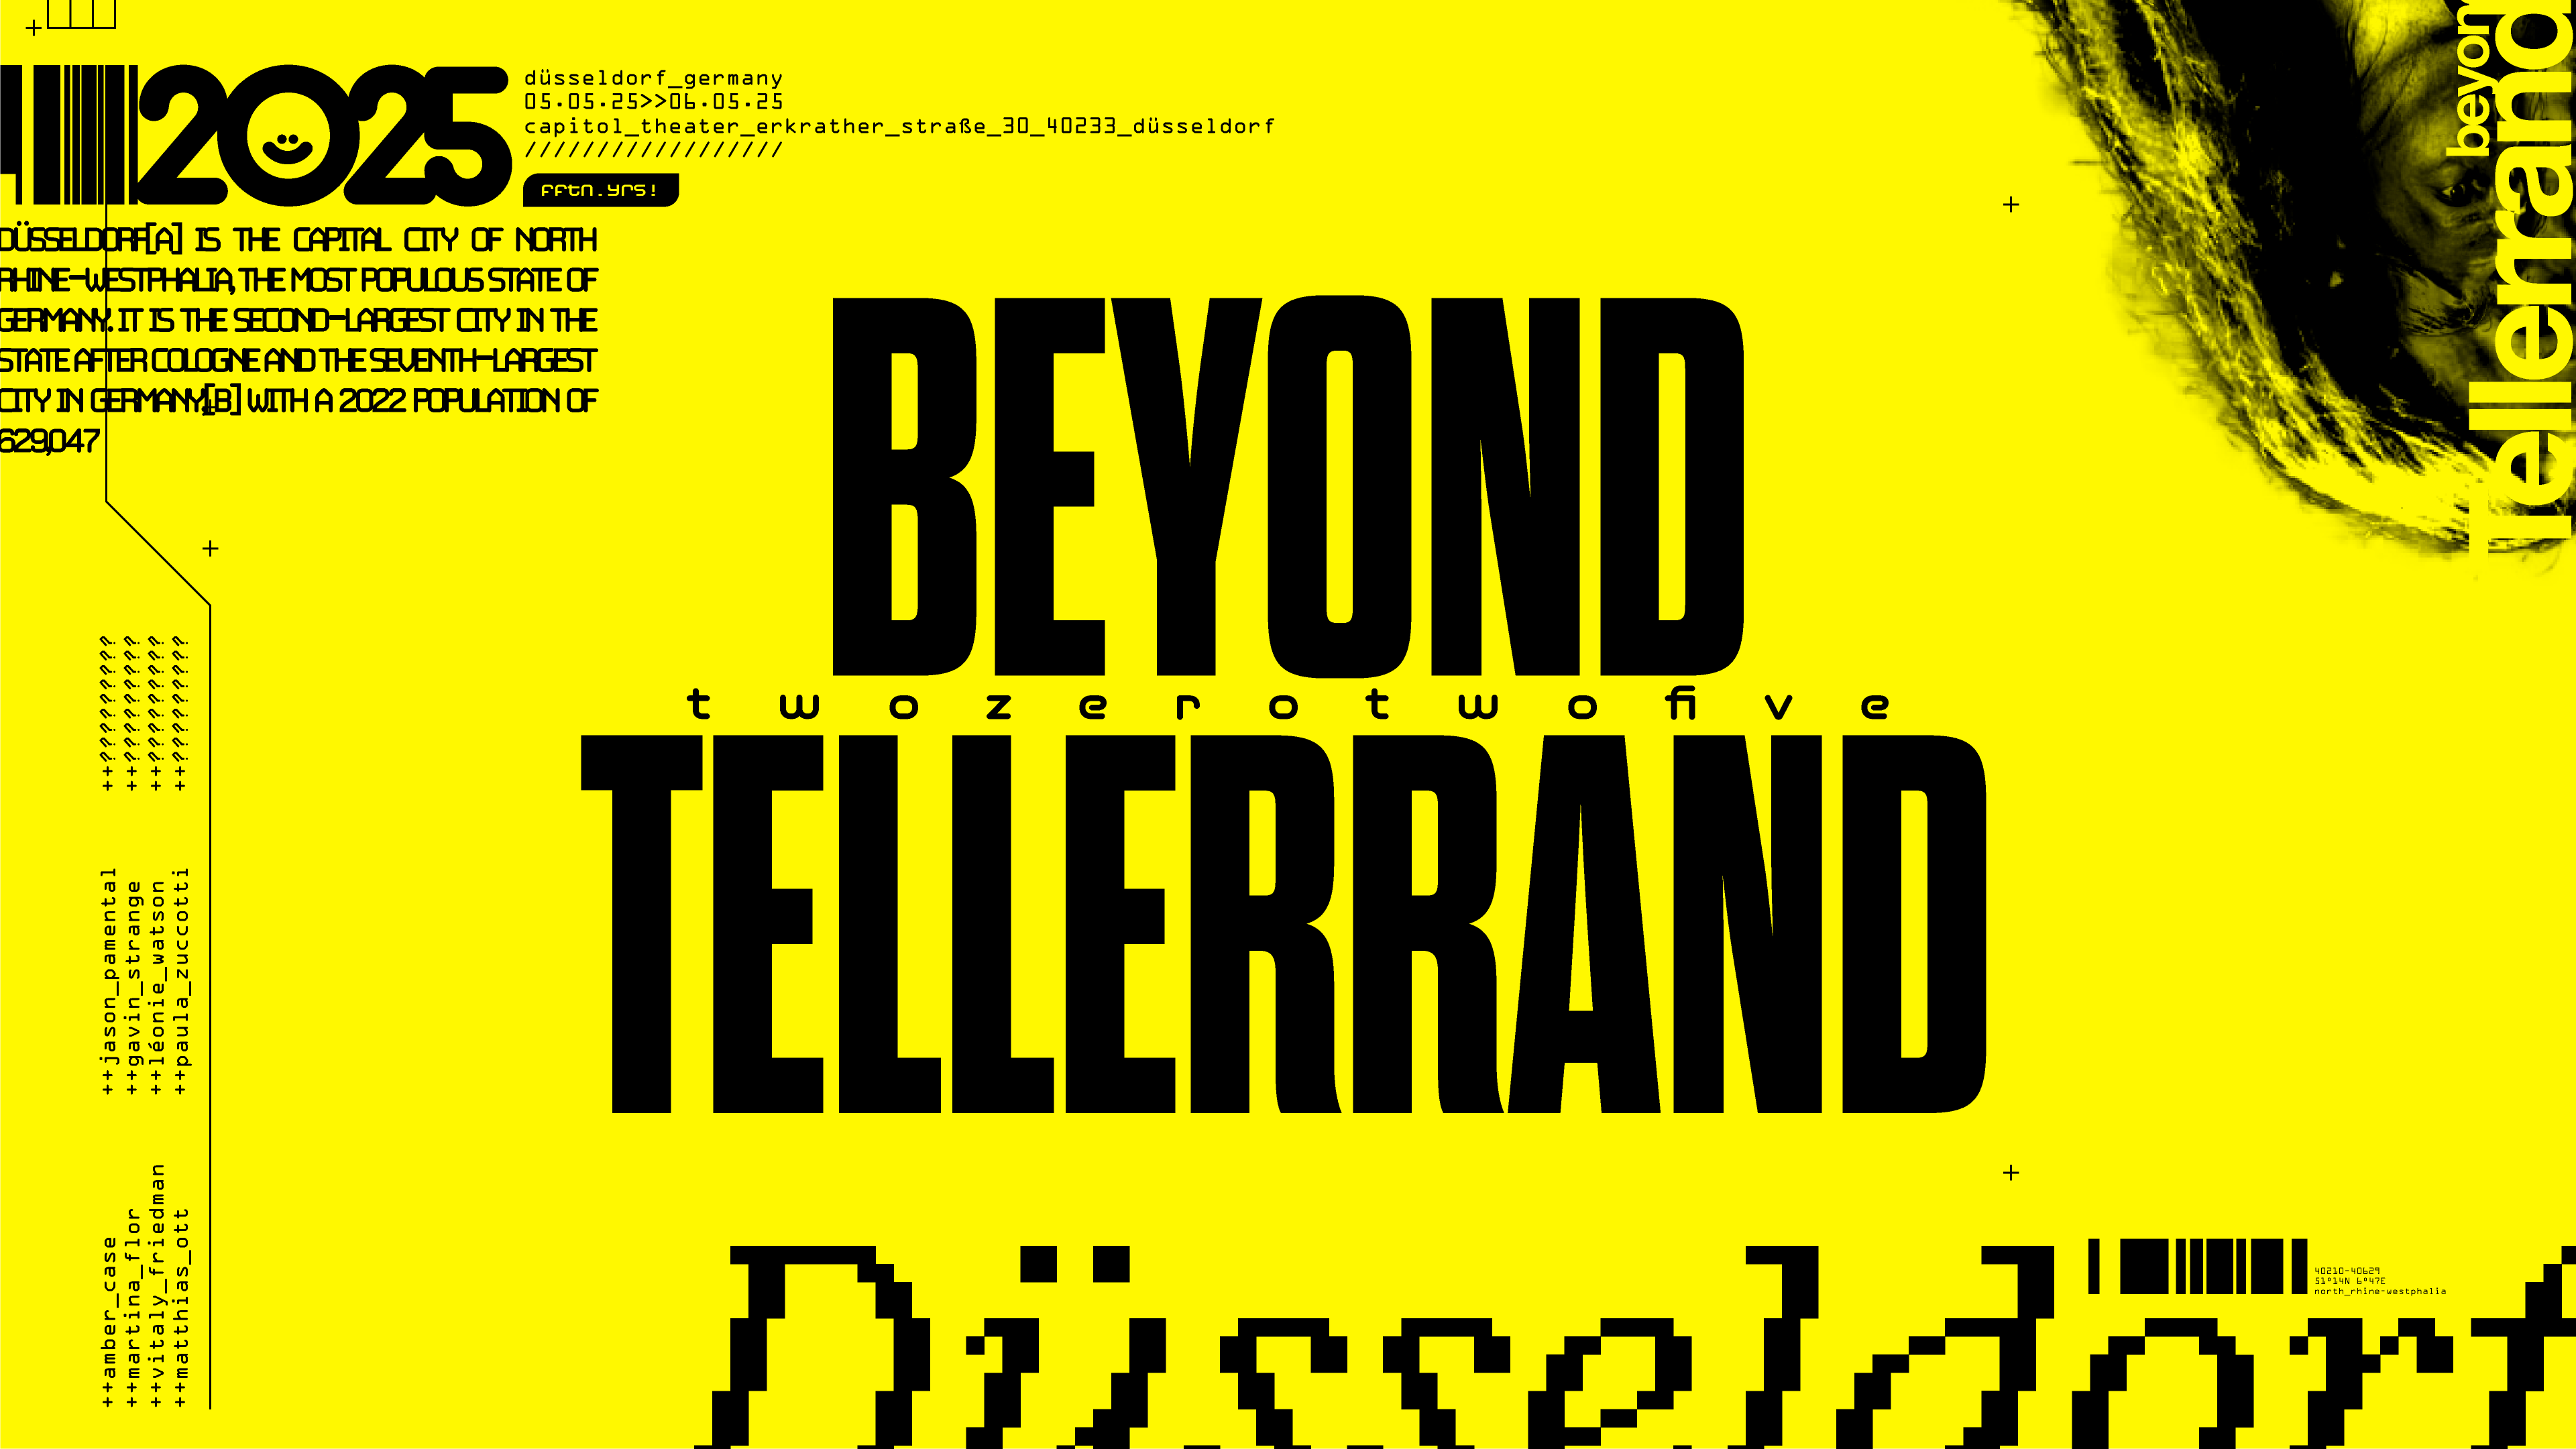
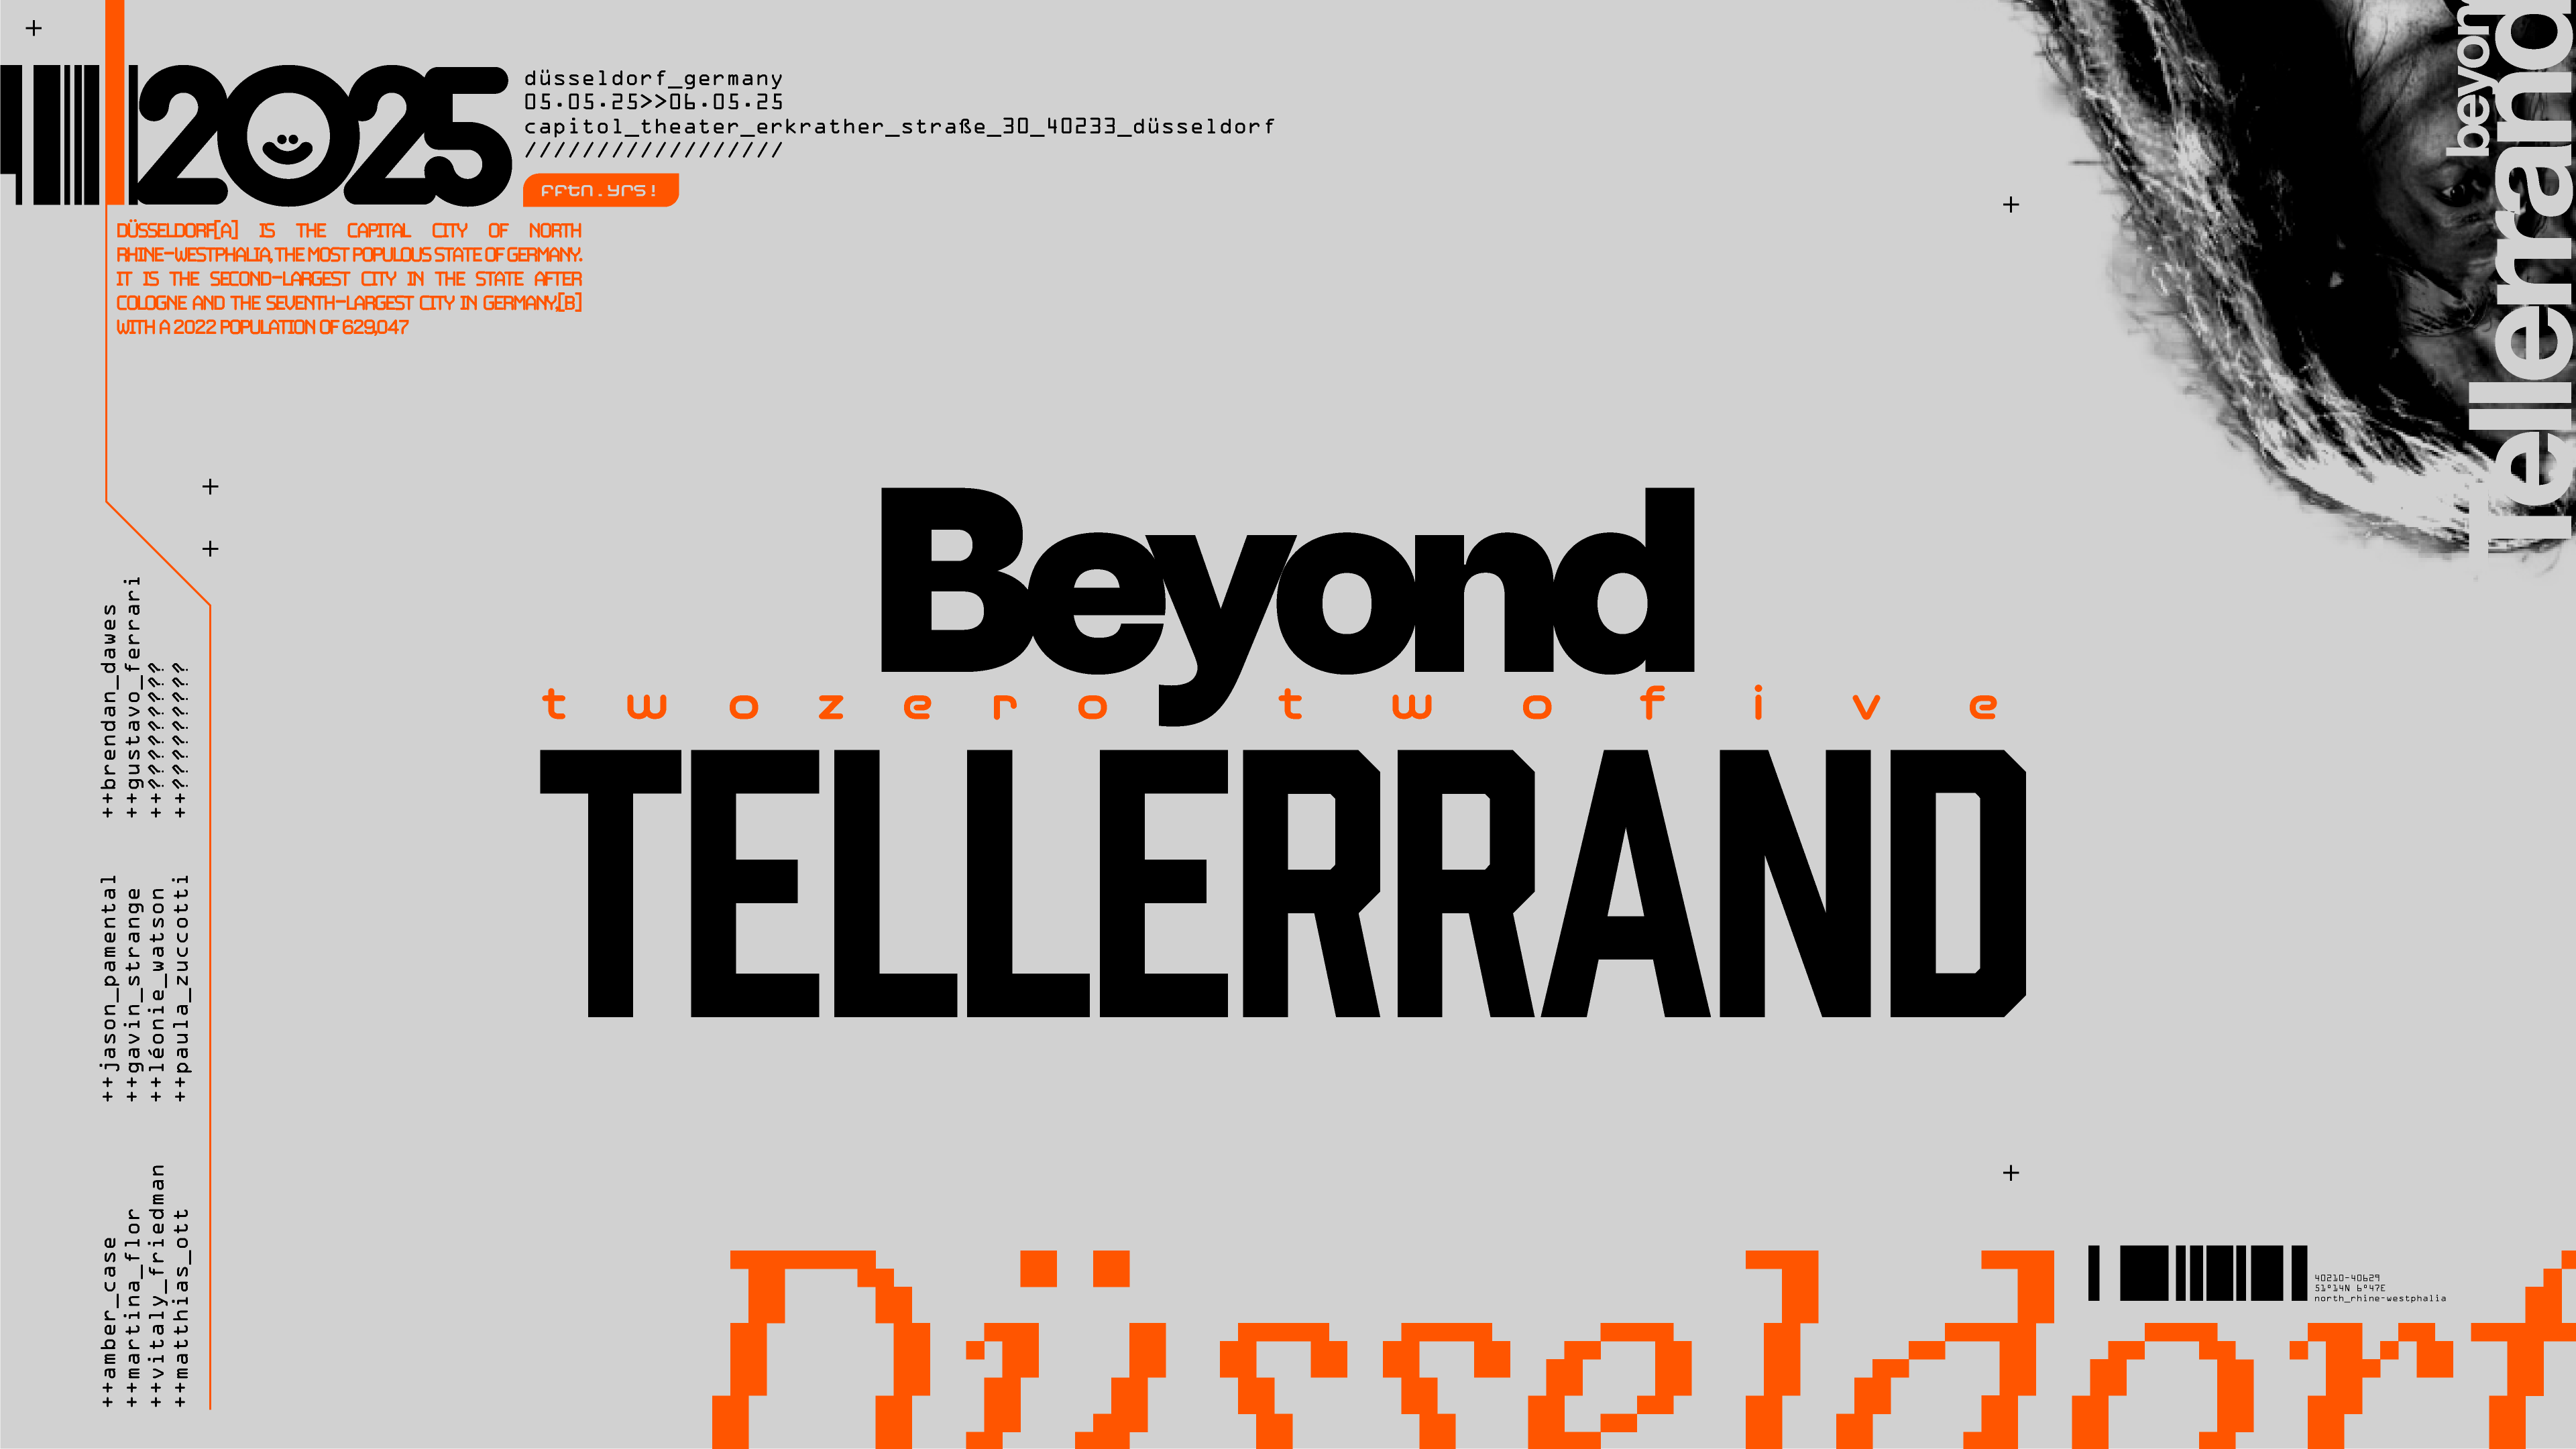
I thought it best to sort out the overall 'Beyond Tellerrand' design first, then worry about the speaker designs later. One of the best things about that era and style of design was PUT ALL THE INFORMATION ON EVERYTHING. Thats perfect for an event, because there's already so much data in the form of date, times, locations etc, so populating it was not a problem! I started out some some classic colour combos - a high-contrast yellow/black or a grey, black and punchy orange. They were a good start, but not quite correct yet. Rather than get too hung up and waste time, I decided to move onto something new.
A big part of 00's culture for me was the landmark video game Wipeout. (Sorry; wipEout 2097 to be specific). The graphic design on that title by The Designers Republic was so radical for the time, I had never seen 'proper' design in a game before, let alone something so eye catching. I wanted to pay homage to those iconic racing logos featured in the game, with each speaker having their own 'monogram'.
[Sidenote: This NoClip documentary on the making of wipEout 2097 soundtrack is most excellent]
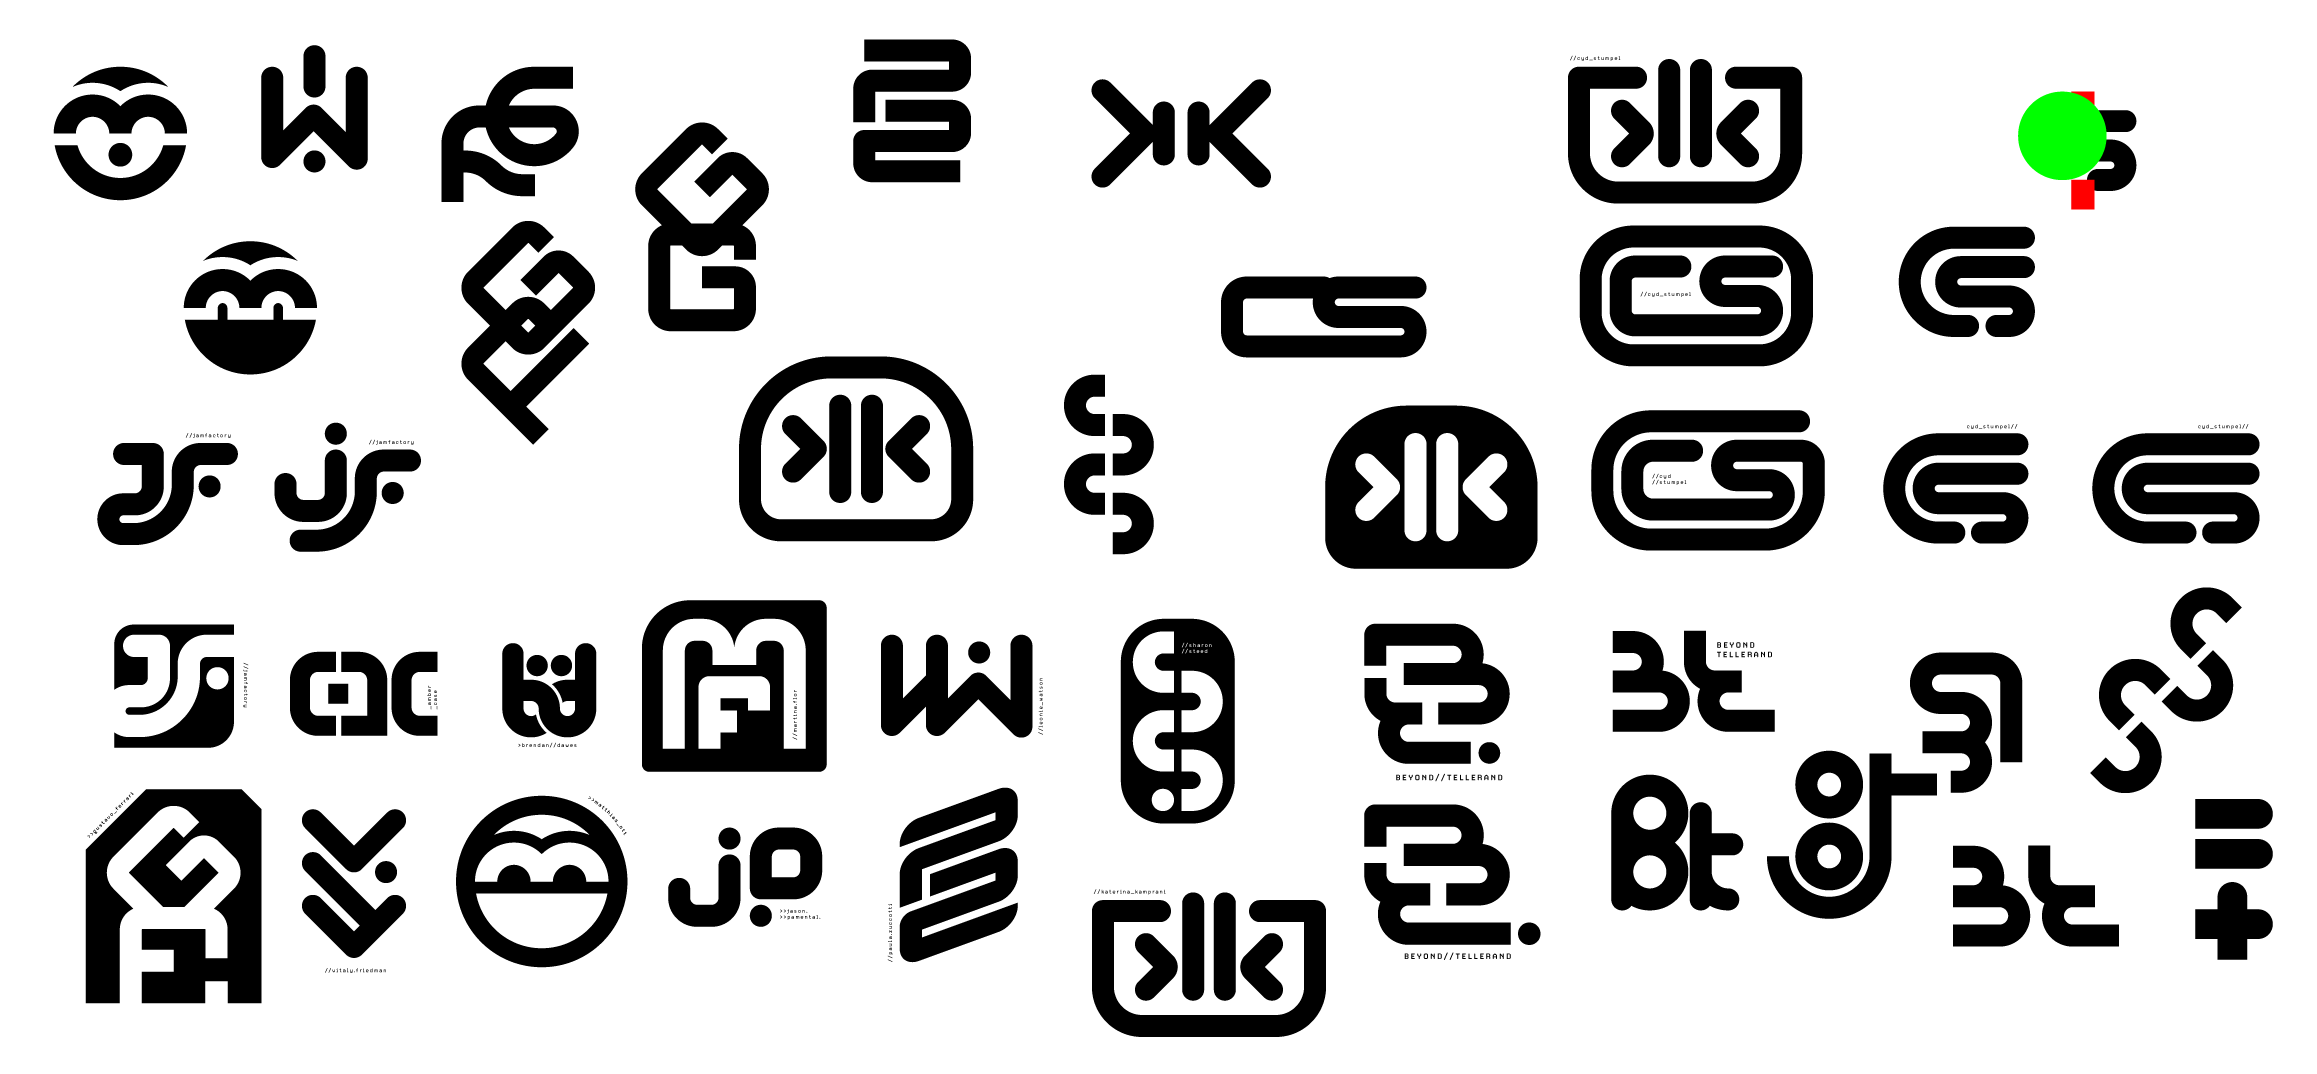
There is just something so satisfying about drawing some nice neat paths in Adobe Illustrator and chunking up the line weight to a near illegible level. I tried to alternate between rounded paths and straight paths, so the set of 12 felt individual but still part of a cohesive collection. This was the finished batch:
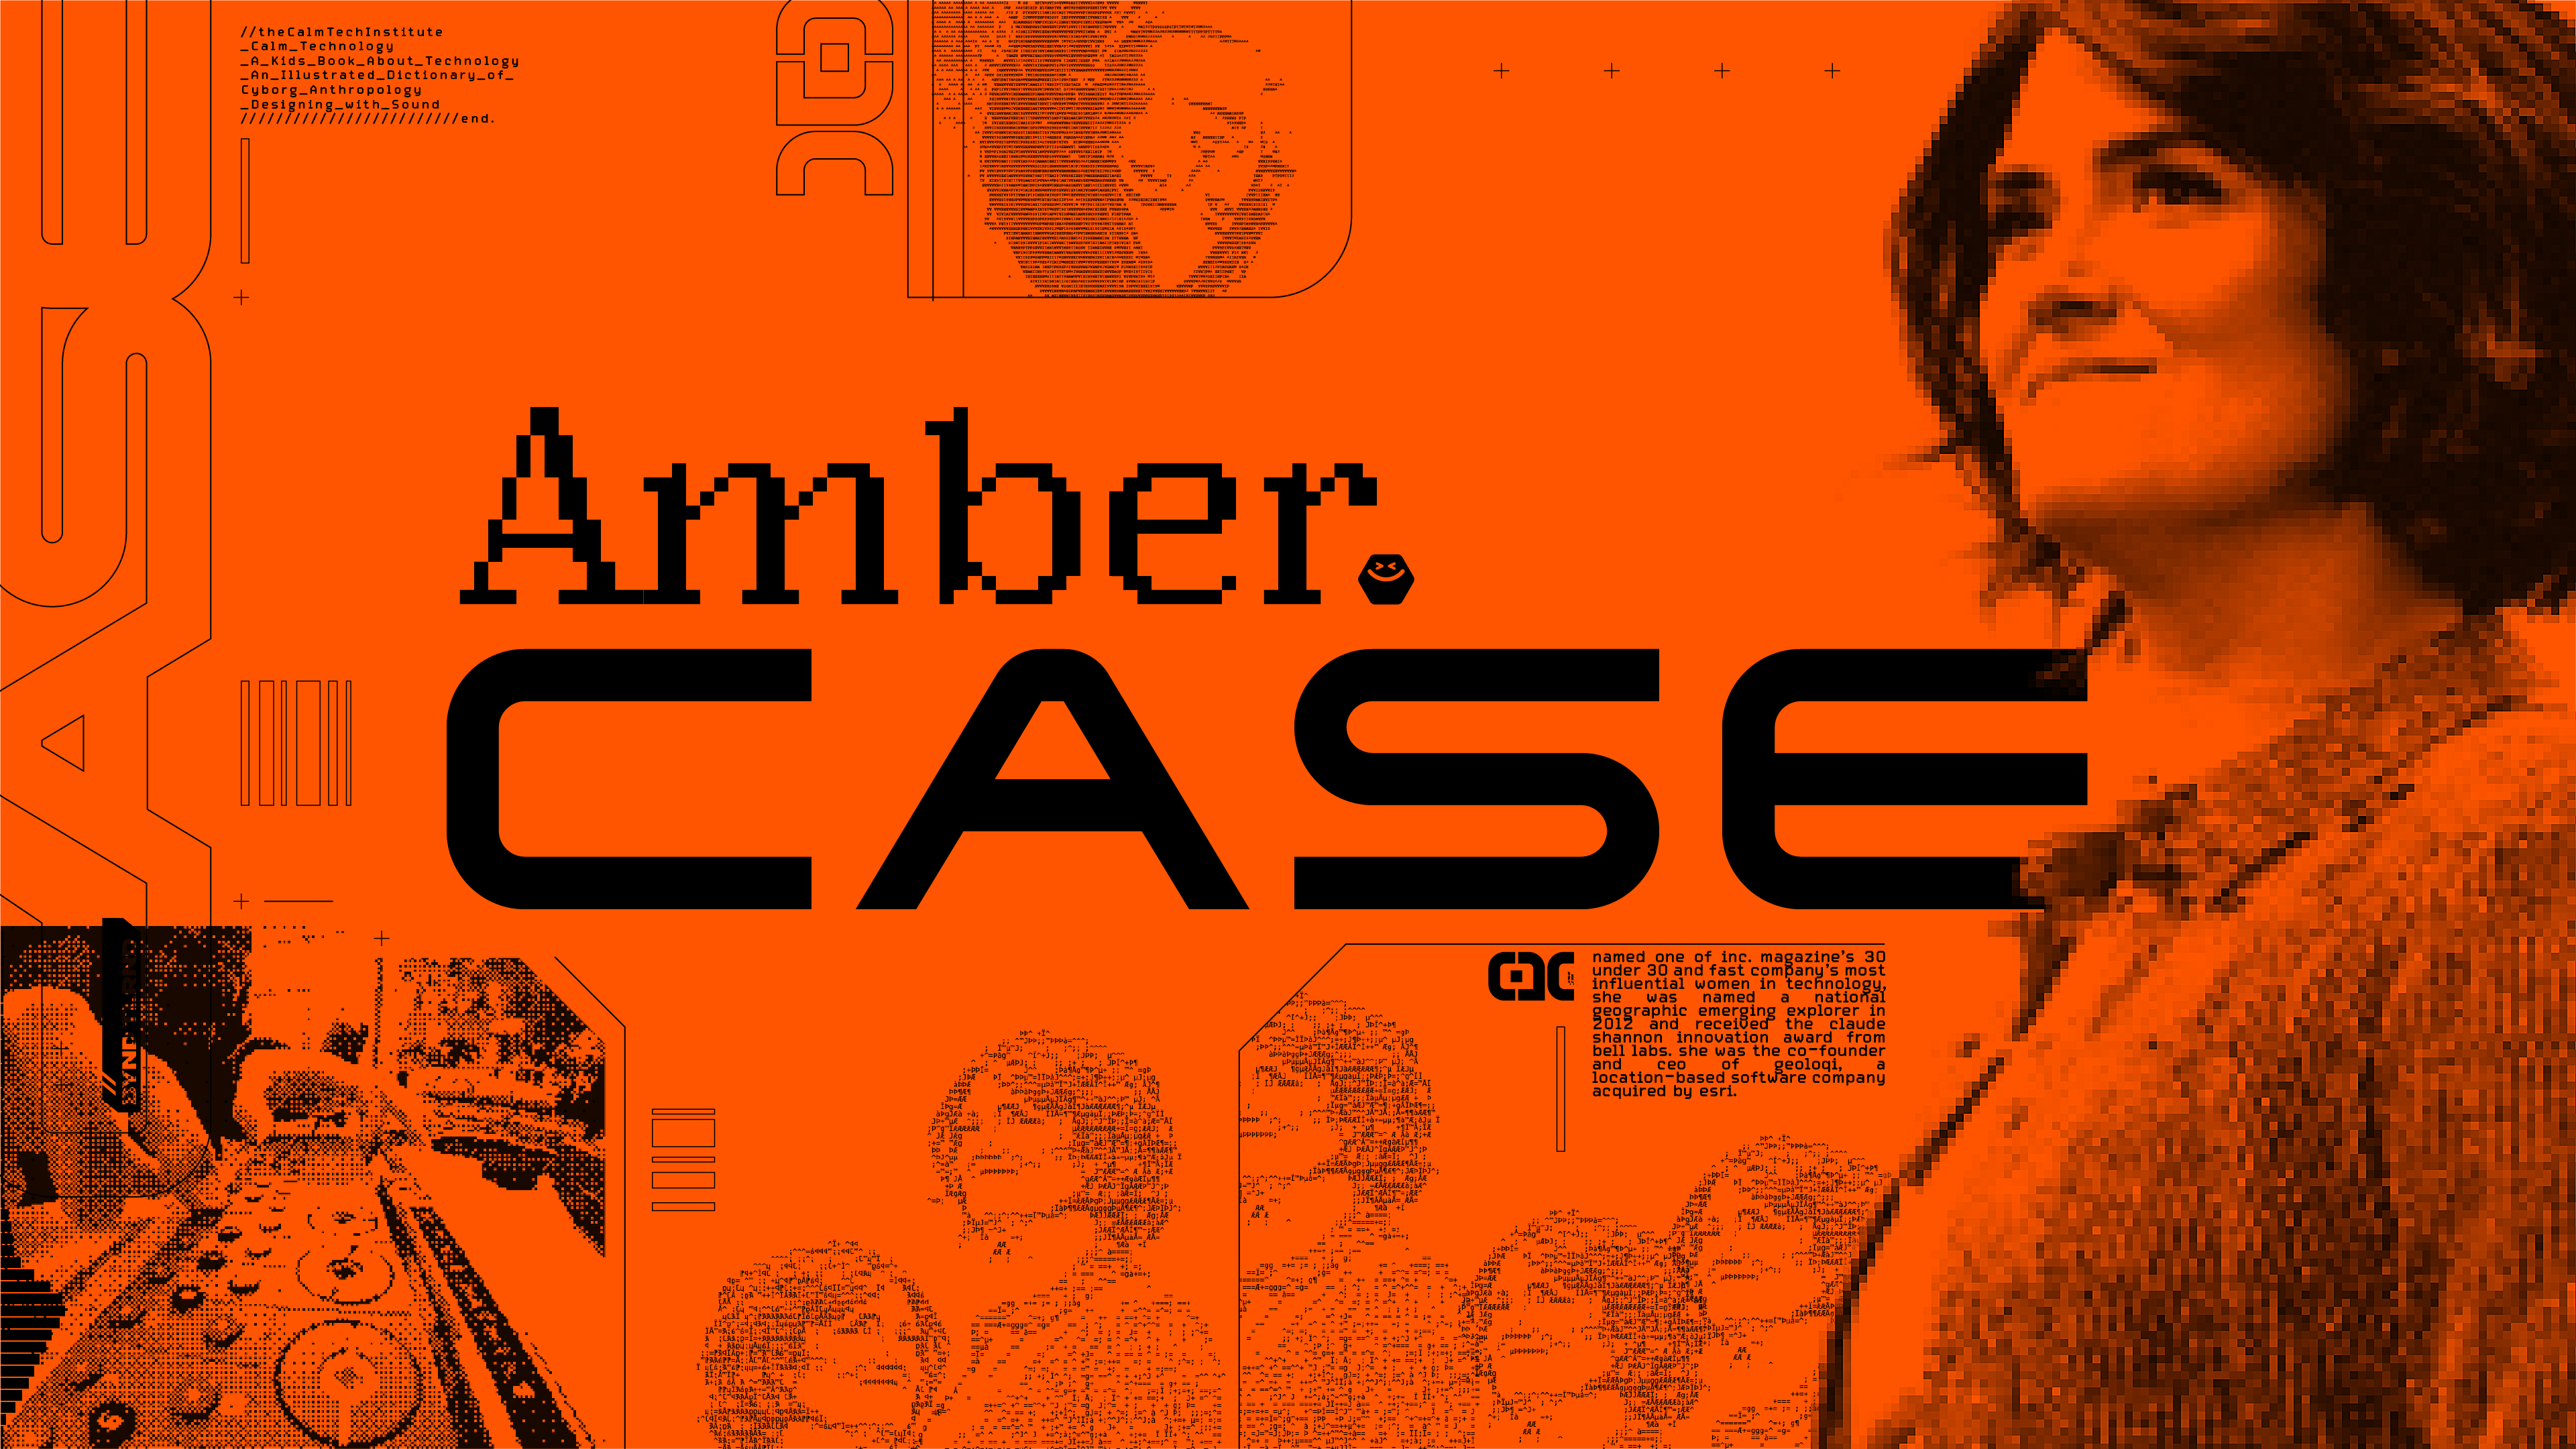
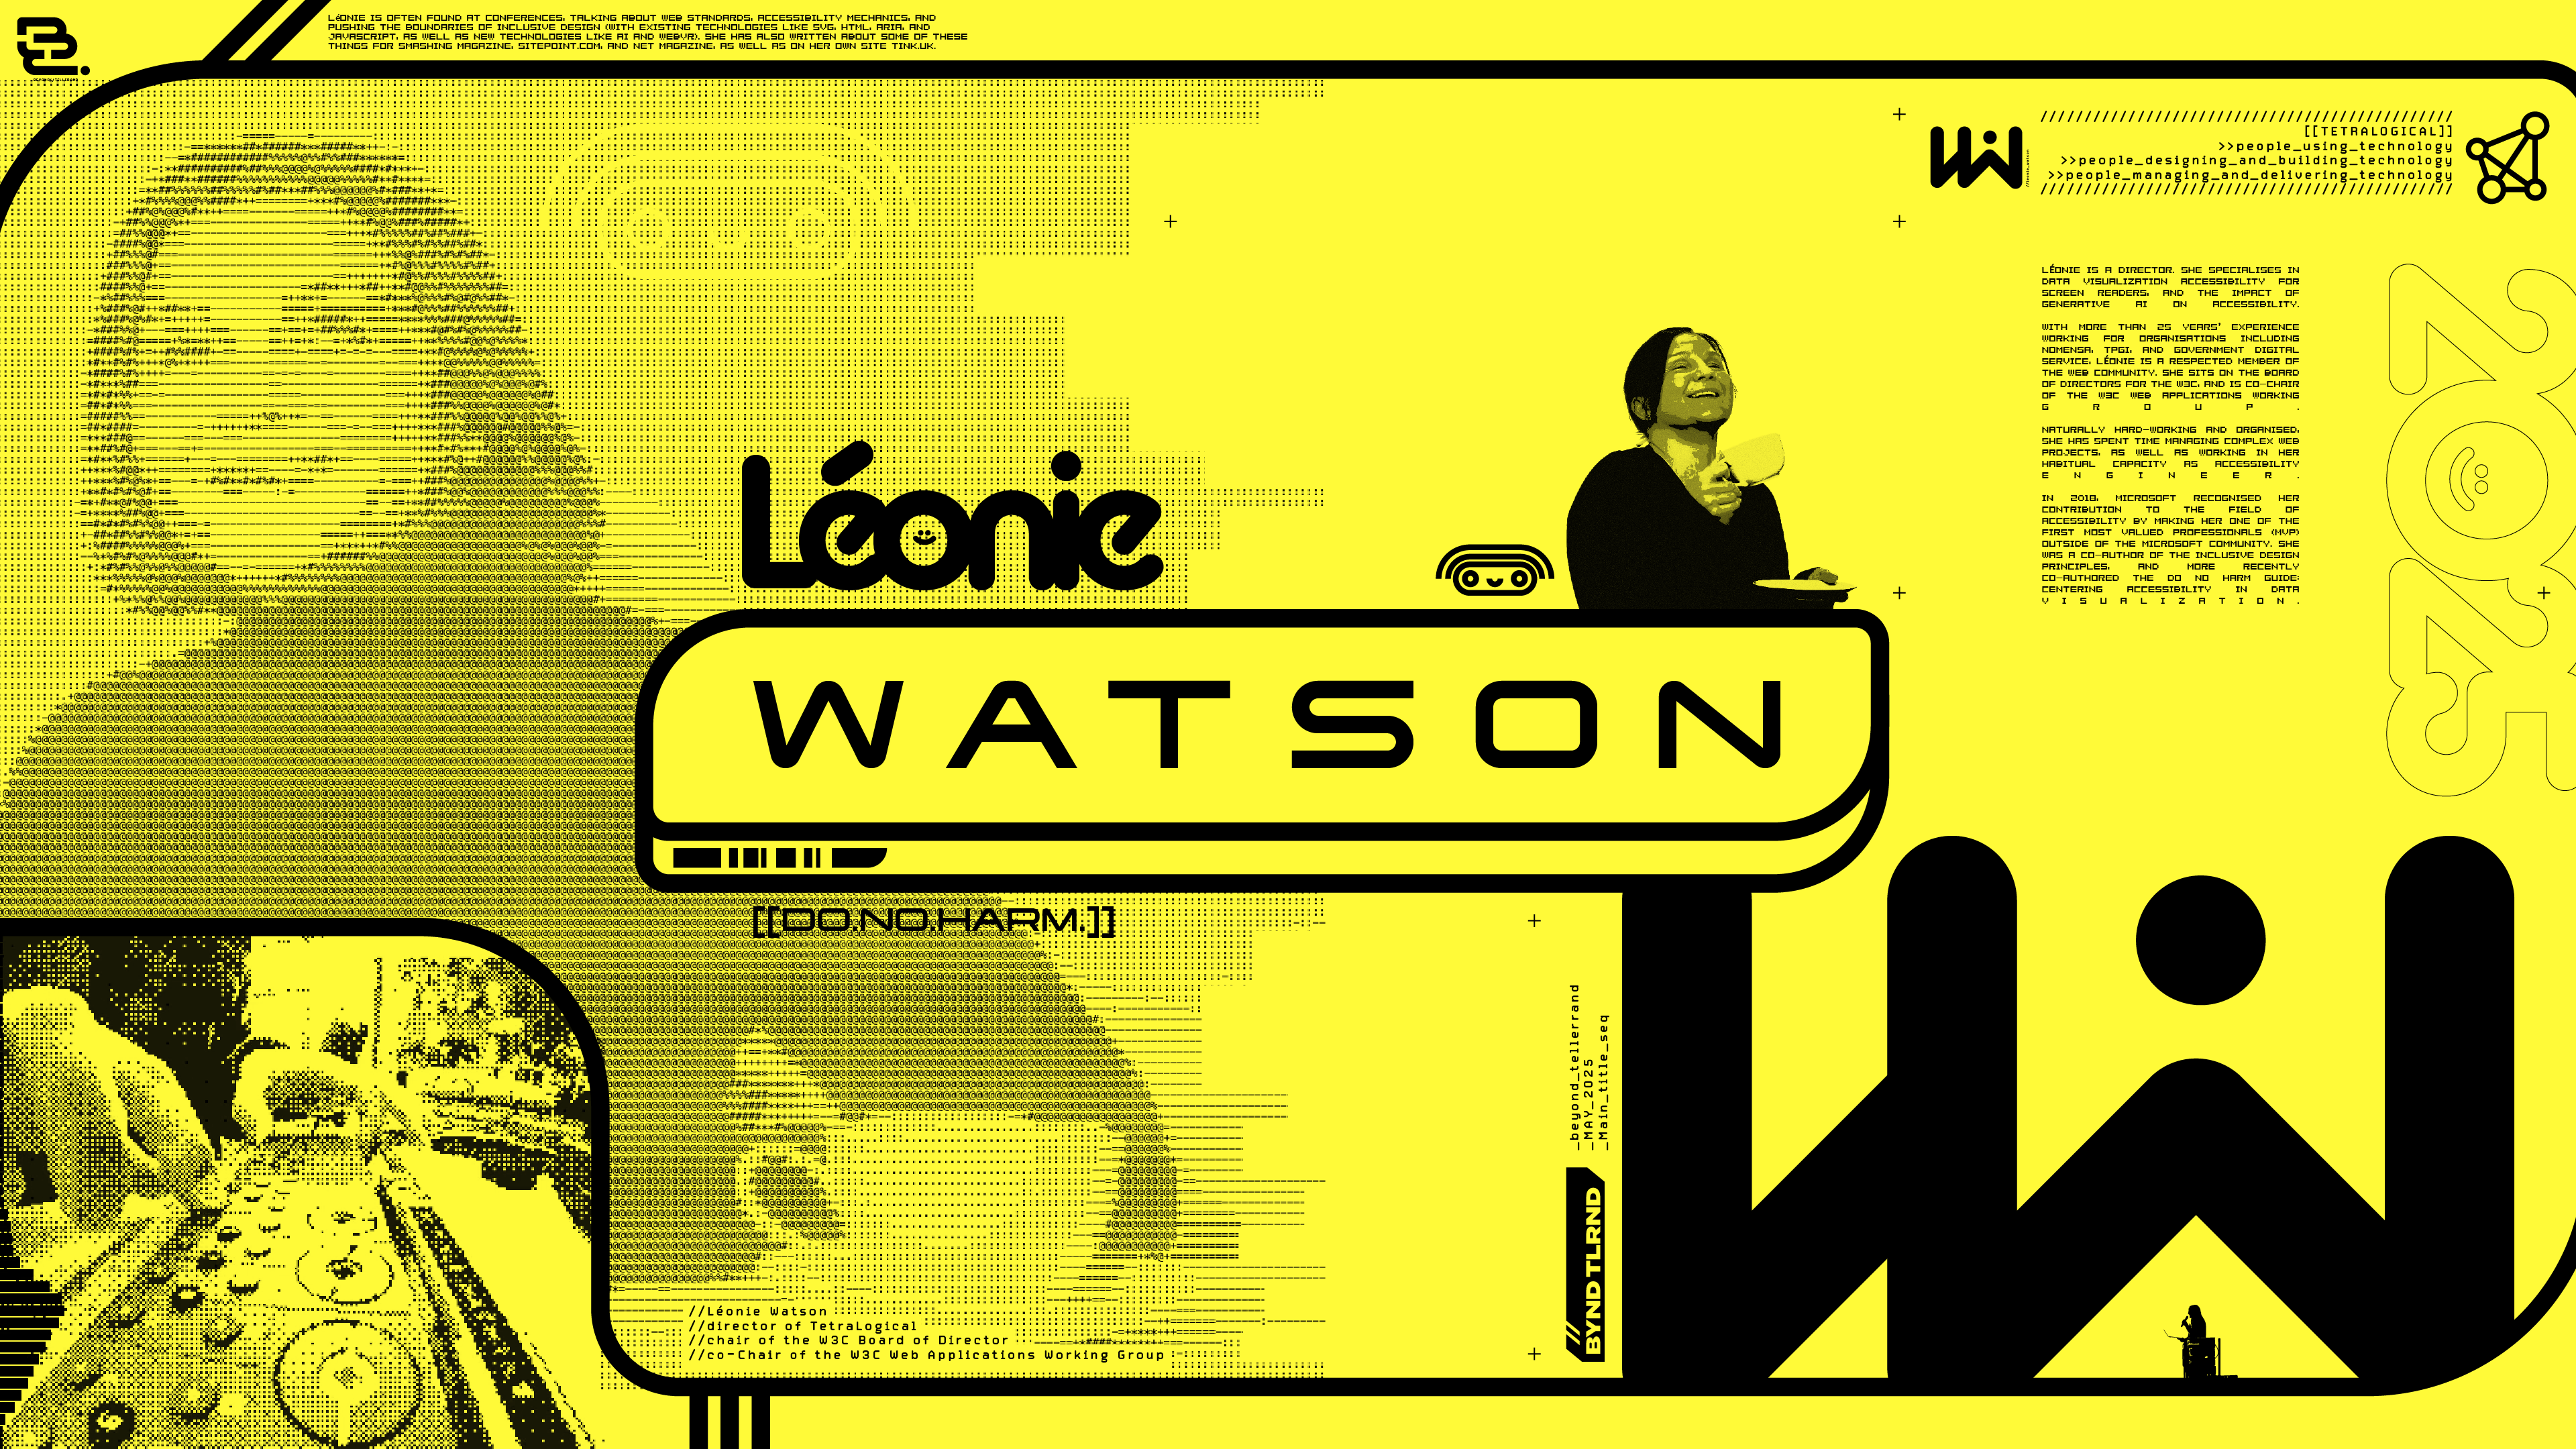
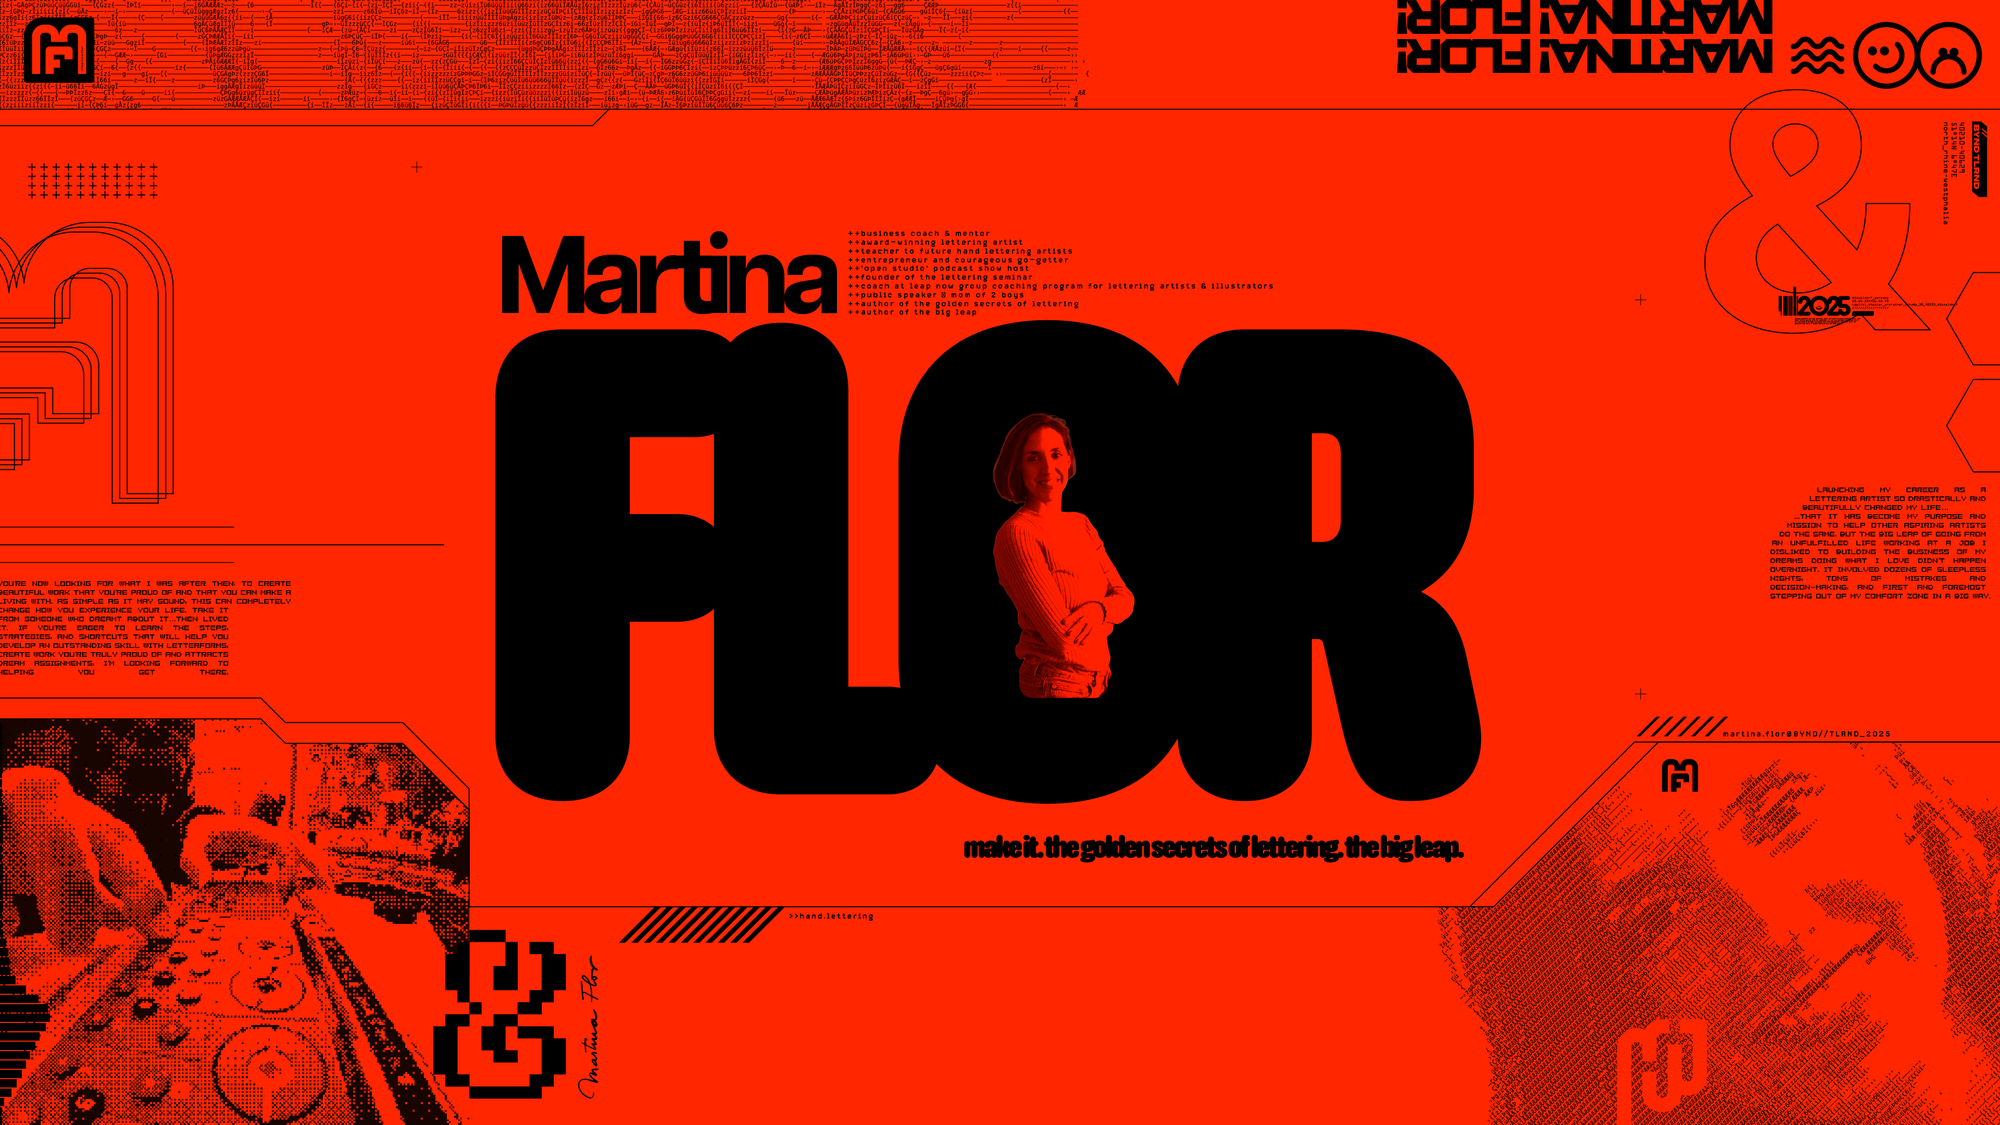
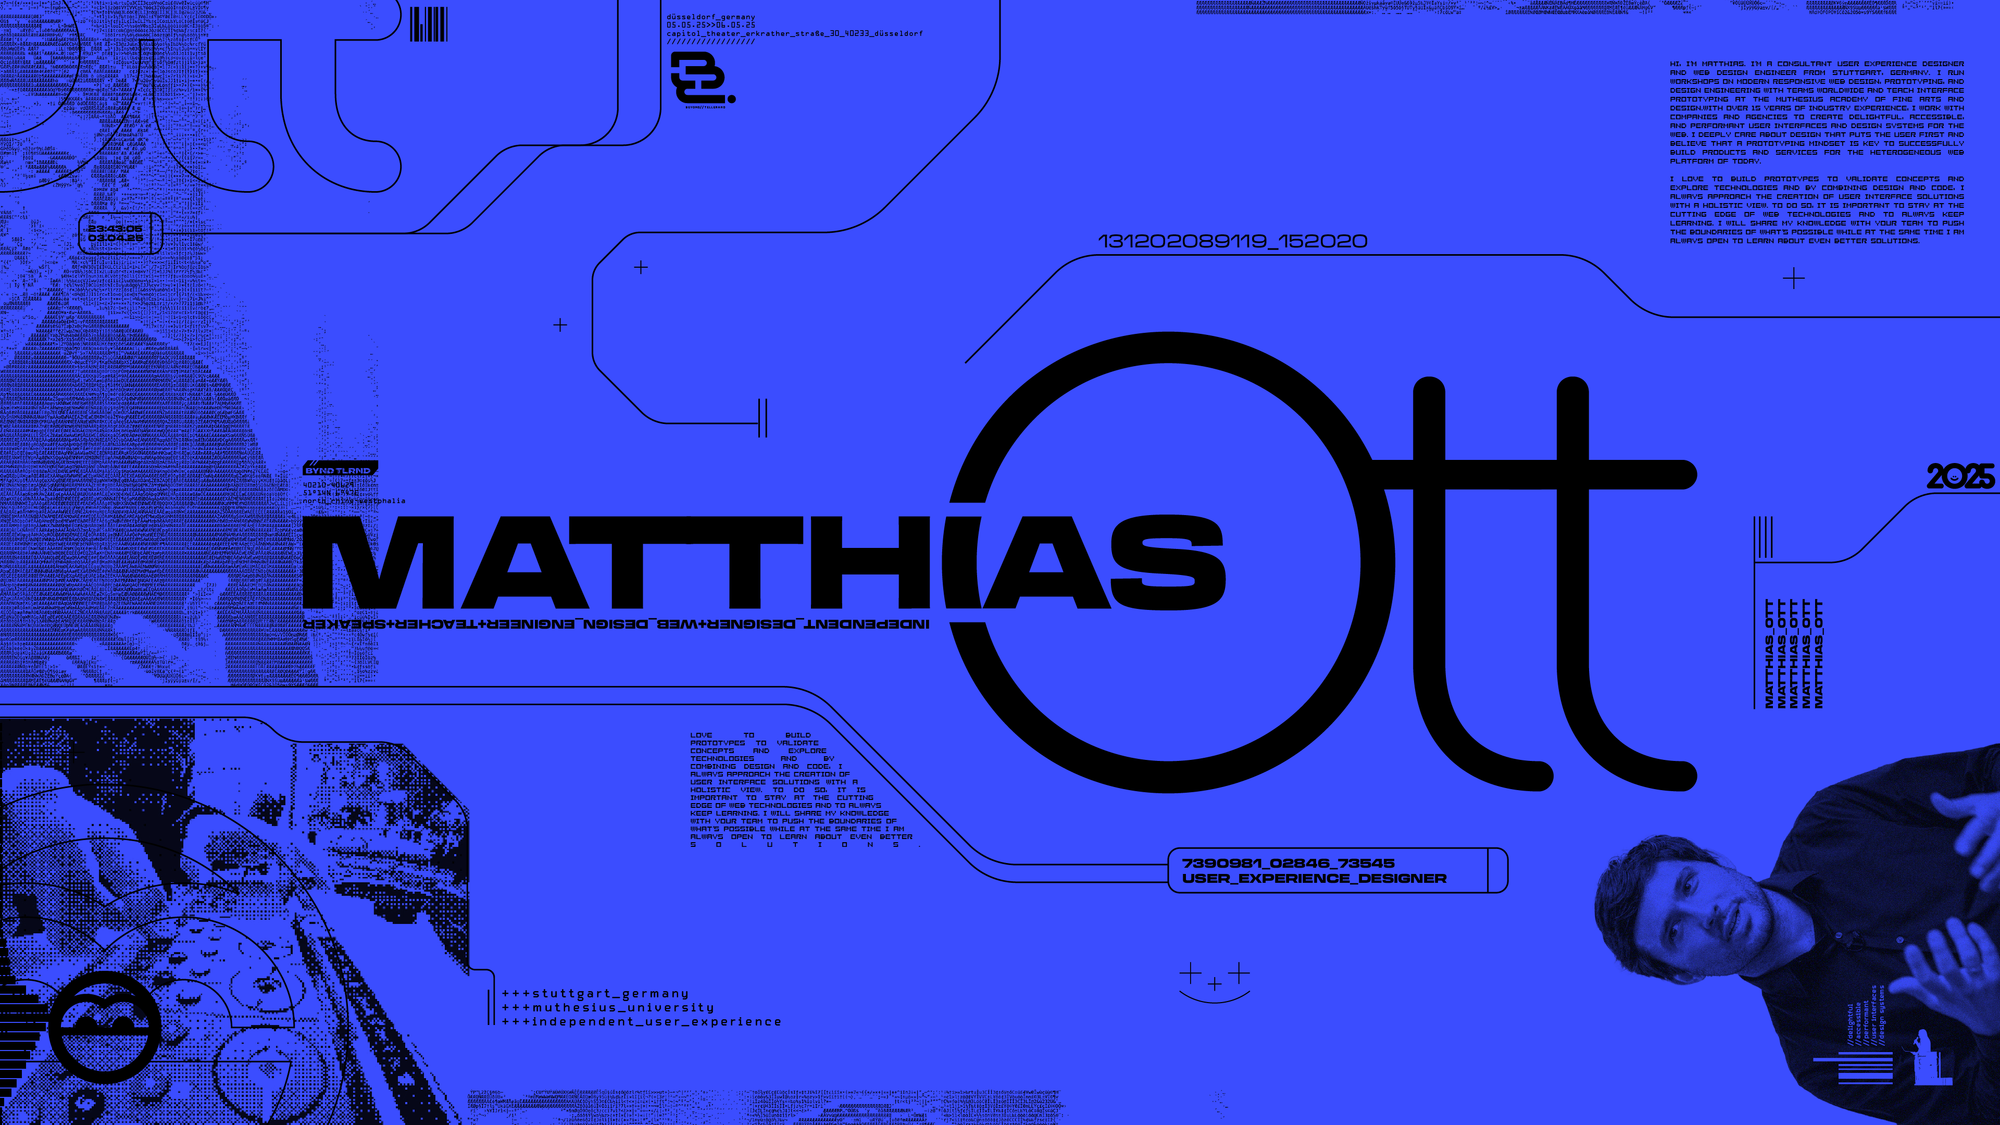
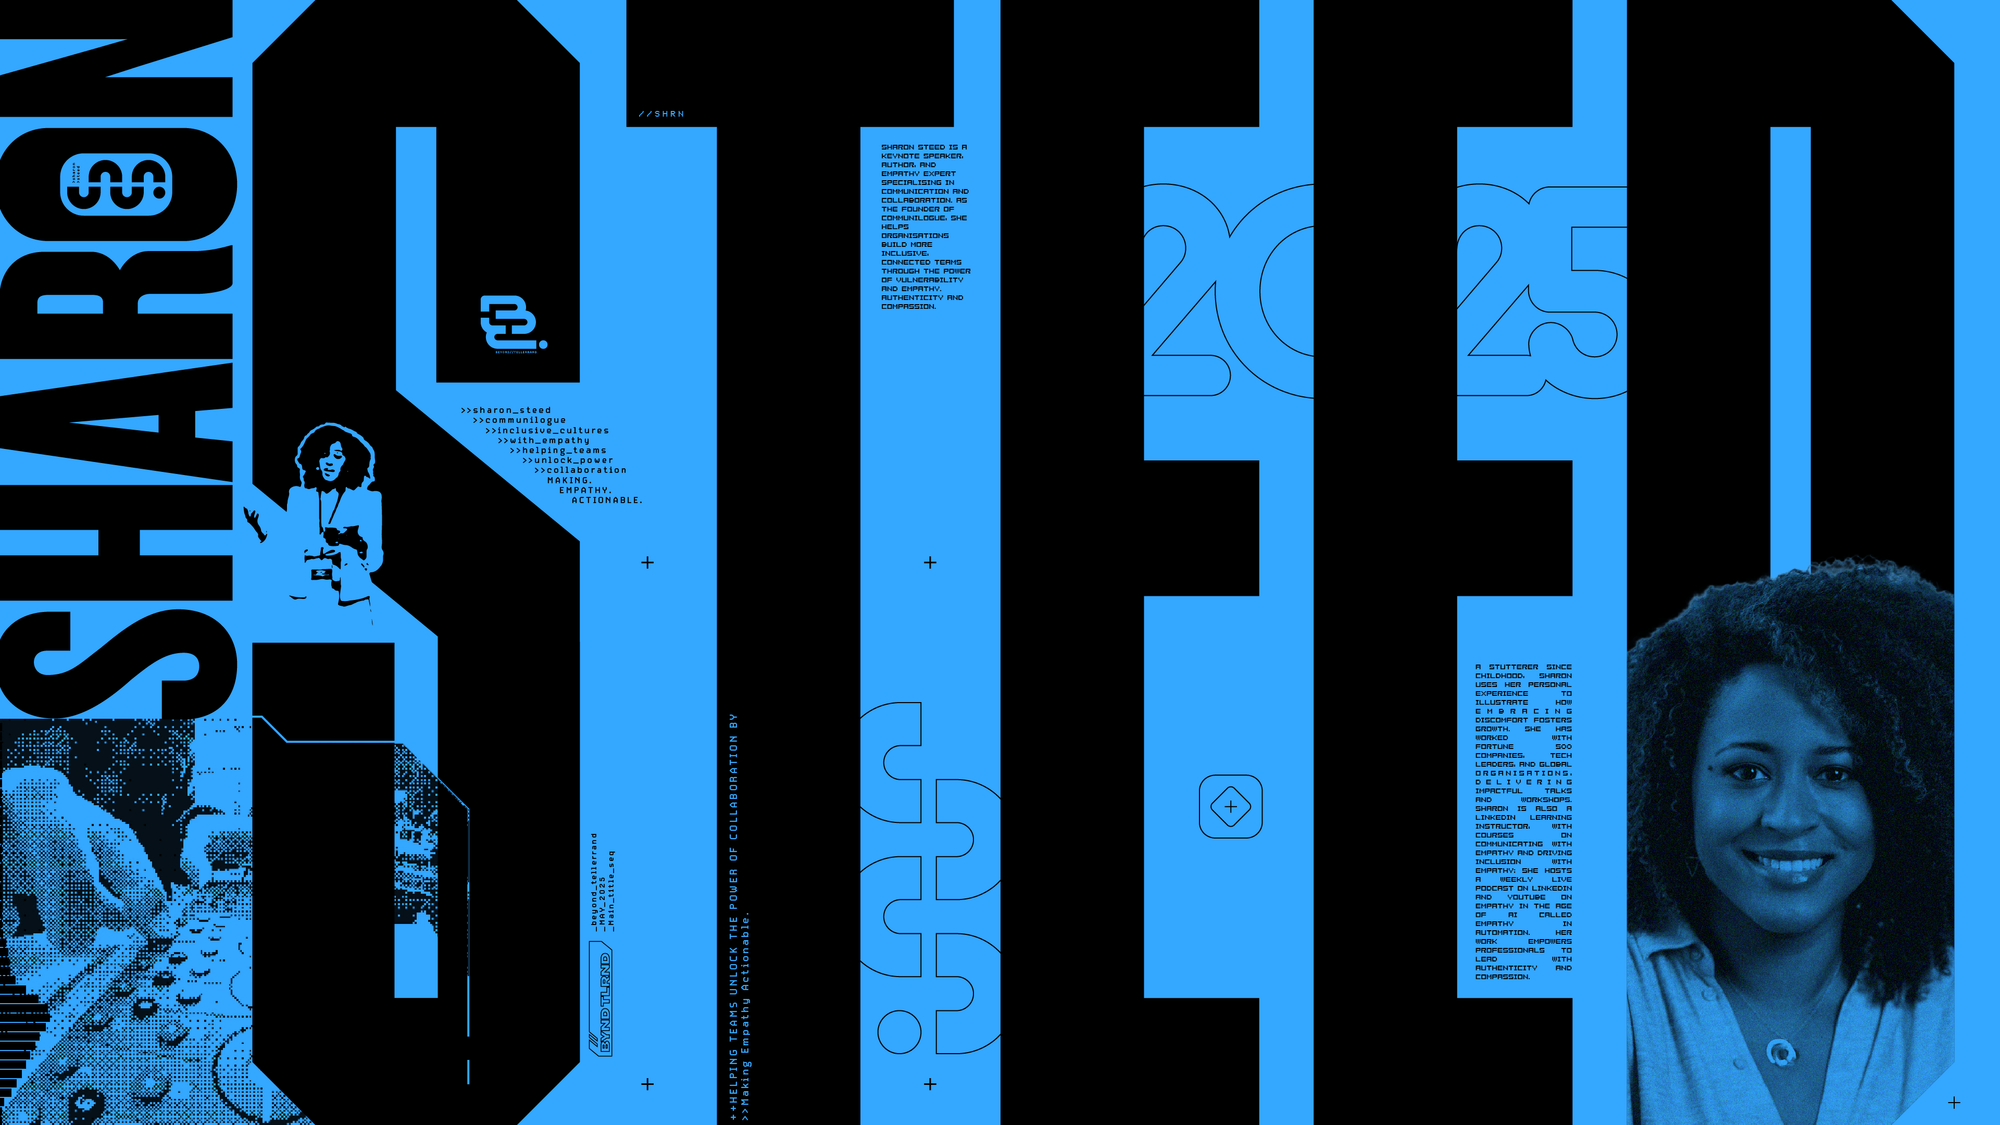
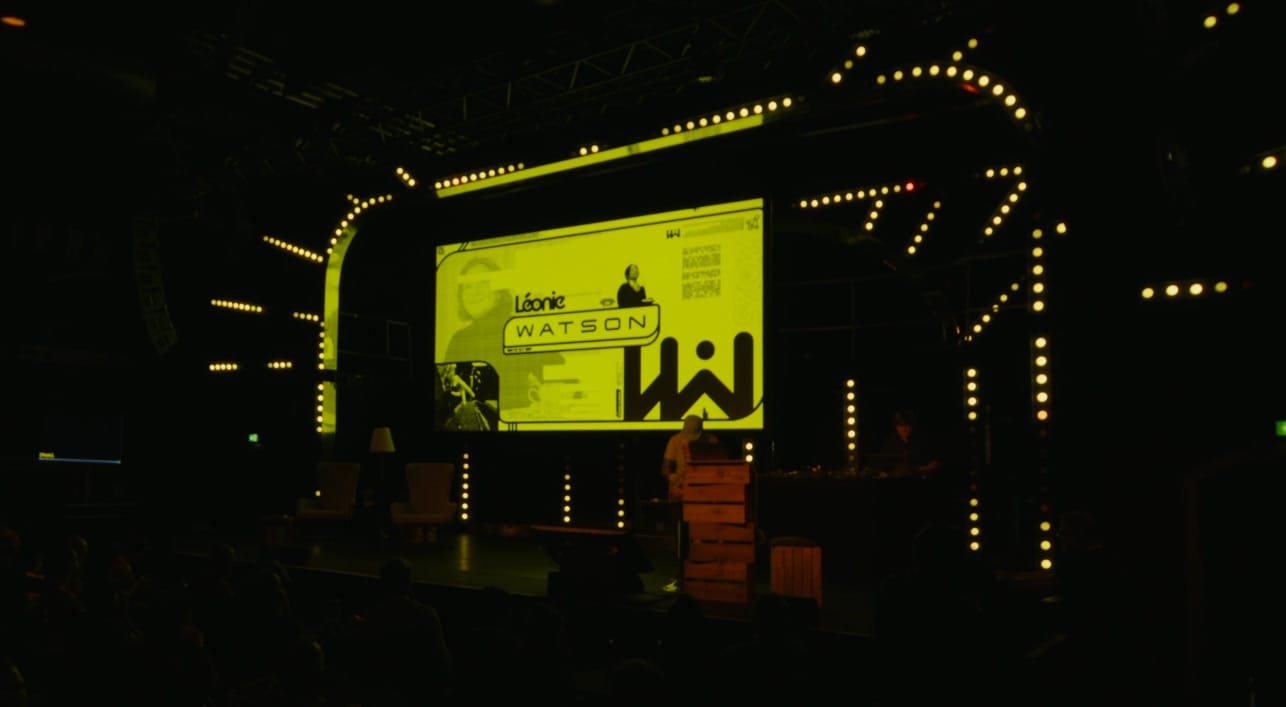
Next up was focusing on the speakers themselves and another helpful style of the times was portraits of people were lo-res, high contrast and, again, generally pretty illegible! I had great fun pinching photos of each speaker from their website, punching up the contrast in Photoshop or pixellating them to a silly amount.
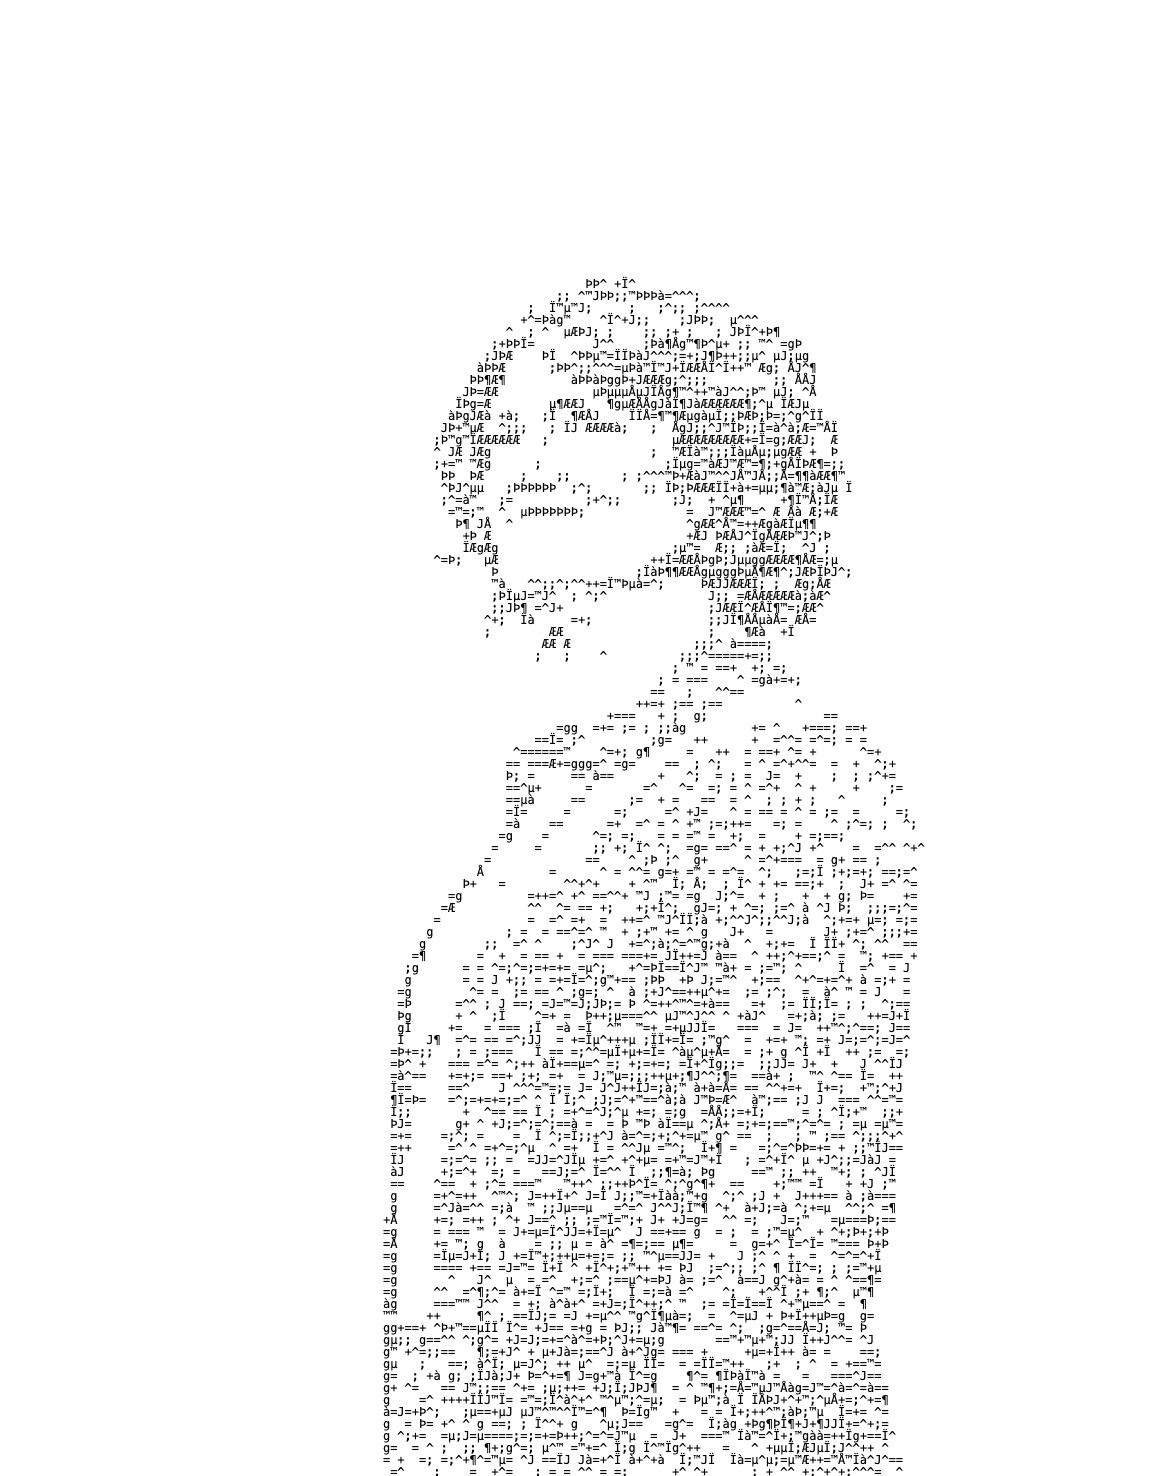
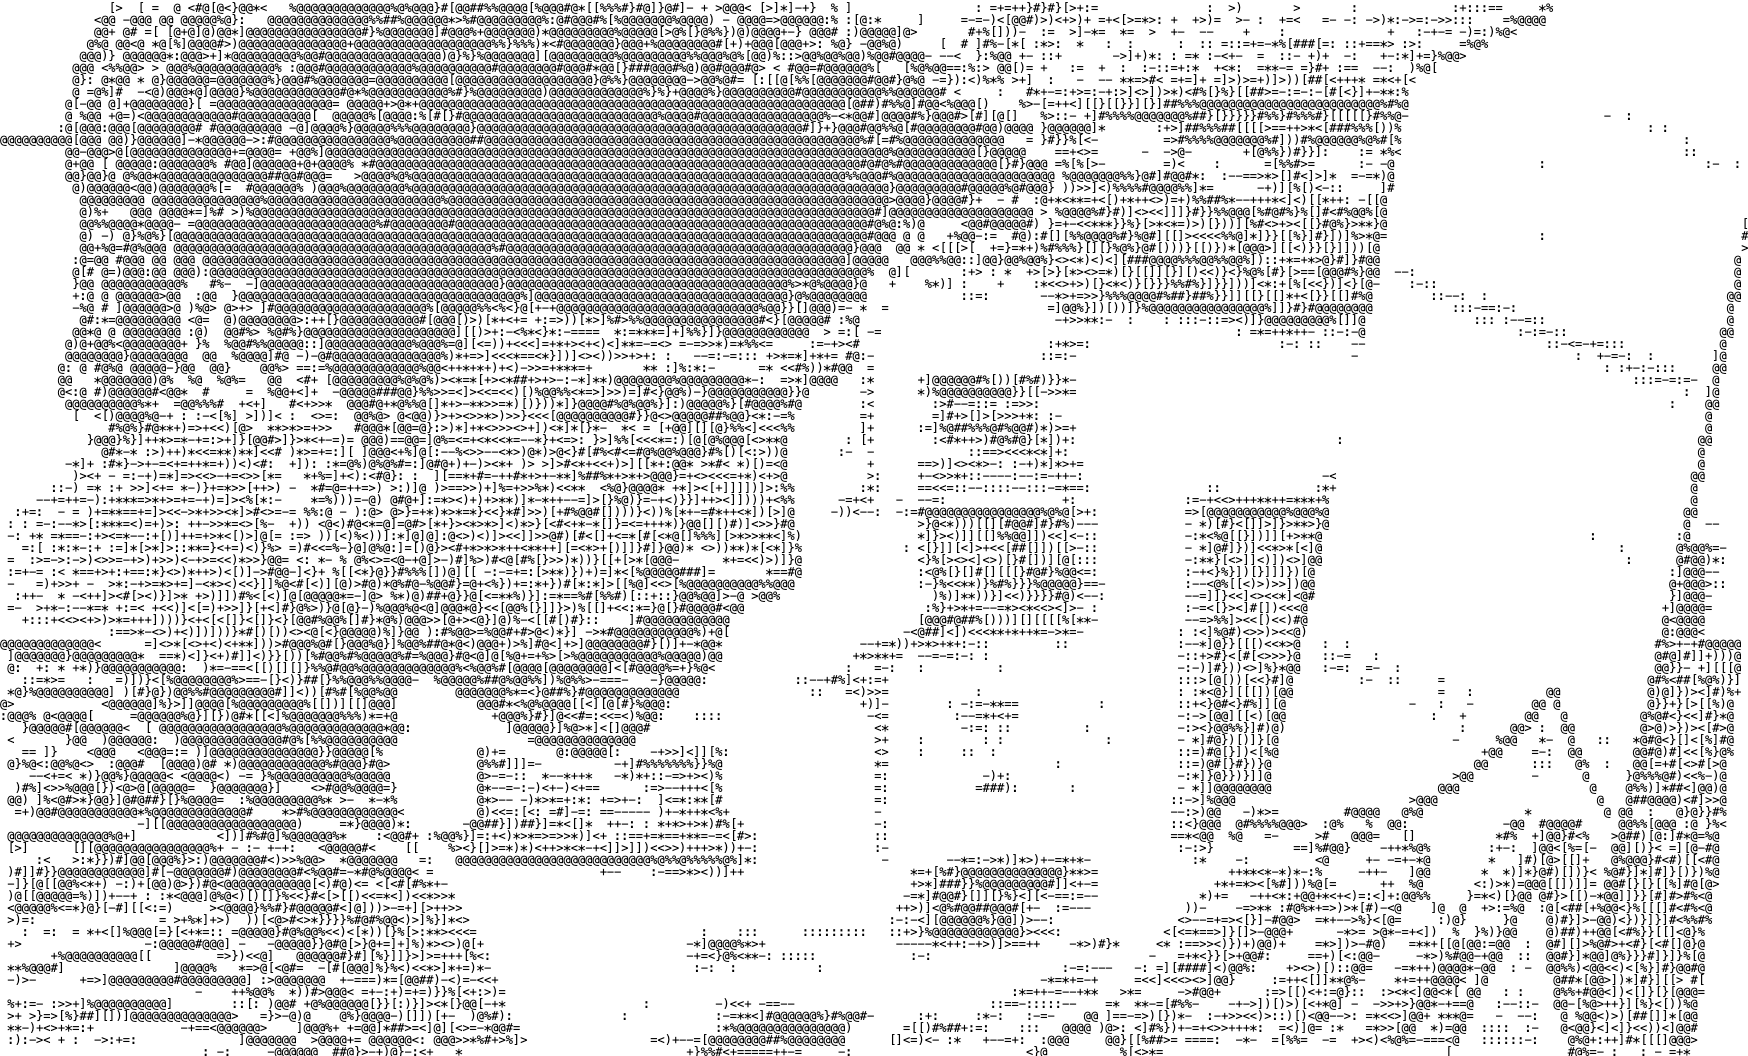
As well as the 2000's era madness, I'm a big fan of the 'cracktro' era of the 90's, of ASCII art and pixel fonts. That aesthetic perfectly compliments the OTT look of the 2000's so I had great fun running different speaker portraits through an Image > ASCII generator.

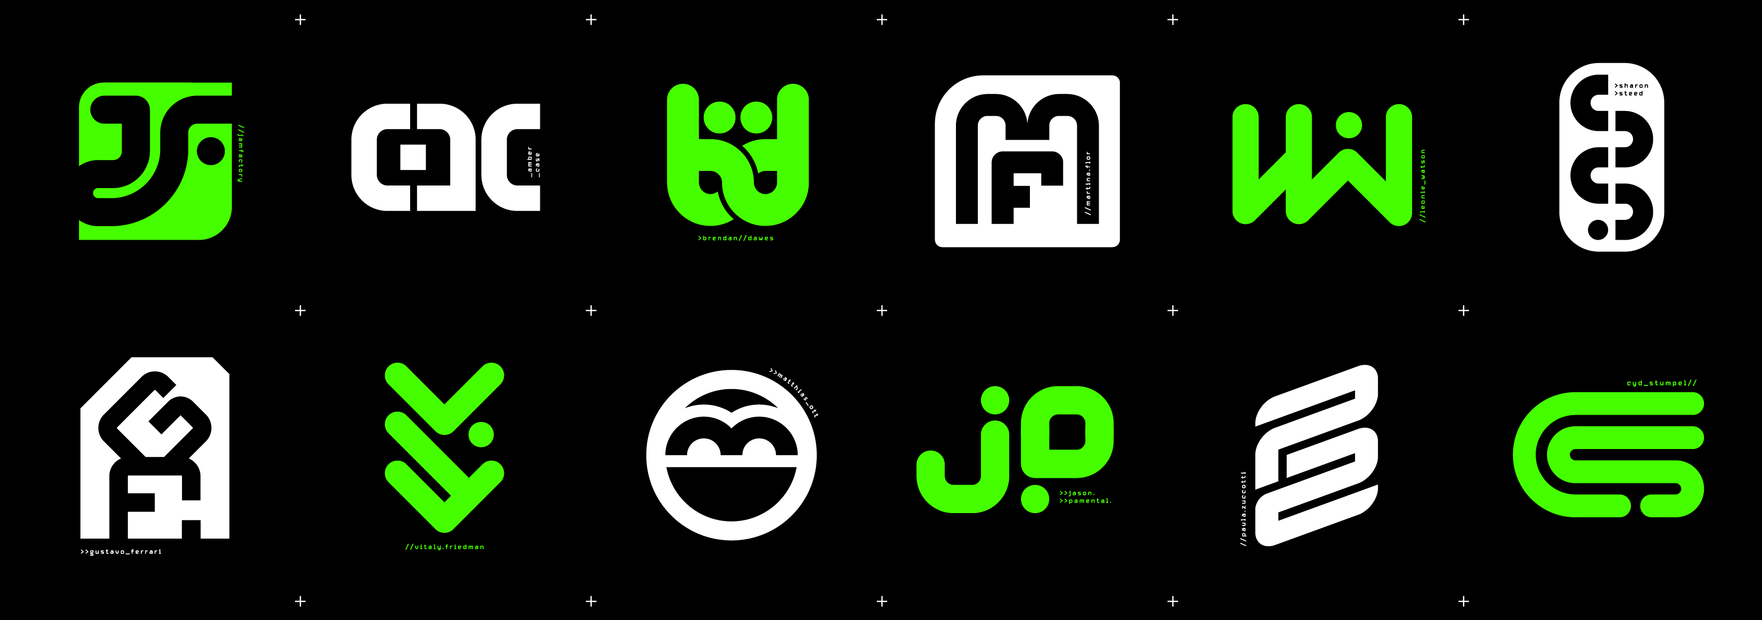
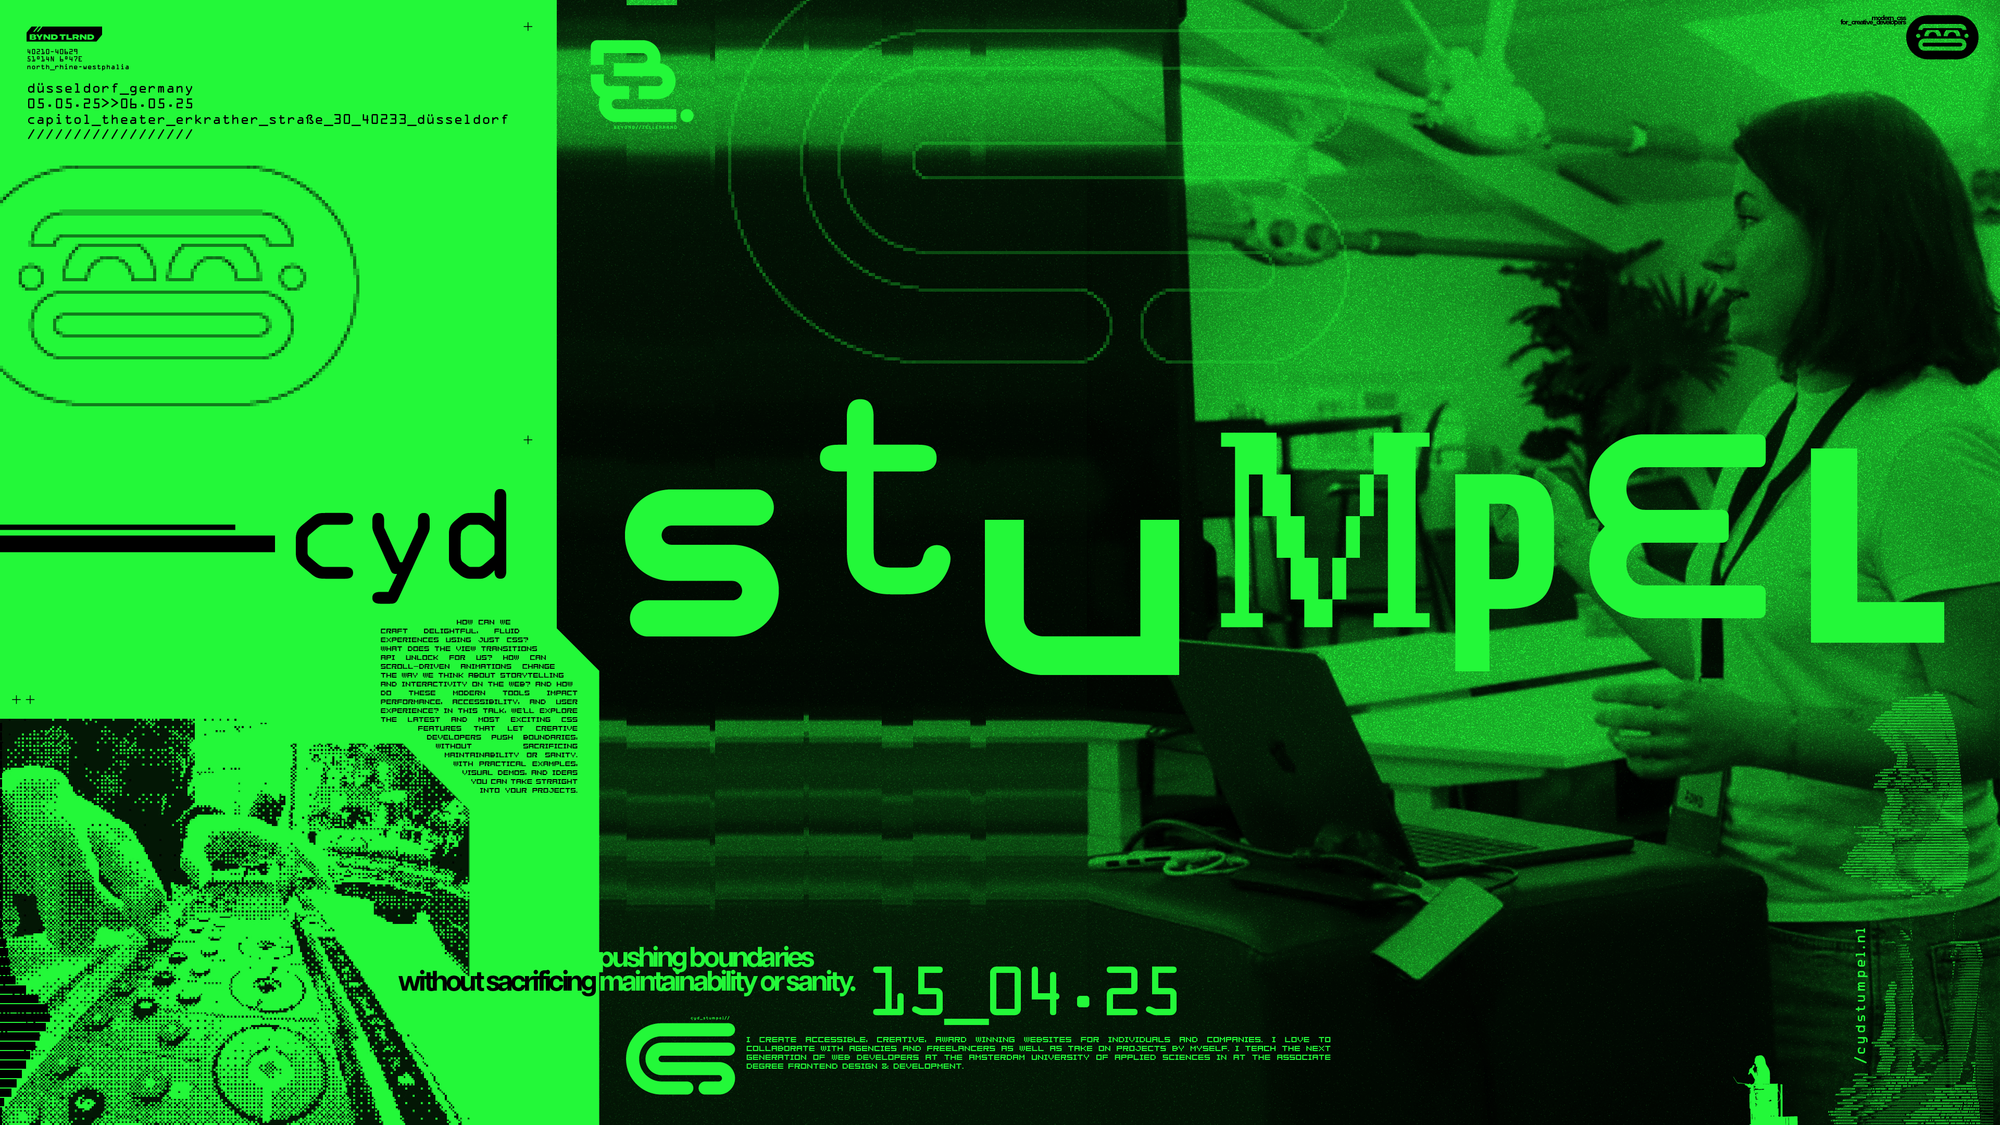
I wanted each speaker to stand out, but to keep things simple and achievable. I needed a bright, bold palette that I could pair with black. Keeping things modular meant I could make one decision and move on. Working on this as a passion project, in the wee hours once the kids were asleep, meant I needed to be smart in how I worked. Have just 2 colours per speaker (and one of them being black) was a choice that let me keep the momentum up!

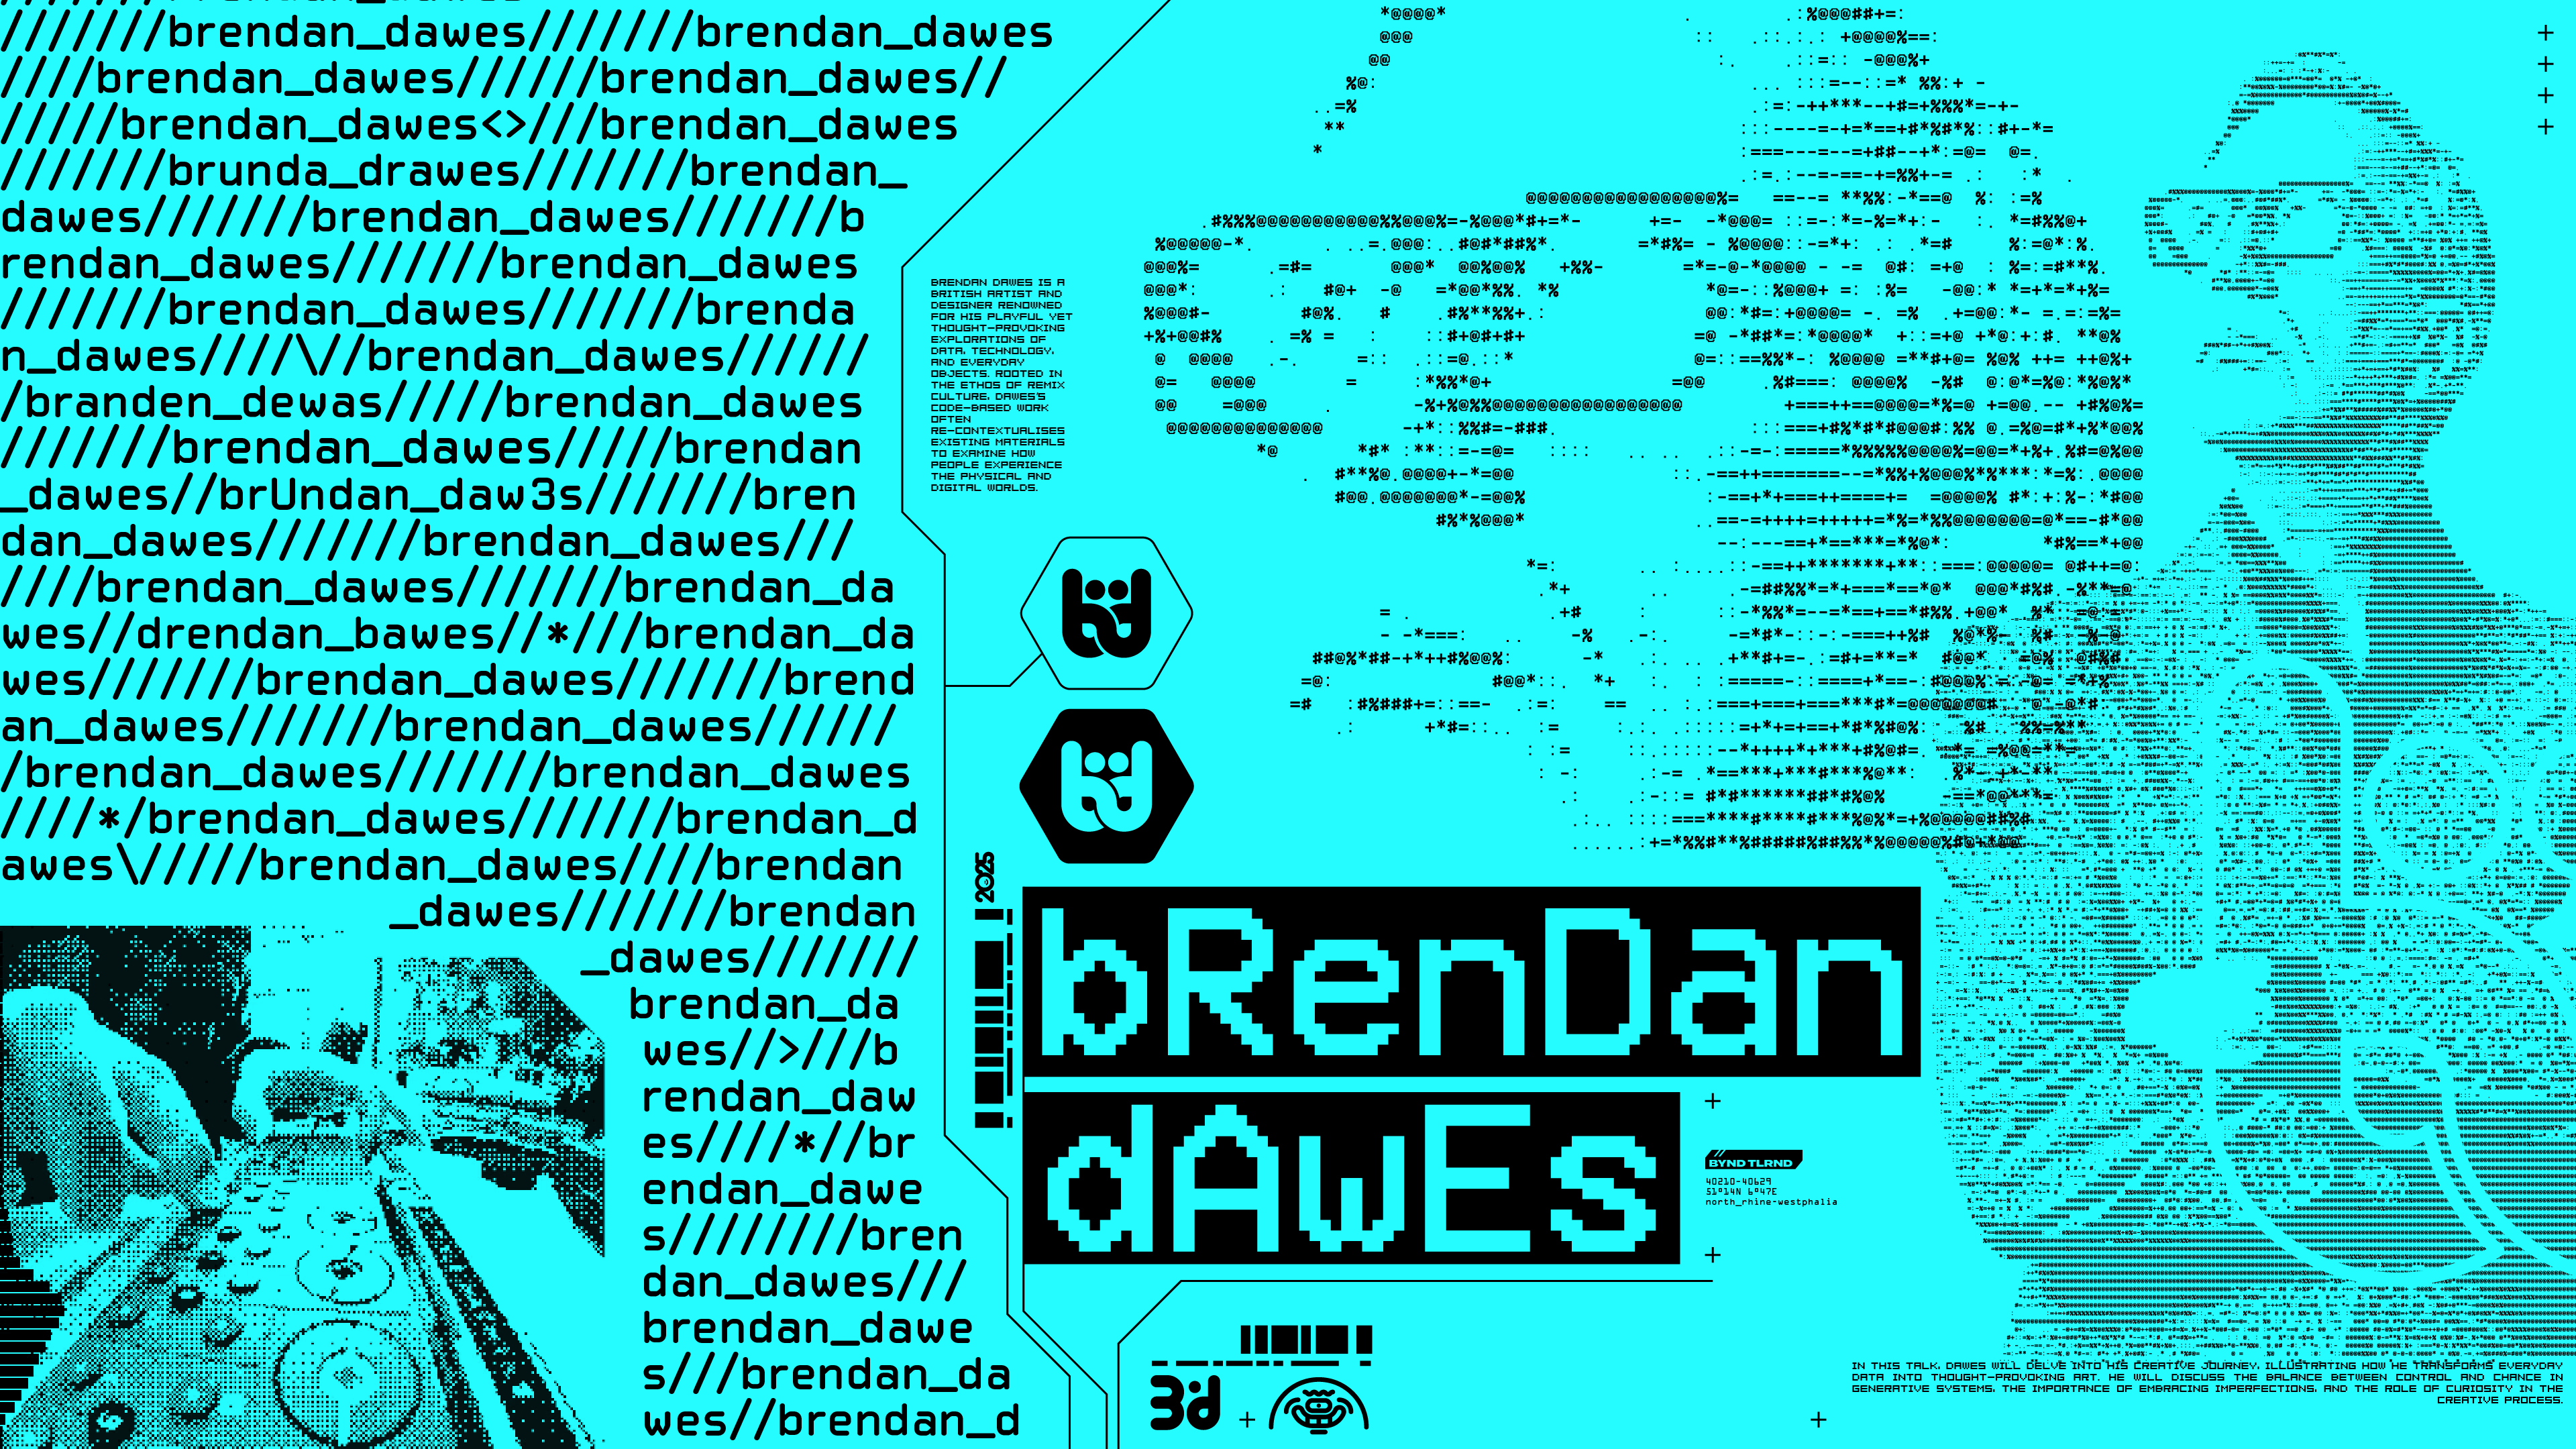
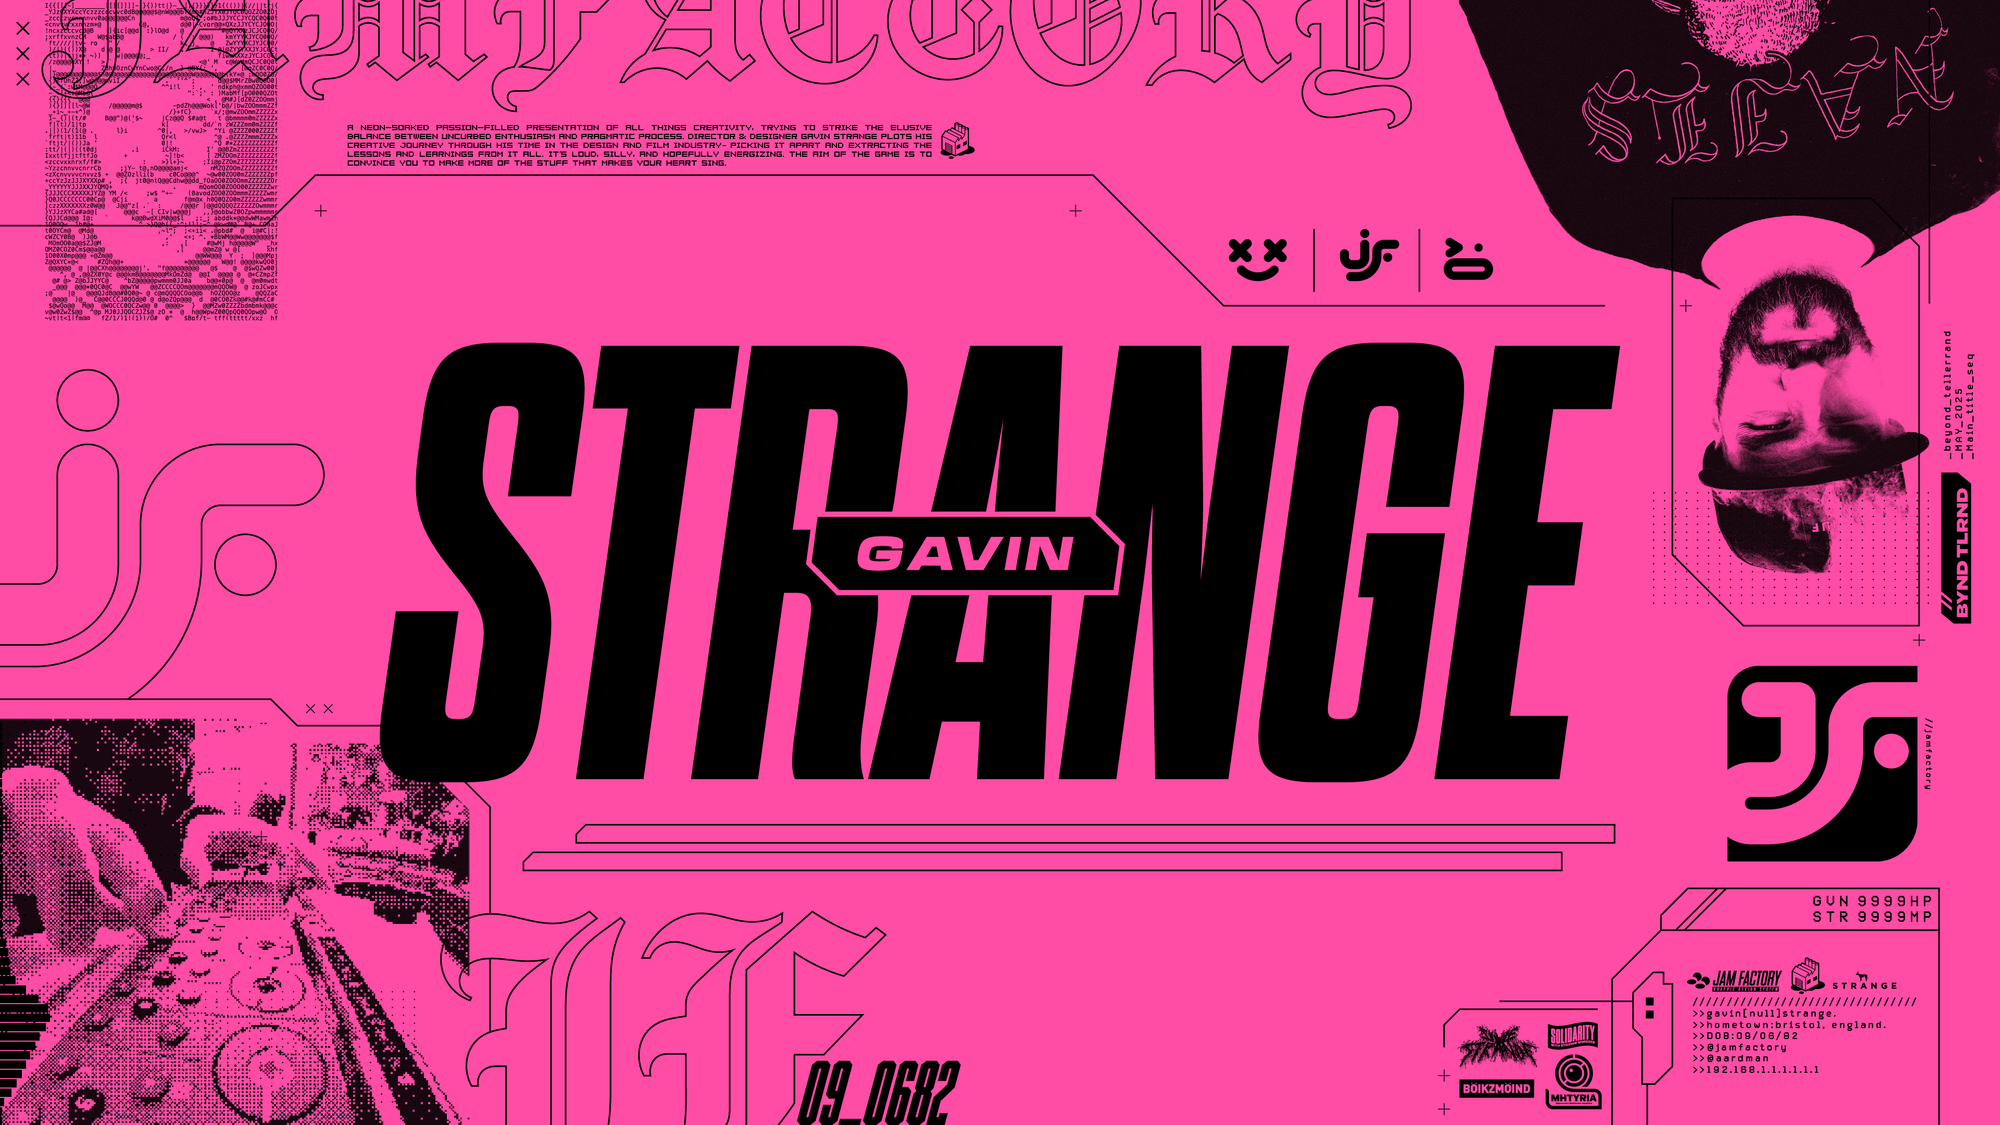
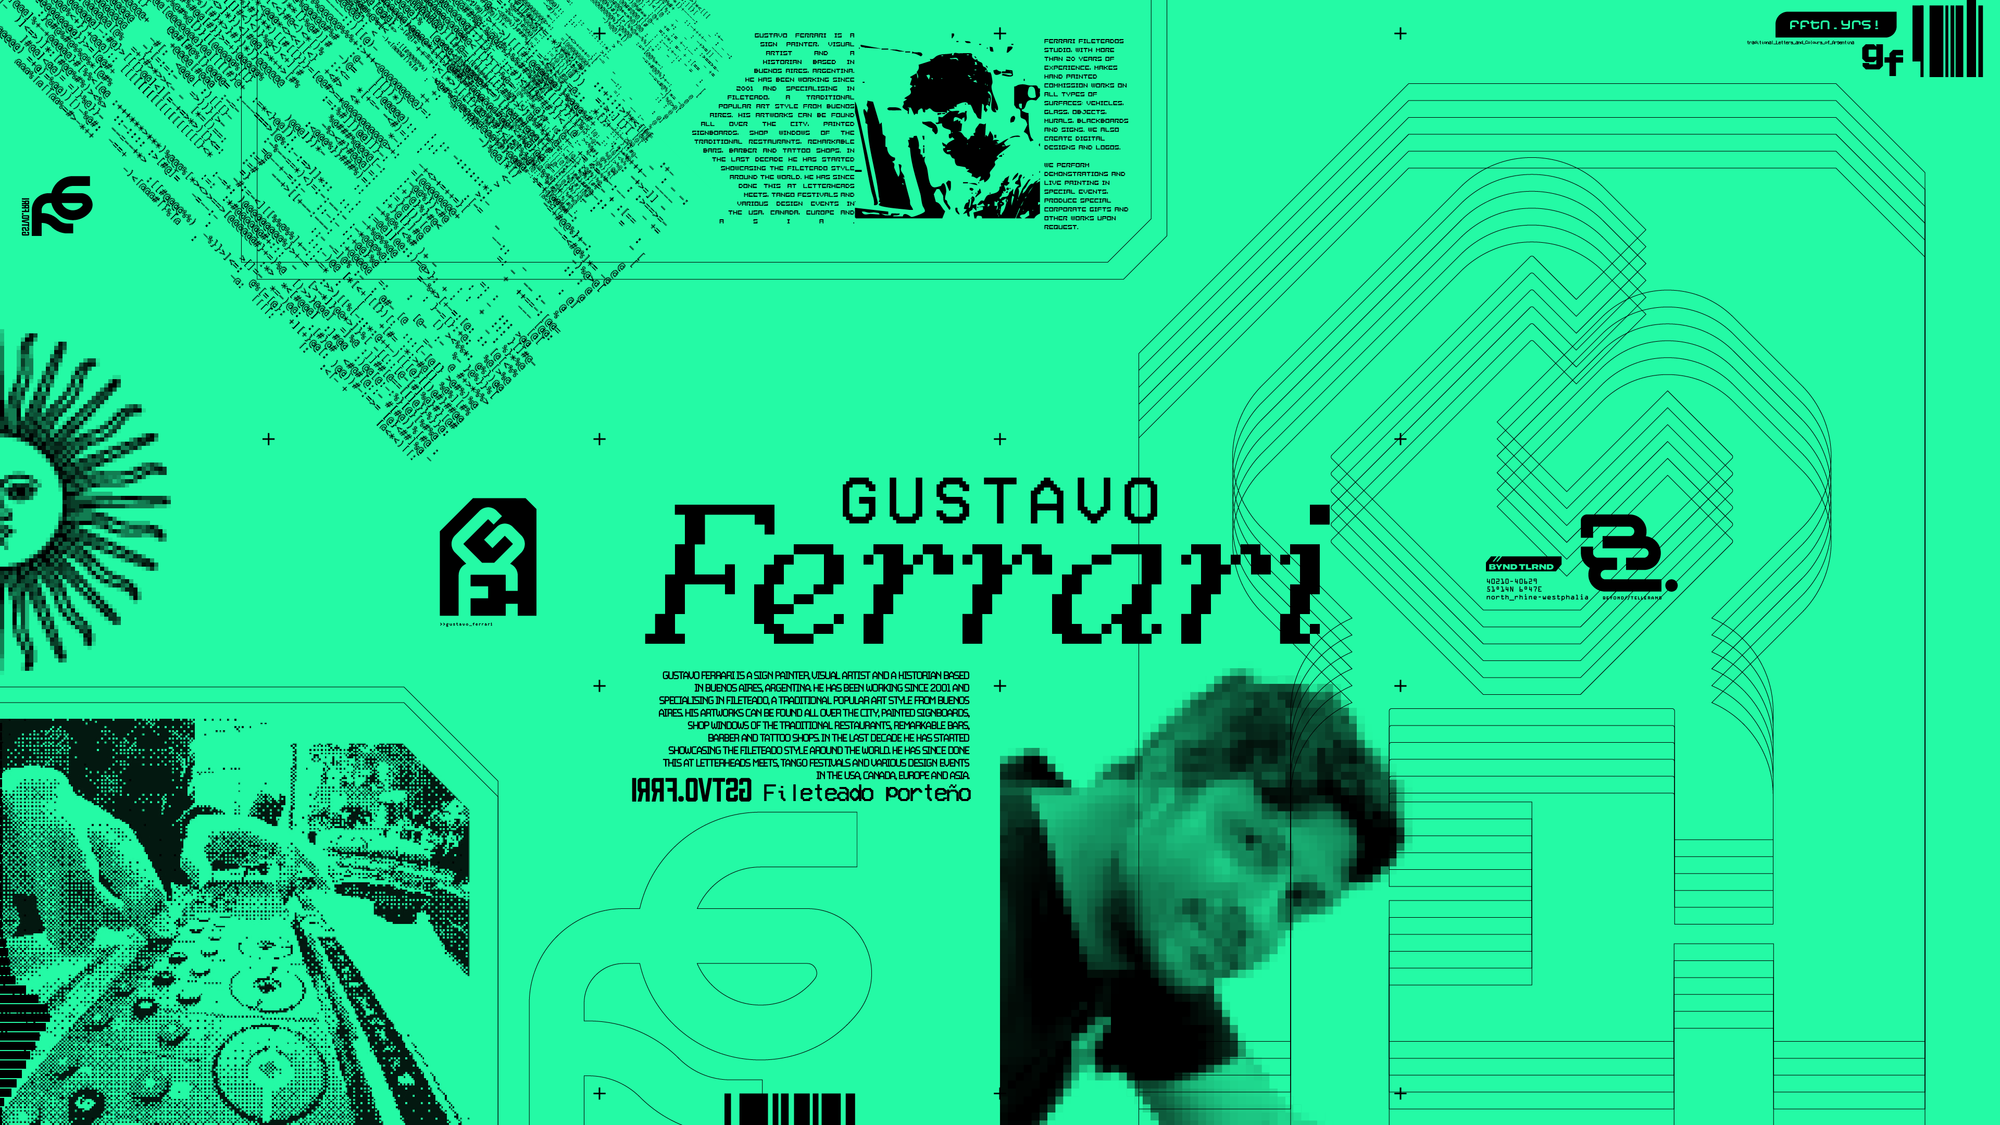
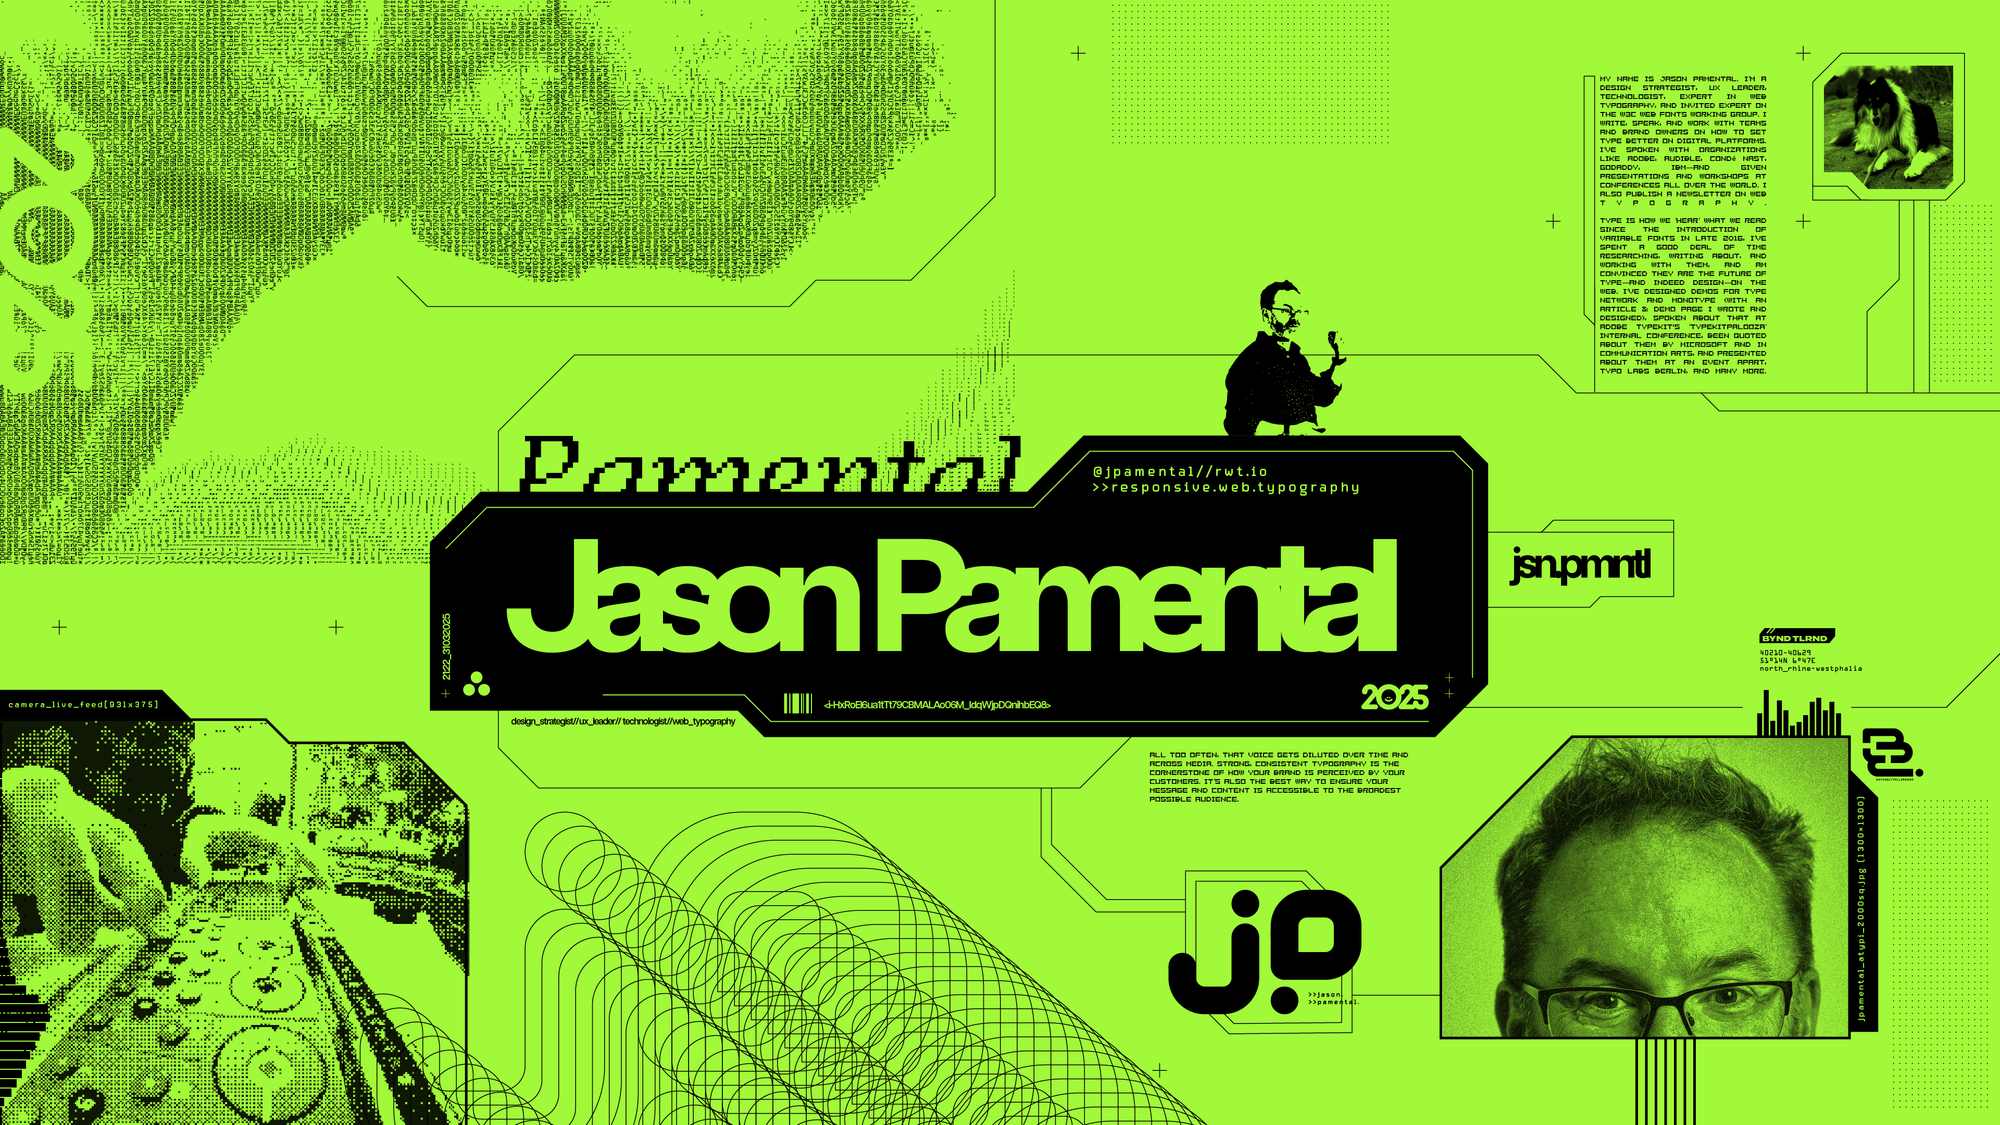
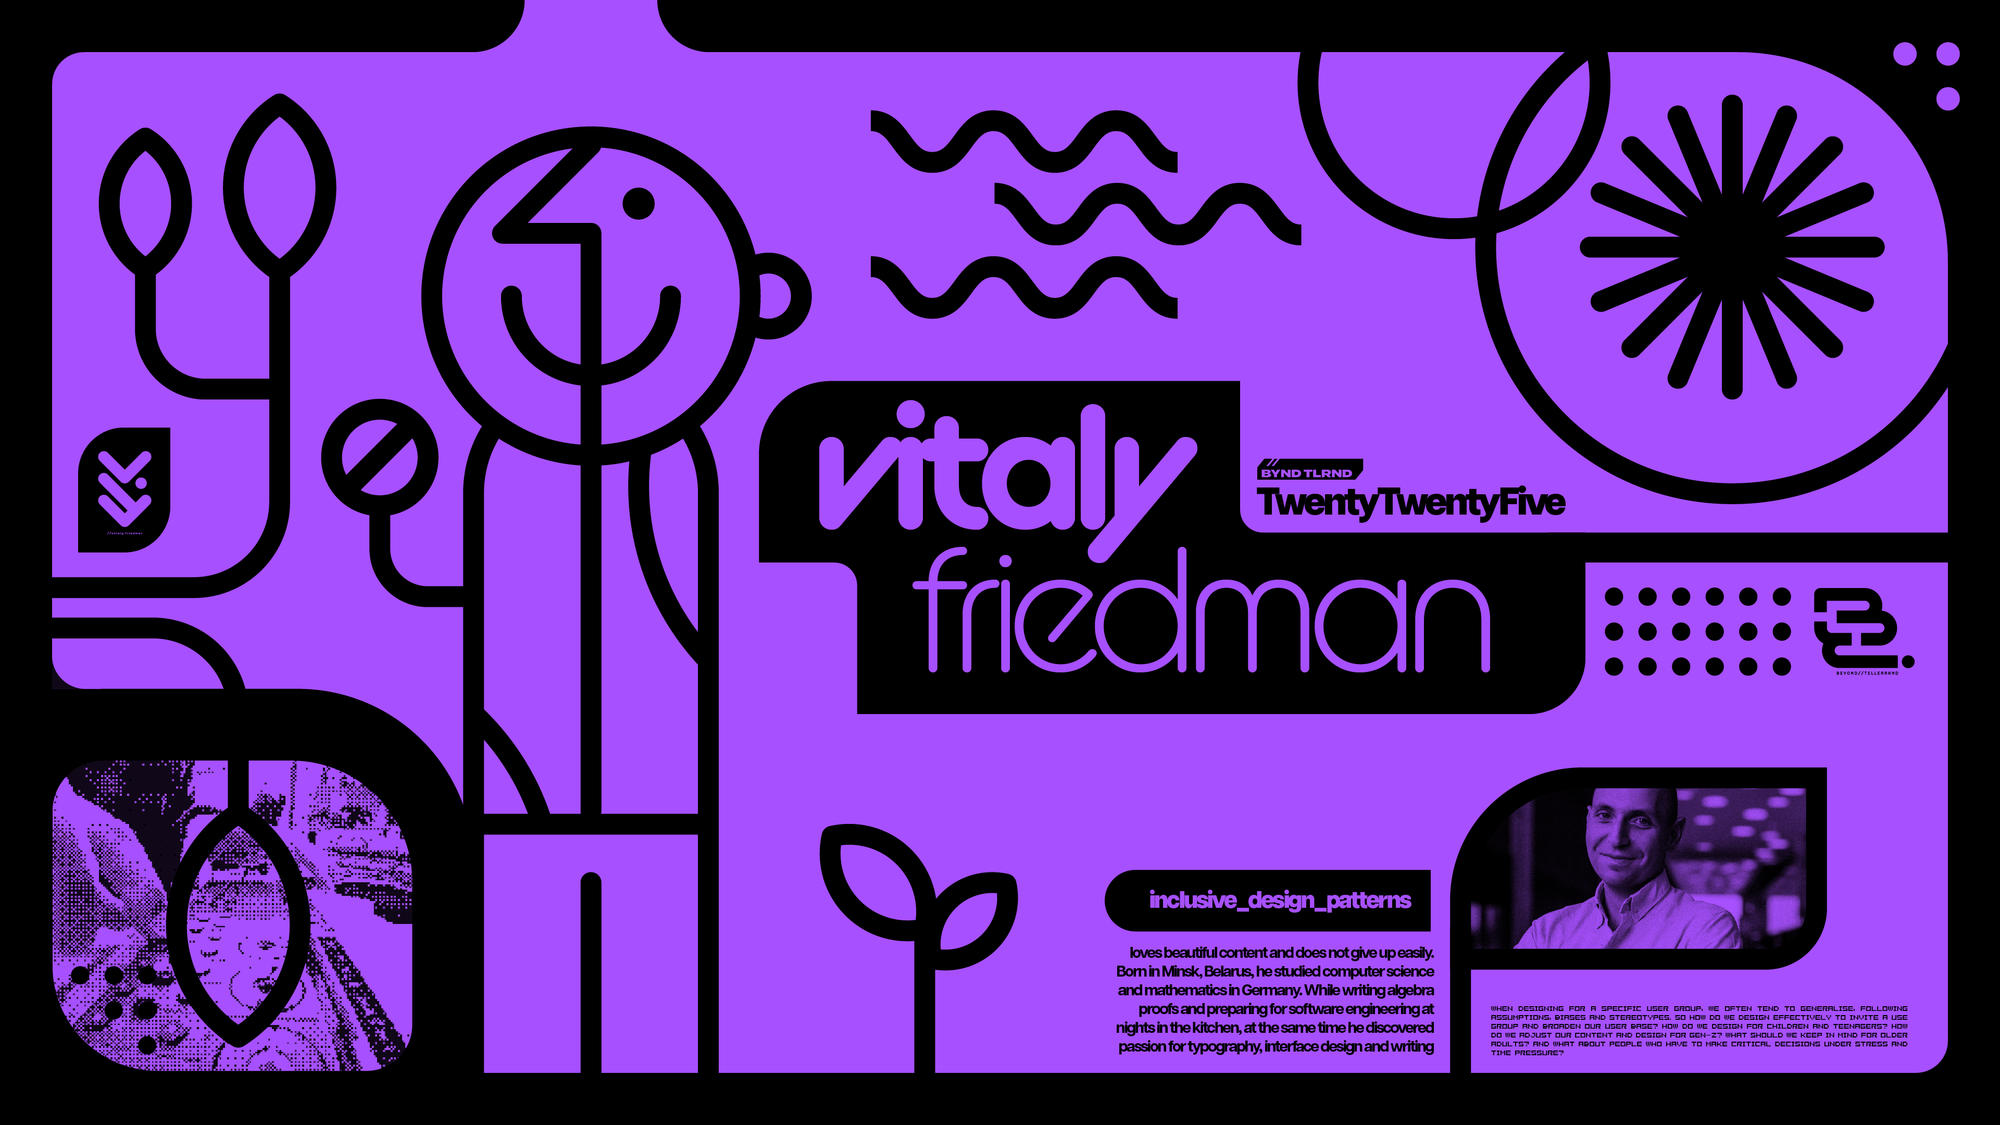
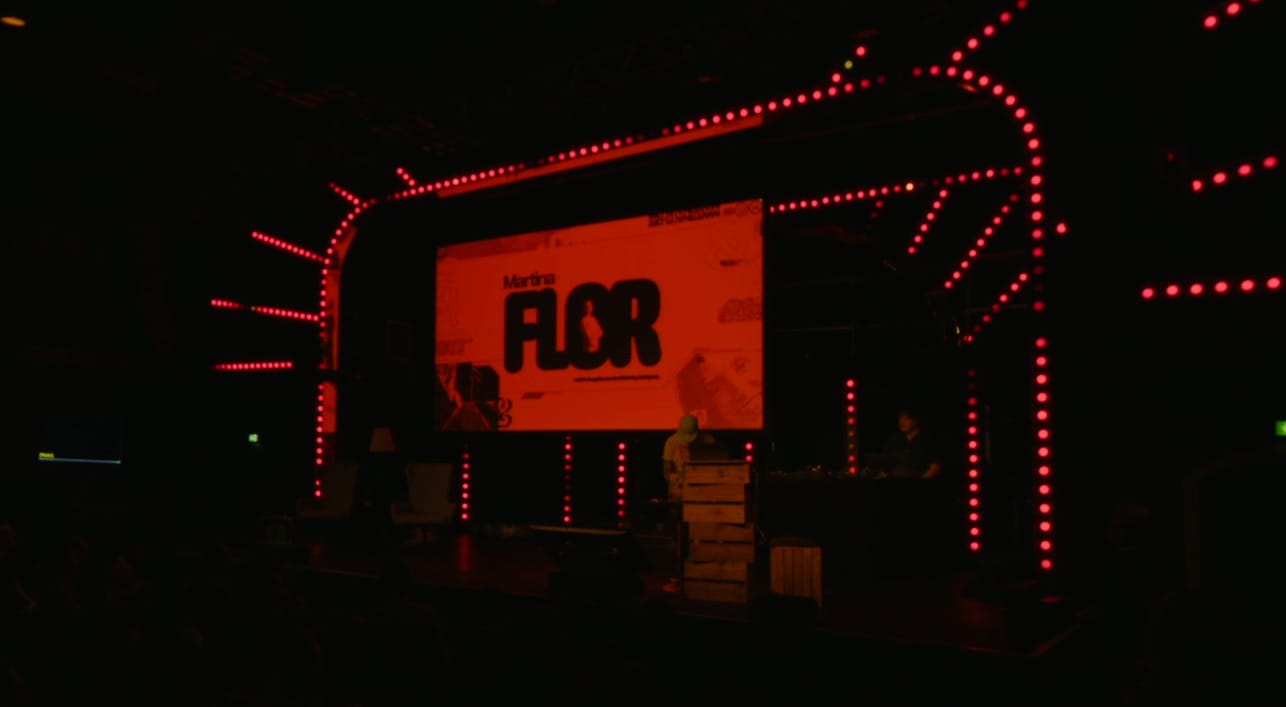
Here we have the whole collection of all twelve speakers. I really enjoyed trying to make everyones design unique, but still a part of the same family. I often reused elements from the main design, like some 'BYND TLRND' graphics and the data/location metadata 'bumf', scaled down real small for that eyeball-OTT look. Vitaly's, for example, is my love letter to the thick vector curve art of Don Pendleton, who was the main designer behind Alien Workshop & Habitat skateboards in the 2000's, and is a huge inspiration to me. Others, like Jason's, are my nod to that time when every single rectangle has a 45° chunk taken out of it. Good times, good times.

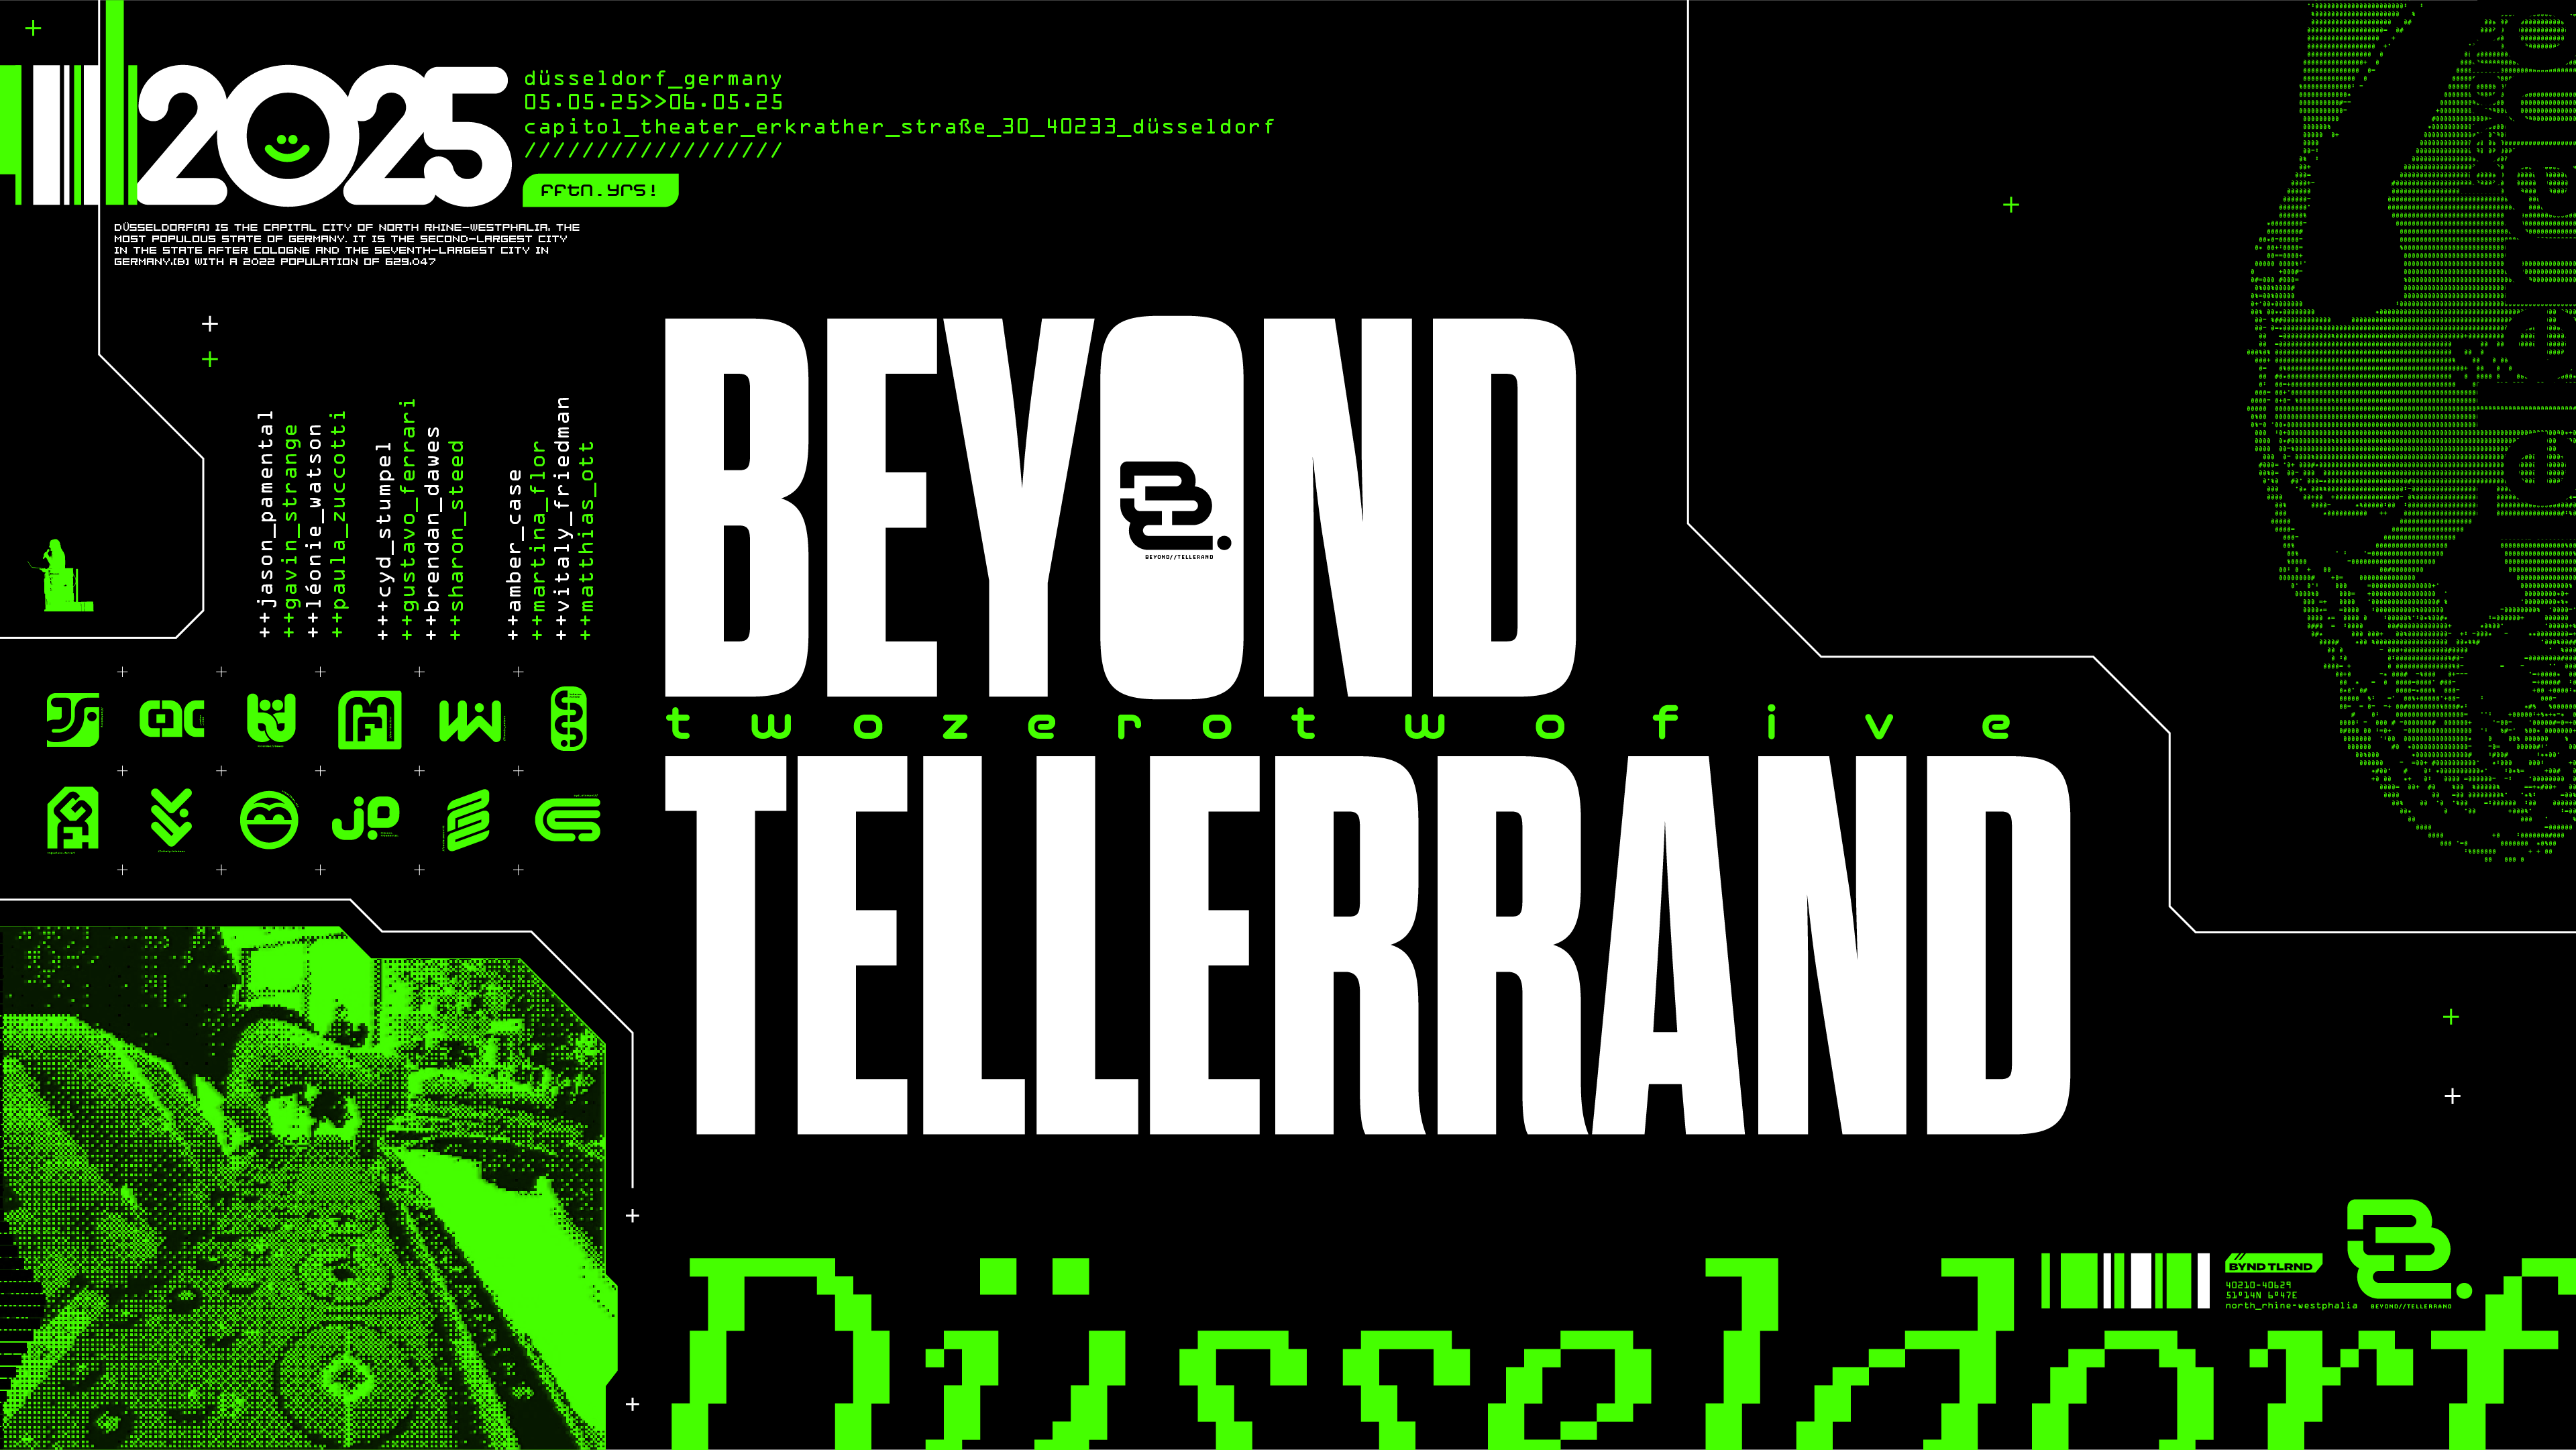
Once all the speaker designs were done, I looped back around to the main 'BT' visual, as I felt I could apply lessons I'd learnt to that master design. This time I introduced a third colour (I know I know, steady on son!) in the form of white (CALM DOWN GAVIN!) which just let it sit a little separate from the other visuals. It was more of an inverse design too, as the background is black with the pops of colour coming in the form of the type and graphics.
There's a couple of easter eggs in here too, that ASCII figure top right is a photo of Marc taken a few years back, and that little green vector icon on the left-hand side above the icons is a silhouette of Marc on his laptop at an old event. Beyond Tellerrand is Marc, so I wanted it to feel like his.
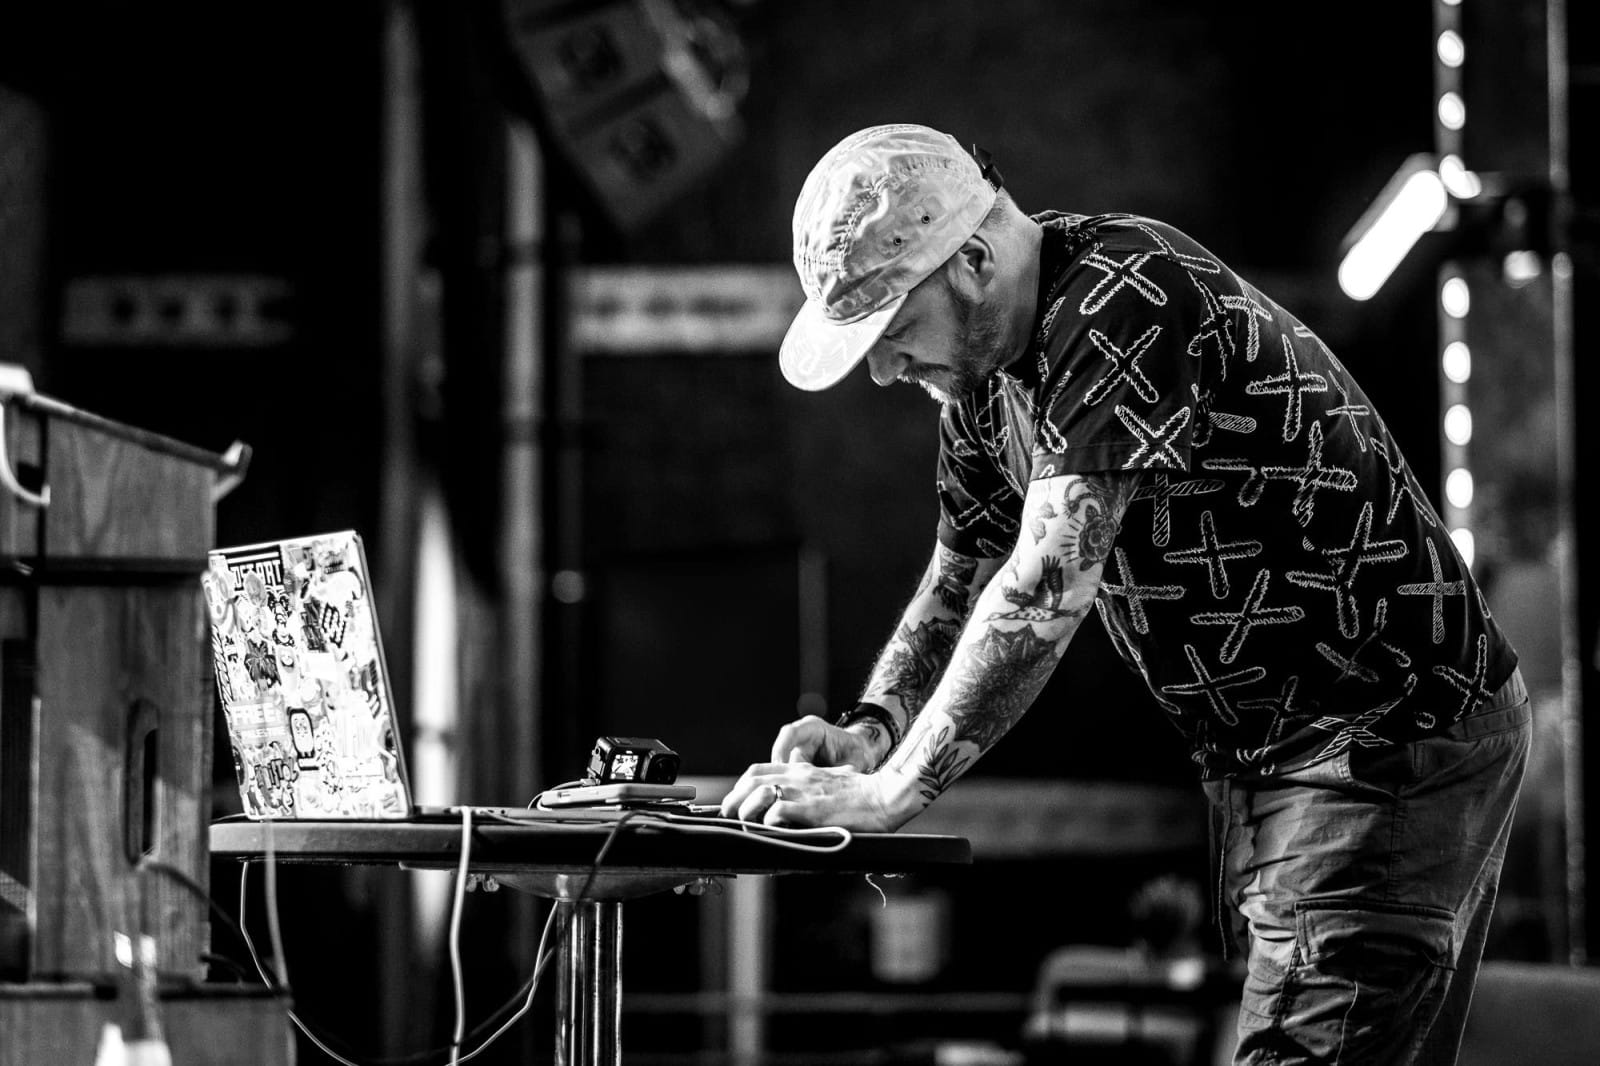
With all the design done, it was then time to, y'know, make it move! So the whole title sequence is powered by this thing below, the Teenage Engineering OP-Z. It's a powerful sequencer and sampler that also lets you control lights via DMX and visuals via MIDI. I wanted to make a piece of music for each speaker and whilst that beat is playing, it displays their slide on-screen, with the different elements of the music controlling different parts of the design.
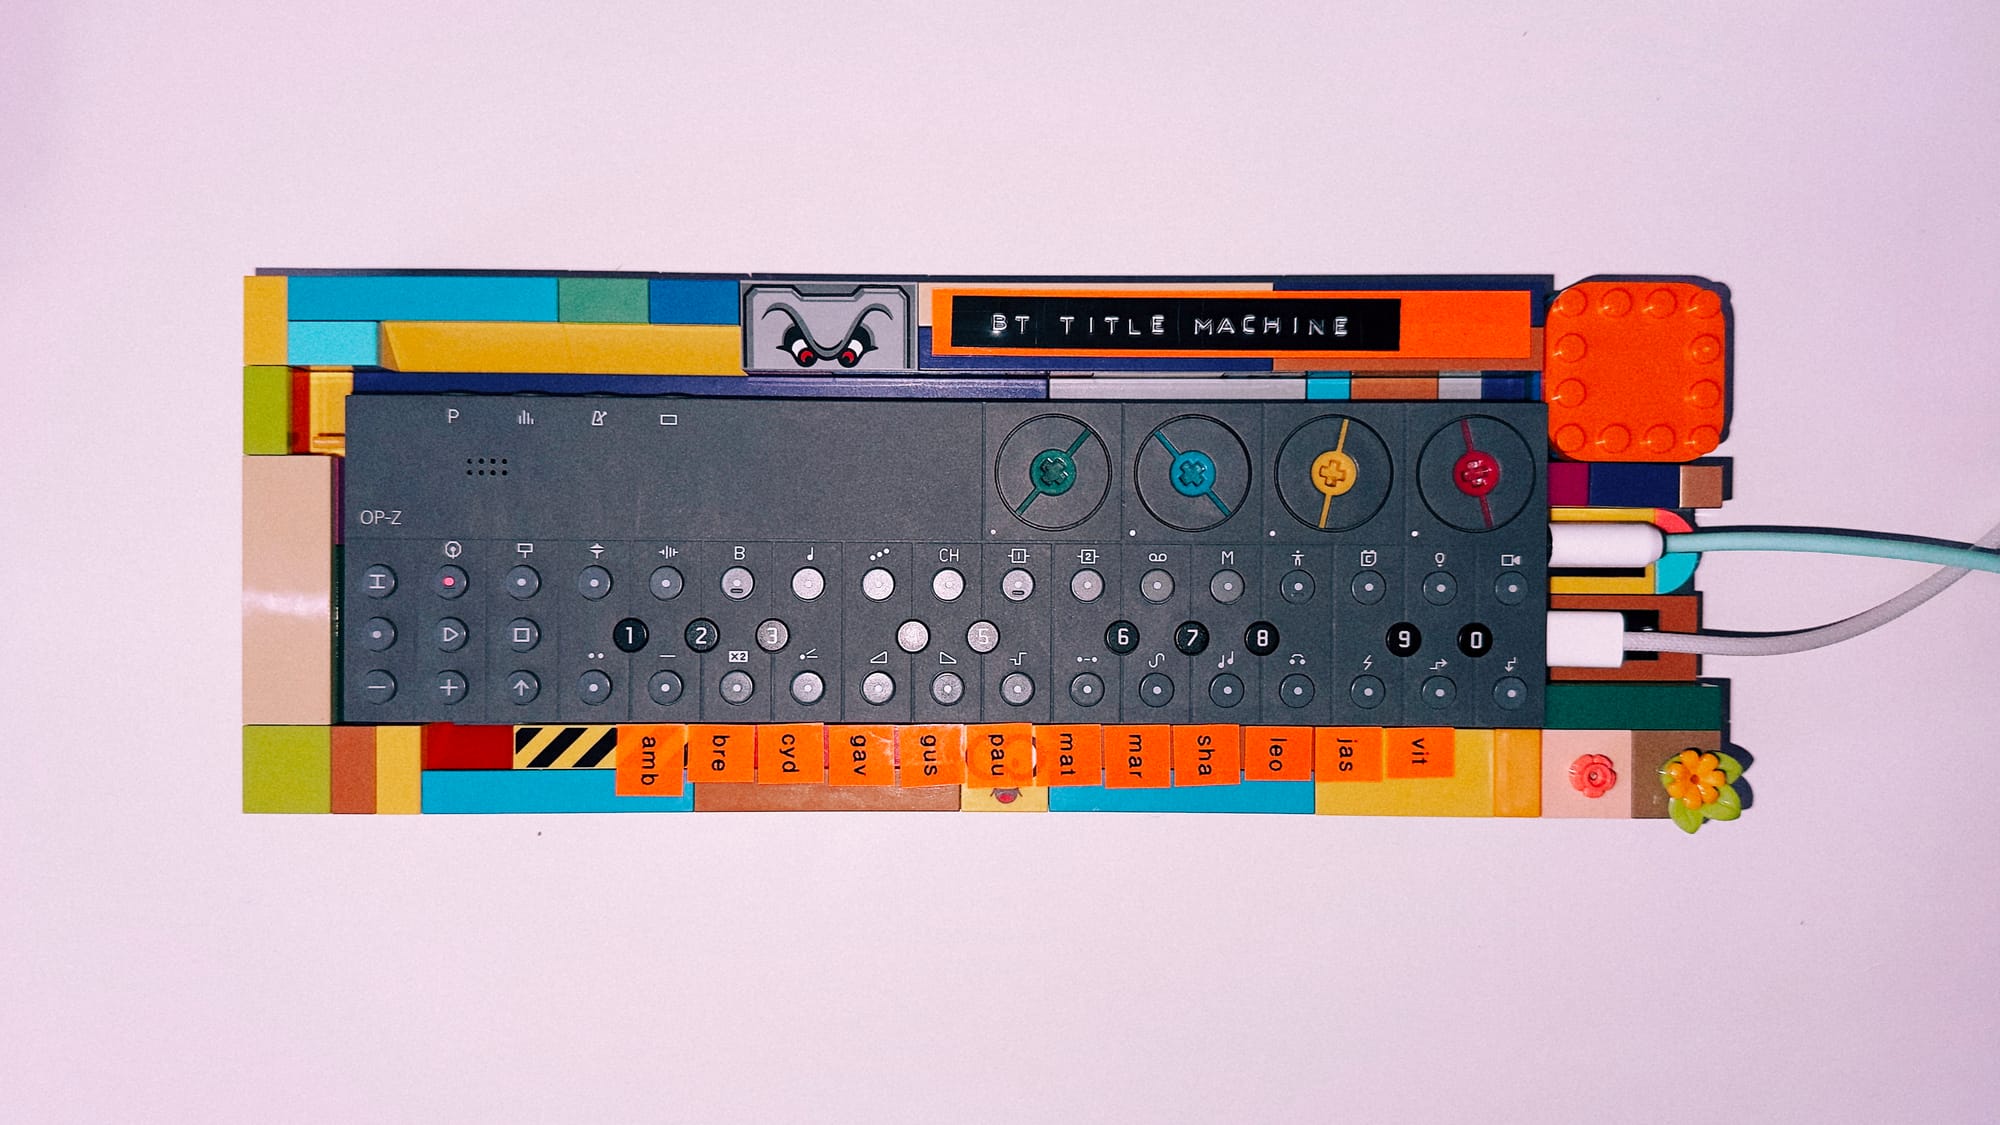
First things first though, it needs to look the part, so I raided my son's Lego boxes to get started. See, I am crap at making anything by hand. Wood? Useless. Metal? Hopeless. Lego? Now you're talking. A few years ago, inspired by my friend Rob, I made 'Pinplo'; a Duplo-framed Switch-powered virtual pinball machine. I've been a longtime fan of the mighty Brosmind and how they create their own custom controllers for their talks. Inspired by that DIY approach I wanted to give the OP-Z it's own Lego housing - not only to let me attach labels so I could keep track of which button triggers which speaker, but also so I could secure something else to the rig...
A GoPro! If I was playing the titles live then I really want the audience to know it's happening right there, right then. In my own talks I've started incorporating a GoPro into my silly musical intermissions, and it always helps show it's 'real'. I wanted to make sure with these titles people could see it was really happening in front of them, so using a bit of Sugru, I secured a GoPro mount onto the top-right of the OP-Z-Lego 'rig'.
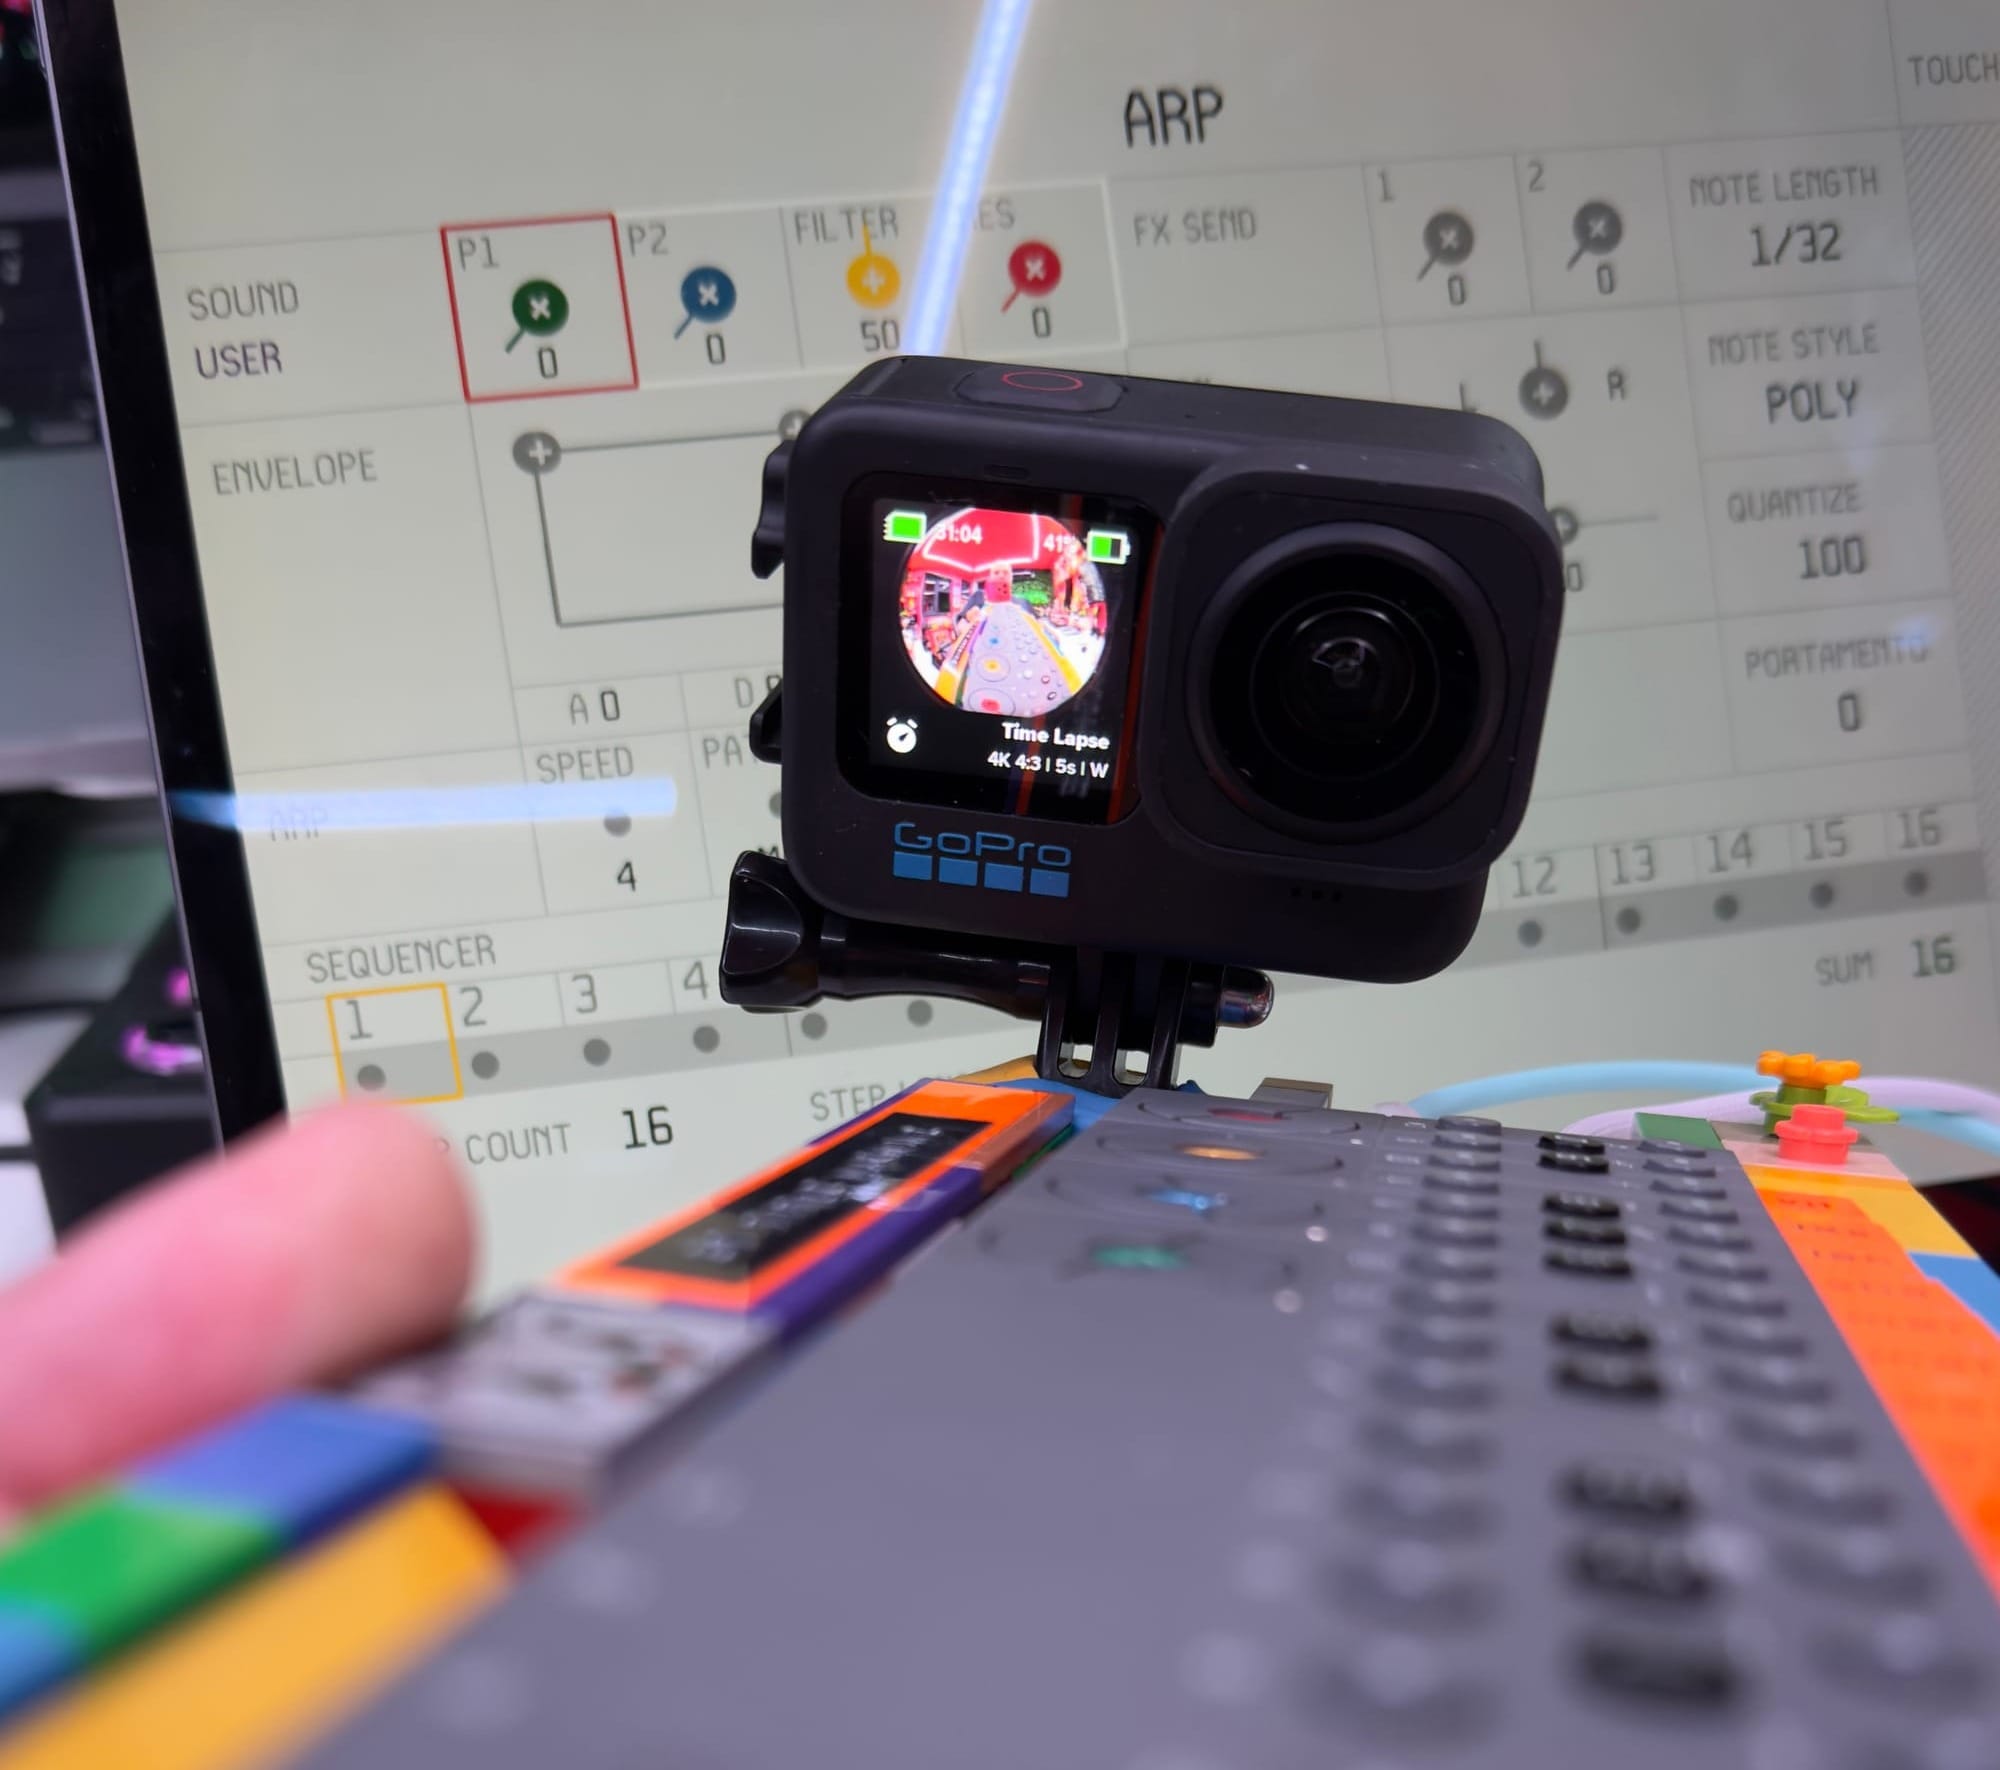
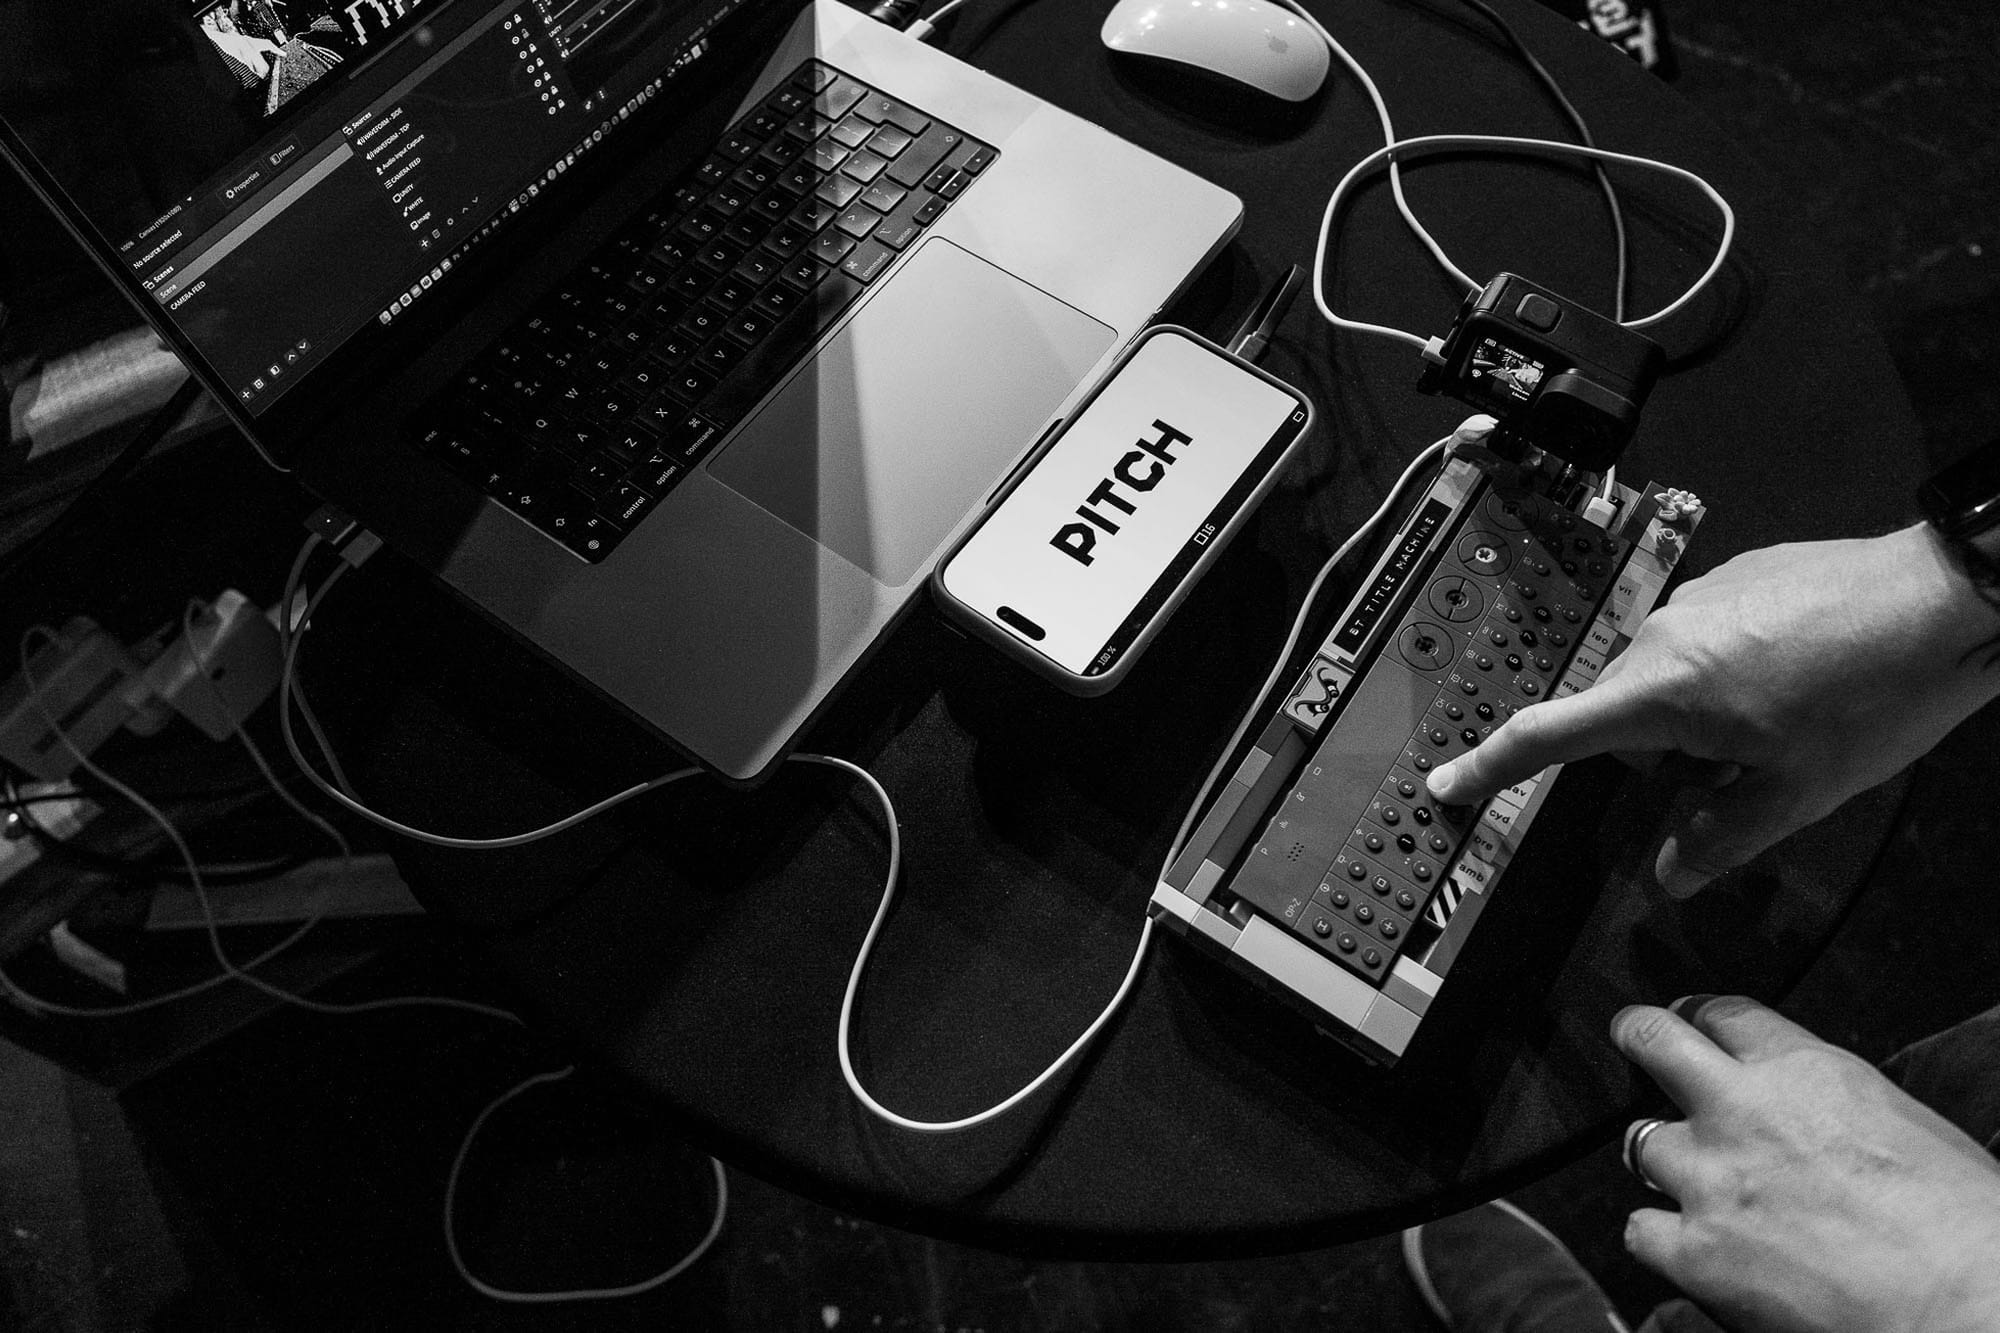
The plan was to use streaming software OBS as the main 'hub', capturing the realtime window of Unity via 'window capture', and then adding the GoPro as a camera source over the top of it. I had carved out a specific space on each design to 'hold' the camera feed, so it would always appear in the same place as the different designs appeared.
Testing the GoPro + OBS works in my studio
Another benefit of using OBS was being able to use realtime shaders on, well, anything! To bed the camera feed into the designs, I used a Gameboy Camera-style pixel shader which added a lovely bit of pixellation and dither, combined with a glitch effect which just kept things feeling 'alive'.
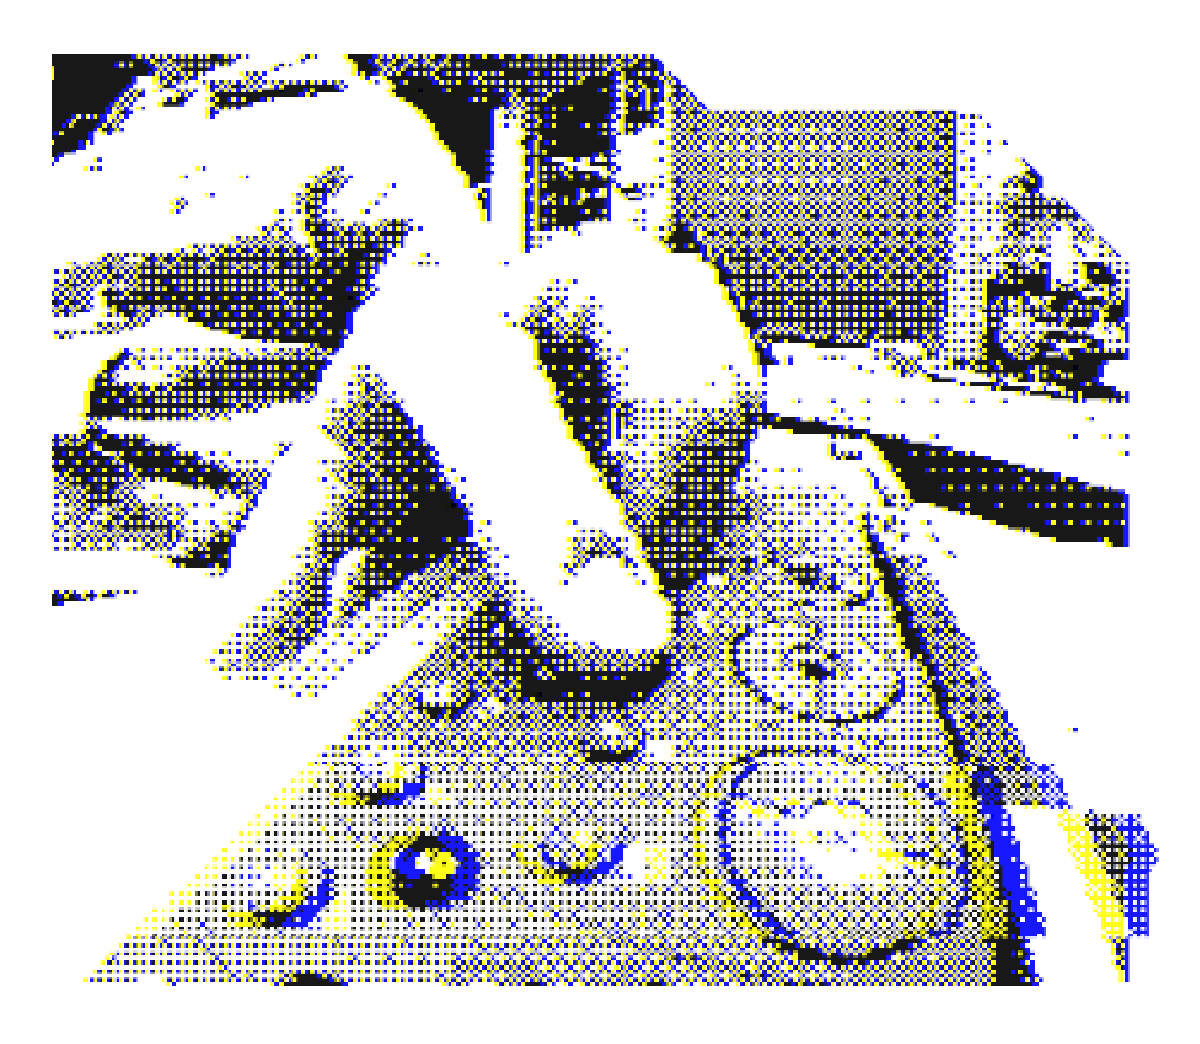
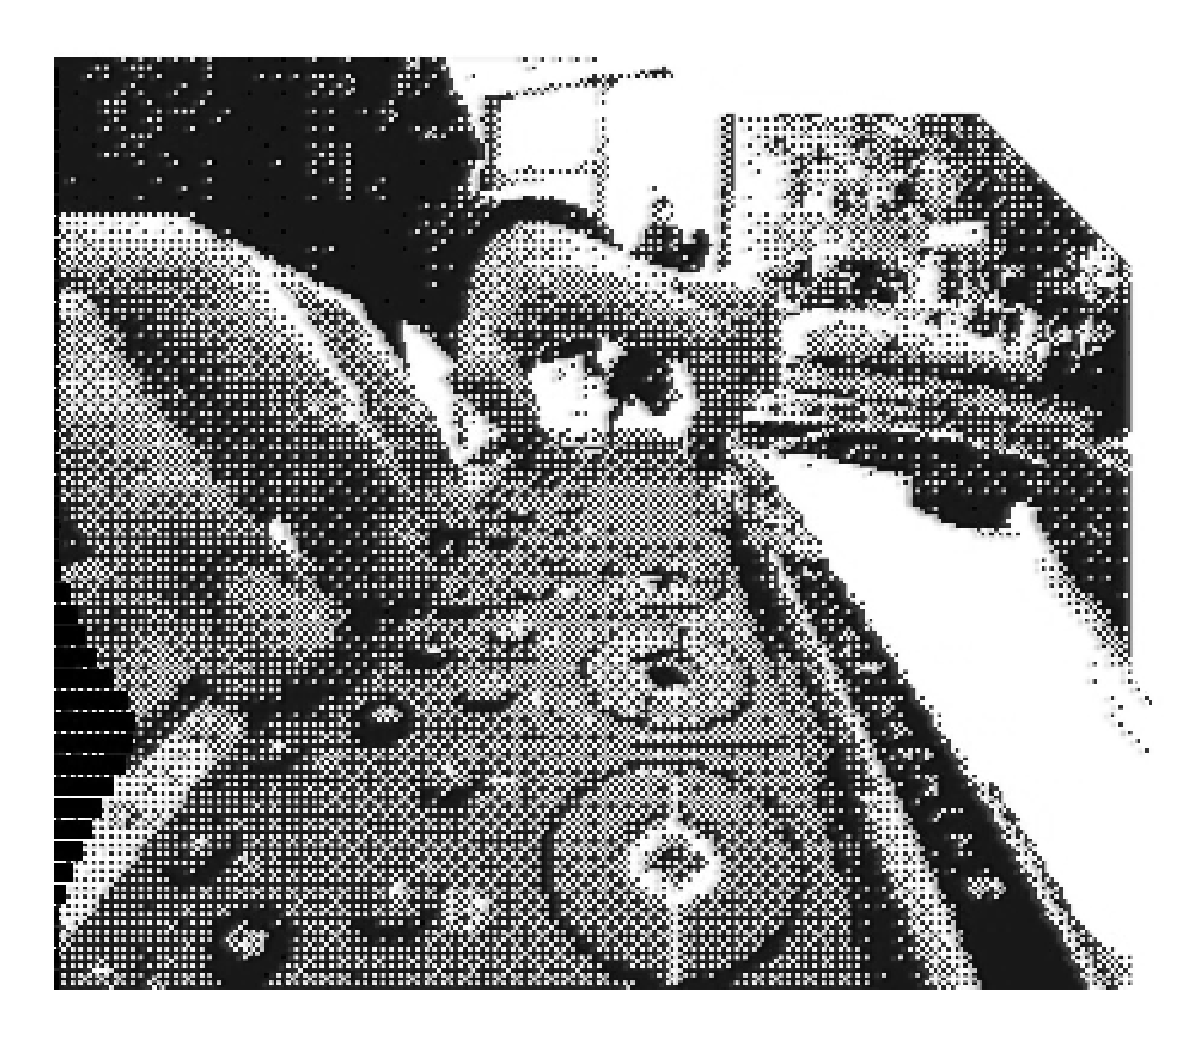
Freeze frames from the camera feed inside OBS, using a couple of realtime shaders
With the tech all set-up and working, it was then on with actually populating it with real content! Up until then, I was working with test graphics and early prototypes. Once I was confident everything worked, it was then time to take all 13 designs (12 speakers and 1 main conference graphic) and connect them up so the OP-Z could control them. It was a matter of taking each design, splitting it up into different layers, and exporting them out as transparent PNGs which I would then import into Unity. I wanted to make the elements that were gonna move as obvious as possible, so tie certain graphics to the kick, snare and hi-hat - sounds that were going to stand out.
Splitting up layers in Illustrator and importing into Unity
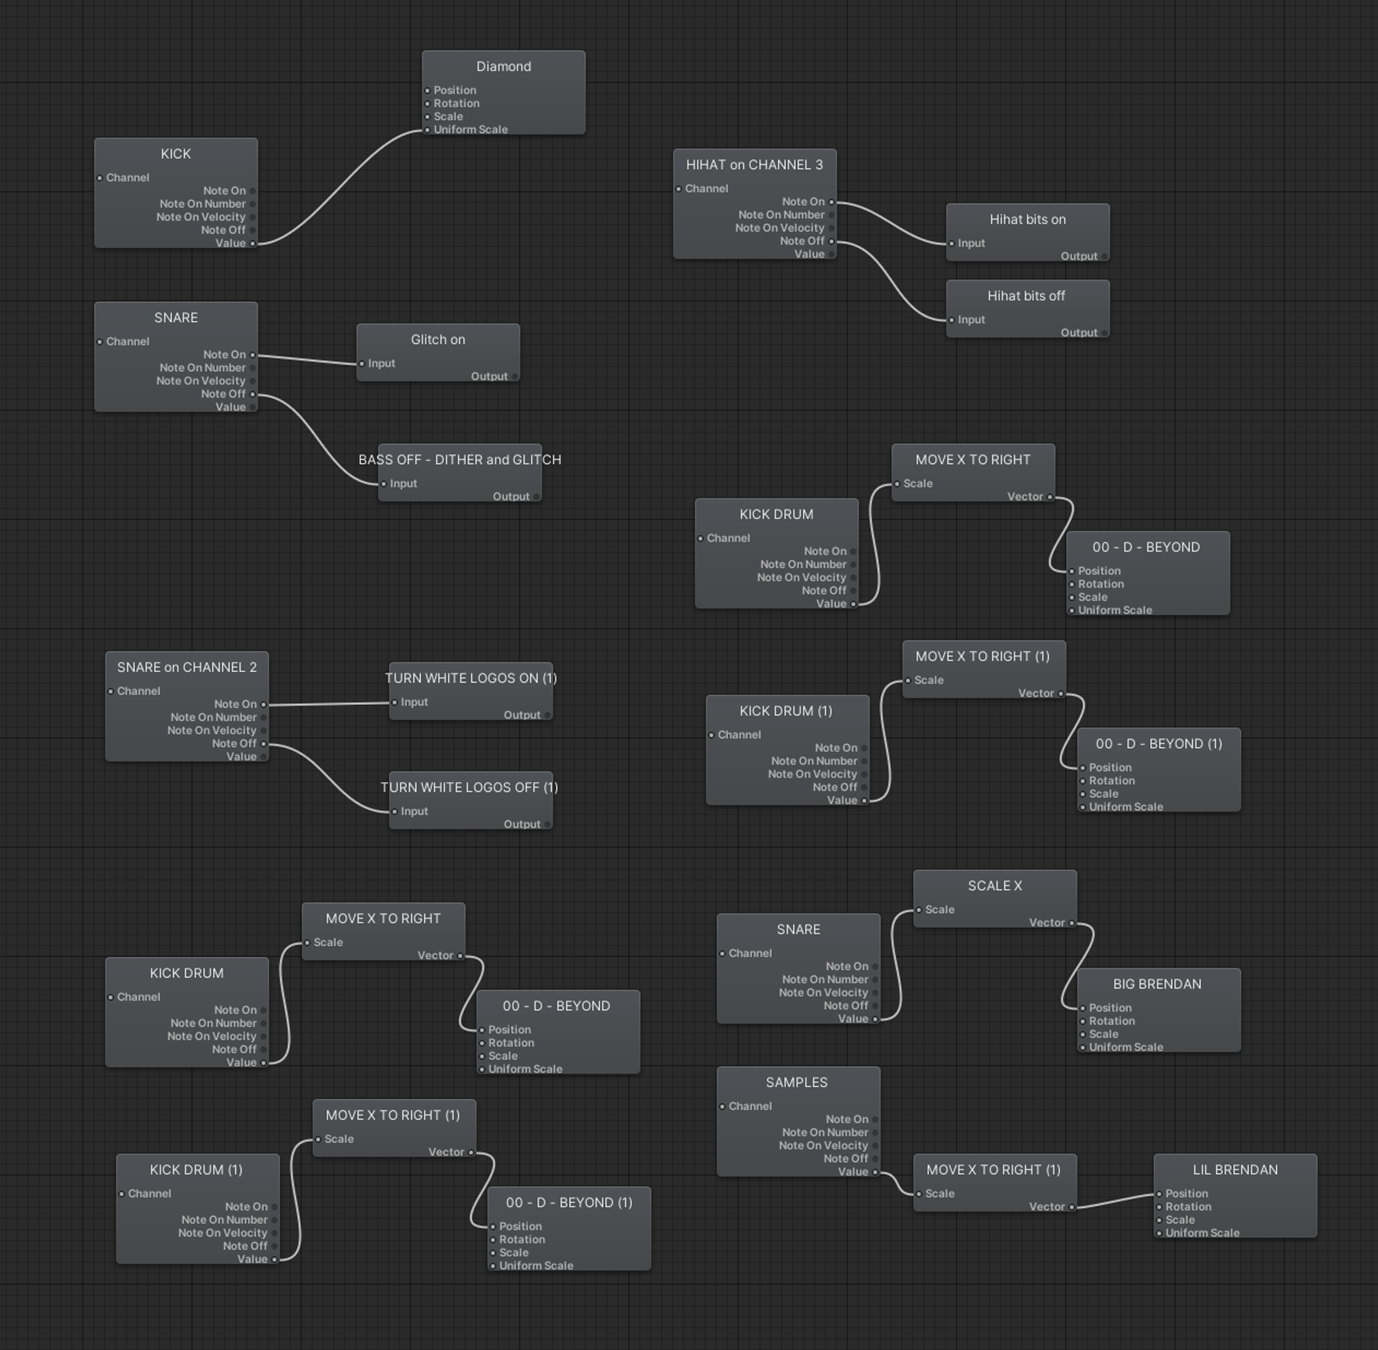
Once I had all the elements split up and imported, it was then into Unity's 'klak nodes' editor to connect the graphical element (a PNG) and connect it to an input from the OP-Z (a kick drum) and then tell it to do something with that signal (scale uniformly 150%).

Below is the node tree from Brendan Dawes patches; some stuff scales in size, other stuff jumps in position, other things turn on and off. I know it's not groundbreaking or ultra dynamic, but with this being my first proper foray into realtime reactive things on-stage, I didn't want to get to ahead of myself. Hopefully by choosing strong musical elements like a kick or snare, and connecting it to a movement of a large element on-screen, it still feels dynamic. (This has absolutely given me the buzz though, and learning TouchDesigner is now high up on my to-do list!)
Whilst hooking up the visuals, I was using an existing musical track of mine for testing, but now it was time to create a new musical beat for each speaker plus an overall theme for the conference. The OP-Z's power is in being able to chain together different 'patterns', so within a single 'Project' I could give each speaker their own pattern, each with it's own length of sequence, own synth engines and its own FX. It all shared the same master tempo though, so I could hop between each speakers track with ease whilst always being in time.
It was super fun just sitting in my den each night, coming up with a new beat. Having to make thirteen unique tracks, it meant I would experiment with all sorts of rhythms and sounds - I would be really relaxed and if I started noodling something and it sounded good, I went for it. My musical knowledge is sparse, and apart from being an amateur drummer for years, everything is by feel. I've tried and tried to understand musical theory, but it's just never clicked for me. At one point it was really holding me back, stopping me from even noodling because I didn't understand what I was doing. This project was the perfect antidote for me, because of the time pressures, I needed to just get cracking - so if it sounded interesting, I went with it!
Making beats for all the speakers on the OP-Z, connecting to the OP-Z App on iPad to give me a helping hand with a nice big screen
The speakers names were just as important as their design, and as a big fan of sample-heavy music production, I enlisted my friends and family to lend me their voices so I could sample them for the songs! I got my friends with different accents to announce the names of the speakers, then I ran everything through Ableton to give them different FX for a bit of variety. I try to sample my kids as often as I can for any music I make, and they didn't dissapoint here! Have a listen to the solo'd vocal samples below, and keep your ears out for my little ones making an appearance on a few of the names!
Vocal samples of all the speakers names
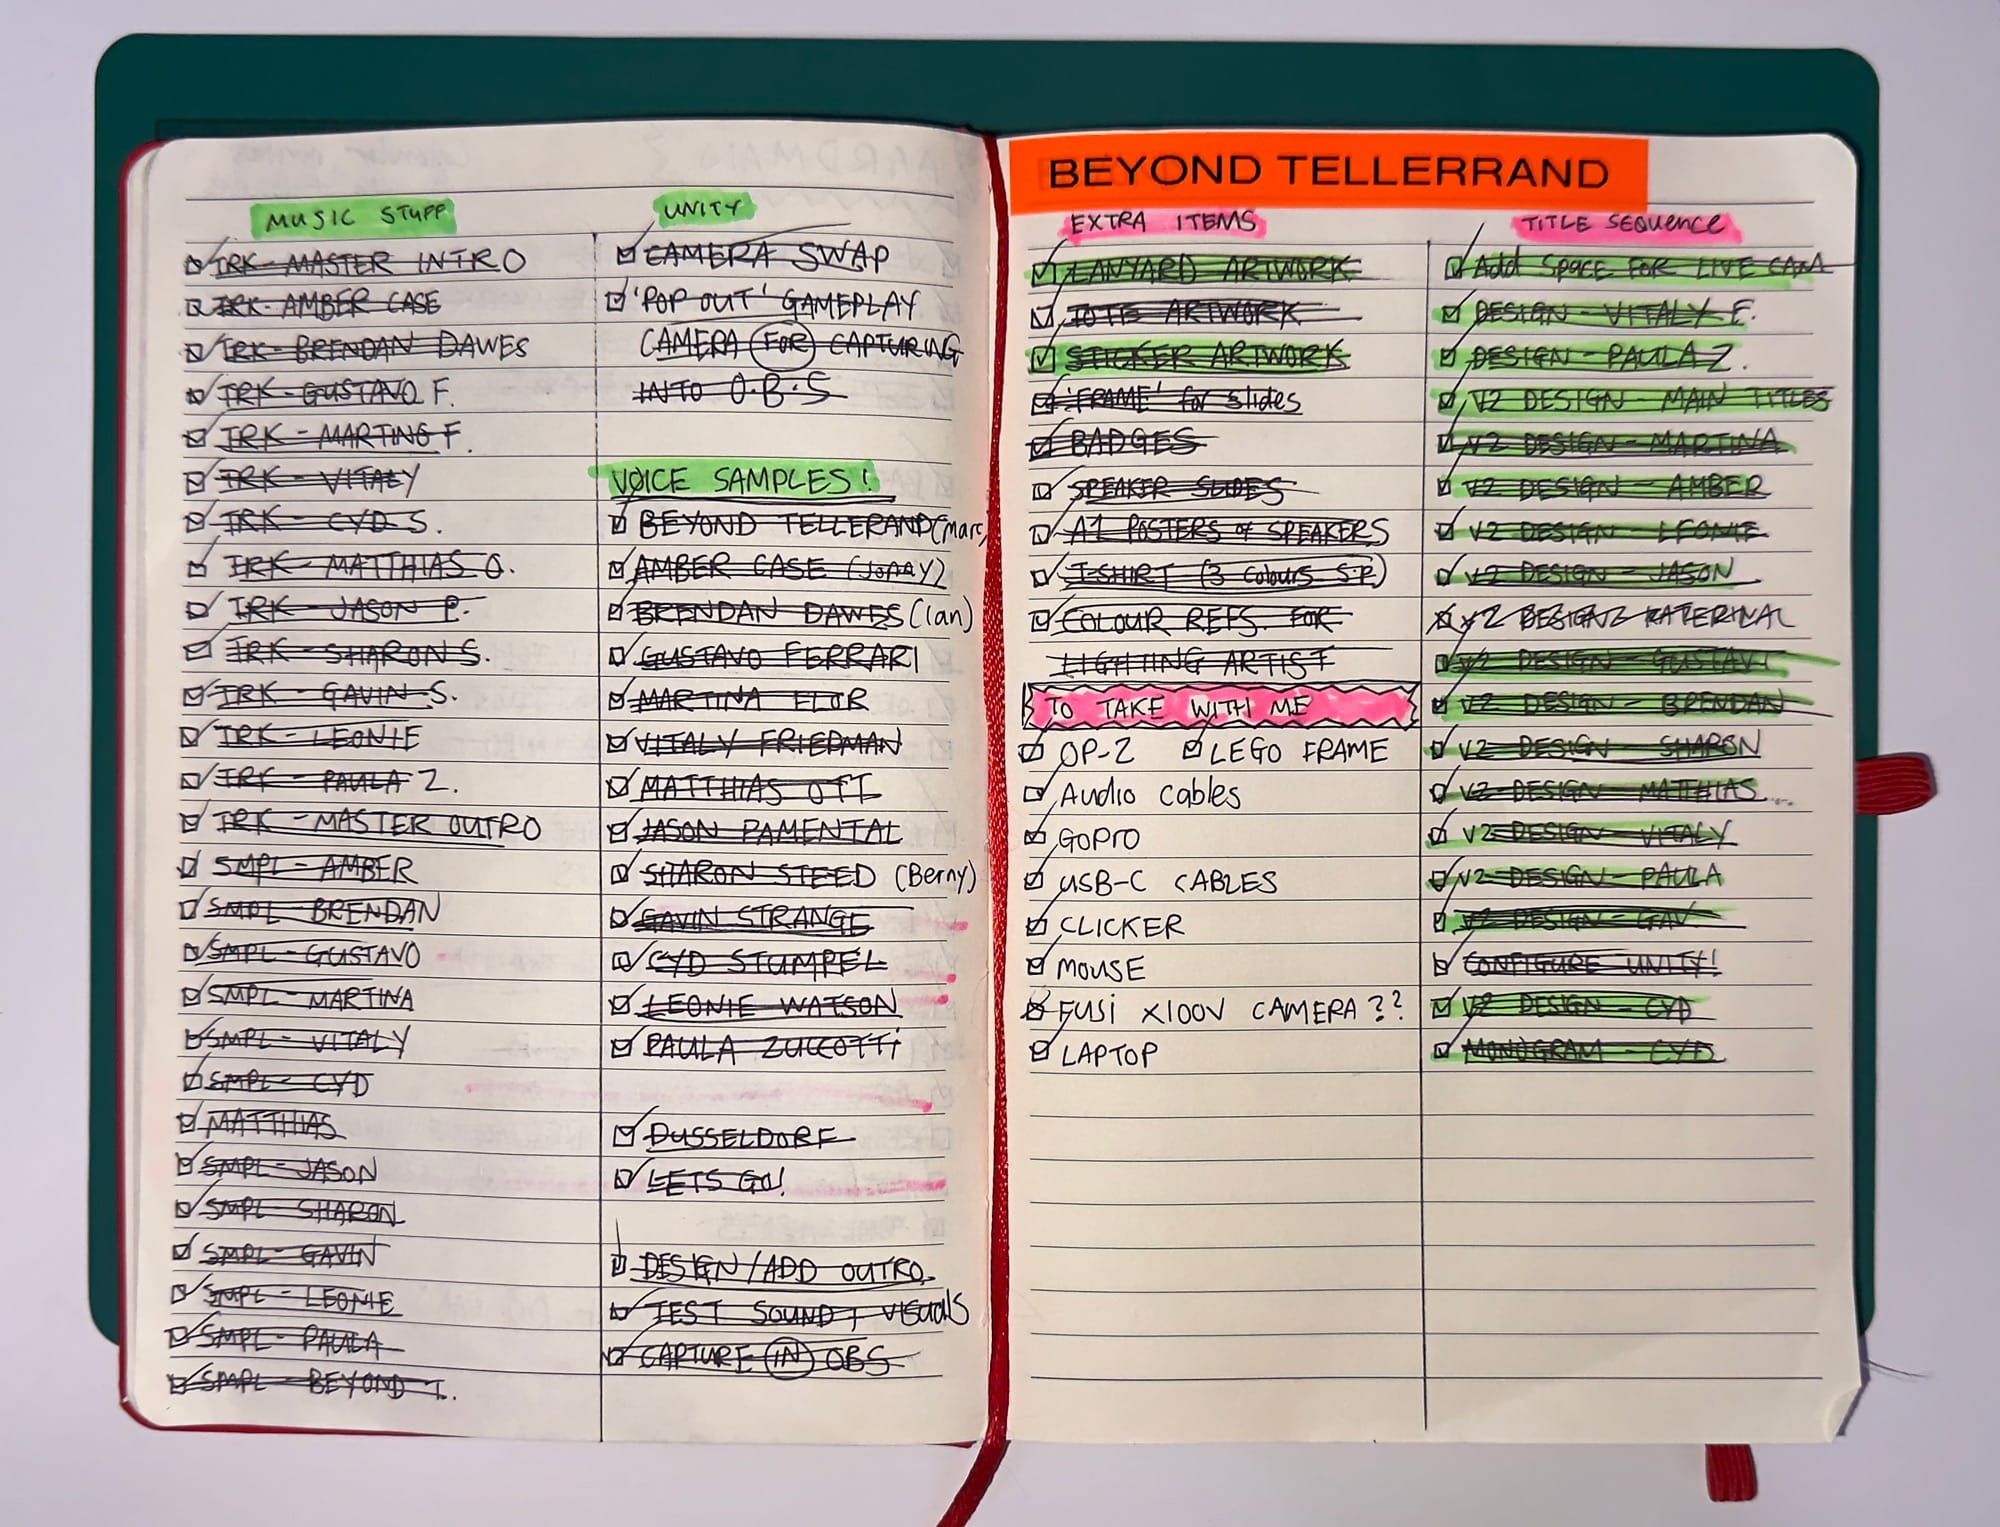
So that was it! With designs, visuals and music complete it was time to cross everything off my list and head to Düsseldorf to bring these titles to life in front of a crowd!
As soon as I landed in the 'dorf it was time to head straight to the venue - the Capitol Theatre - and check that my set-up actually worked when connecting to an event projector. Luckily everything worked first time, so instantly a huge weight was lifted! Marc has a lovely big ol' screen that take sup the majority of the stage and it looked great. Man it was so exciting seeing those graphics finally up there, on that stage!
With the tech working it was time to practice! Practice practice practice. I was going to perform the titles 4 times in total, twice each day. When Marc has a video file as the titles, he normally plays it very first thing and then straight after lunch, both days - I wanted to do the same! The beauty of the OP-Z sending MIDI signals is that if I play the titles differently, then the graphics will respond differently!
The very first play through on the first morning - I was so nervous at first! The buttons on the OP-Z are quite small, which I had never noticed until I was on-stage and felt my fingers drifting all over the place! I kept it simple for that debut performance, I was manually triggering each 'pattern' for every speaker, generally giving each person 4 bars worth of music before moving onto the next. I felt like it was sensible to play it safe, knowing I had more chances to play it again.
An unexpected bonus for the performance was that Dominik, the lighting engineer at the venue, agreed to control the lights surrounding the stage, and change them as I played! There was no easy way for us to sync up, so he just went by feel and changed the lights by sensing when I'd change track. Each playthrough I did the more in sync we got! He got more ambitious too, as he then started to integrate a bit of animation in the lights too!
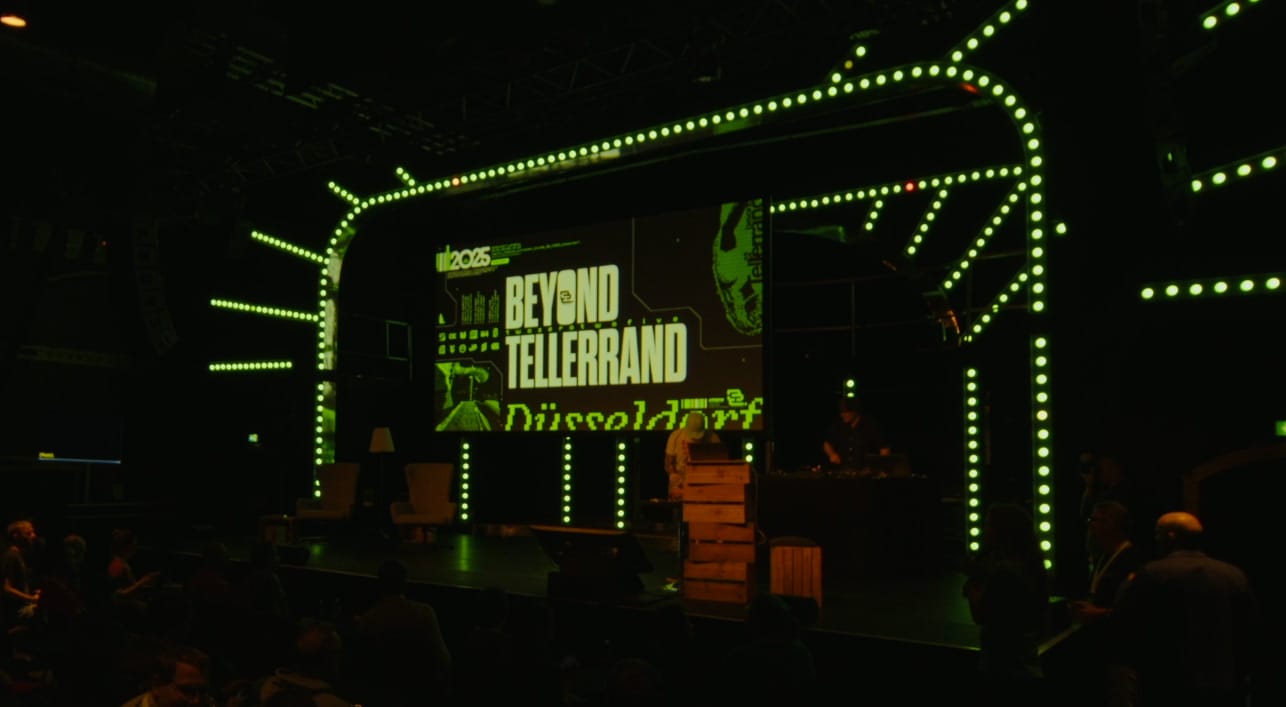
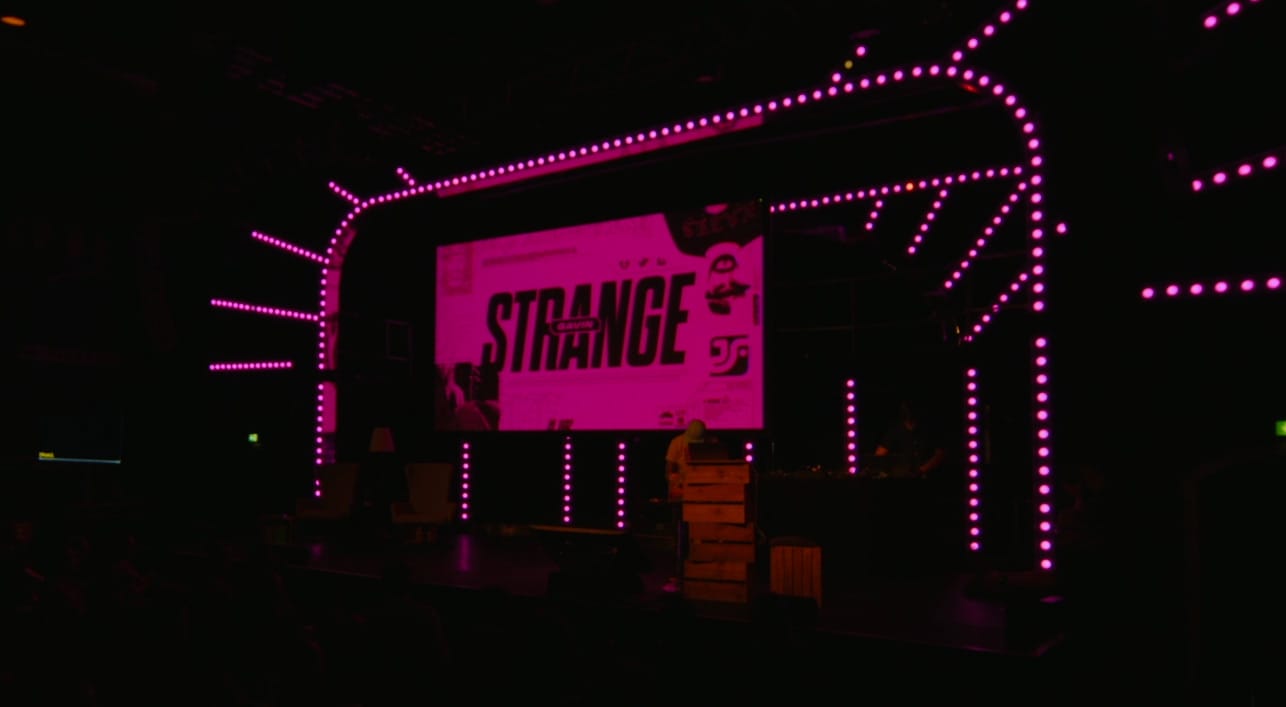
A few of the different lighting stages from Dominik the wonderful lighting tech
Once the nerves had gone (which instantly disappeared once I'd played it the first time!) I was then free to get more ambitious. The next time I played it, I preprogrammed the sequencer to advance through the speakers automatically, freeing up my hands to jump onto the 'performance track' of the OP-Z. That mode specialises in 'punch-in FX', meaning I can press different buttons and trigger things like filter sweeps, pitch wobbles, snare rolls and more. Better yet, you can stack them and apply to the drum parts and melody parts separately. Doing a snare roll punch-in effect meant that my visuals would react accordingly, so I'd get unexpected results, adding to the enjoyment of playing it live!
Here's my favourite recording from the conference, this is the 3rd performance on the morning of the second day. I was fully in 'performance track' mode and loving it. Go fullscreen, whack your volume up and enjoy!
I had such a blast making this, it really was the venn diagram of everything I love. A big thank you to Marc for having the faith in me to pull it off, and a big thank you to the audience for going with it and being so kind in their response, that meant so much!
"I sat in the audience, excited like a little child, waiting for Gavin to start. He got on stage and started playing and it was just fantastic. I heard people whispering ”What is the little animation in the lower left?” and then the got it ”A f**k, that is live!”. I think that was exactly the reaction we wanted to have. People recognising it was live and not pre-recorded."
- Marc Thiele, Beyond Tellerrand founder
I really do want to go further down this rabbithole of visual / audio stuff. I want to integrate it into my talks more, I want to create audio-reactive stuff more, I want to go further. Who knows where it might lead!?
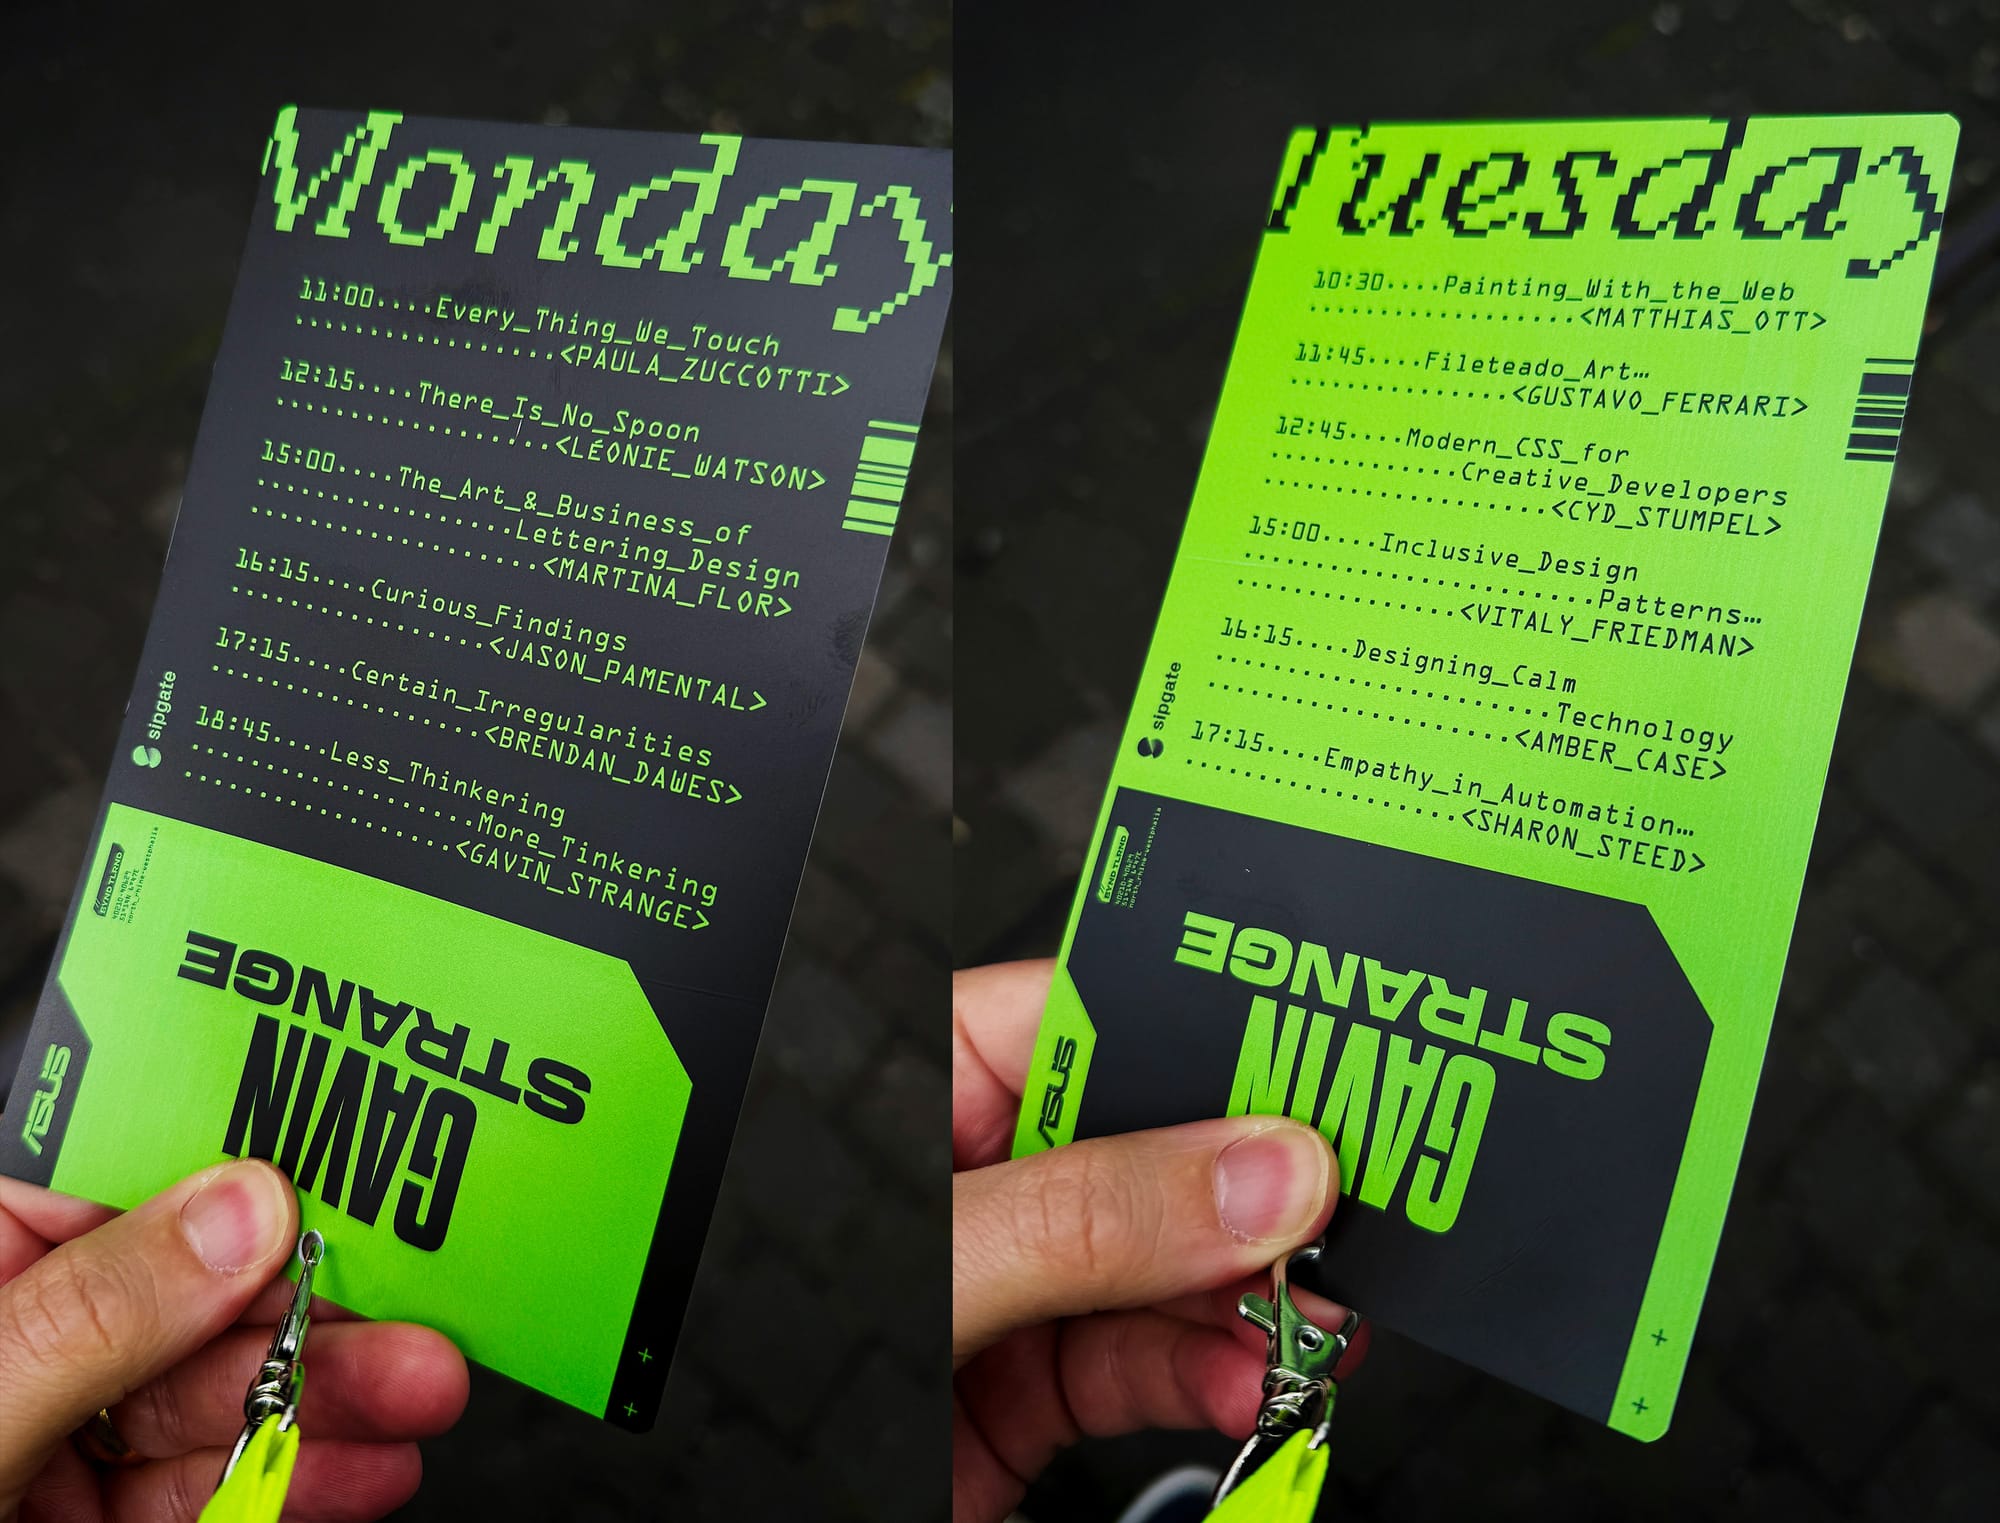
That wasn't the end for me at the festival though, not only did I get to give a talk at the end of the first day, I could do design all the elements for the rest of the festival too, rolling out this OTT design aesthetic to everything the attendees touched! From the attendee badges / schedule lanyards...
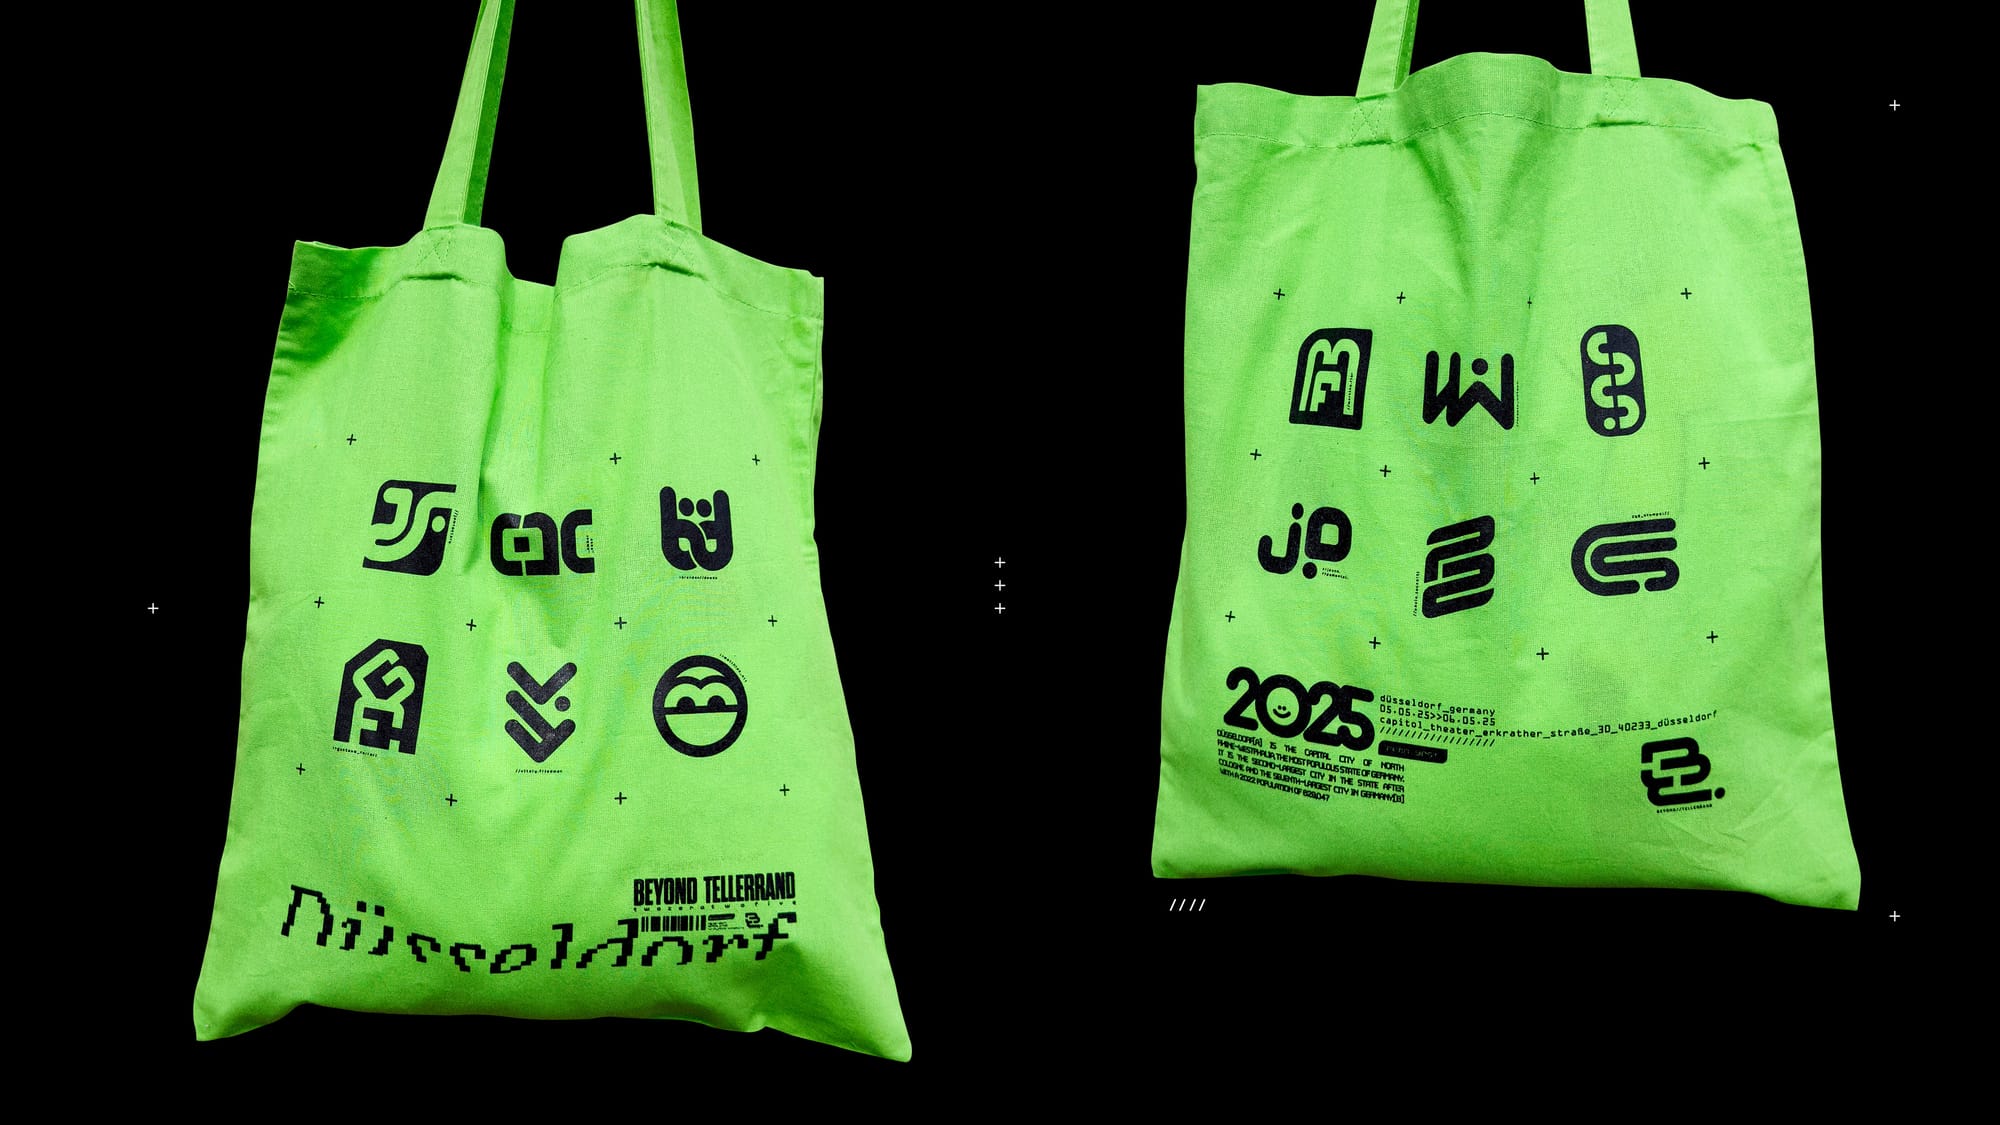
...to taking the speaker monograms and making a neon tote bag!
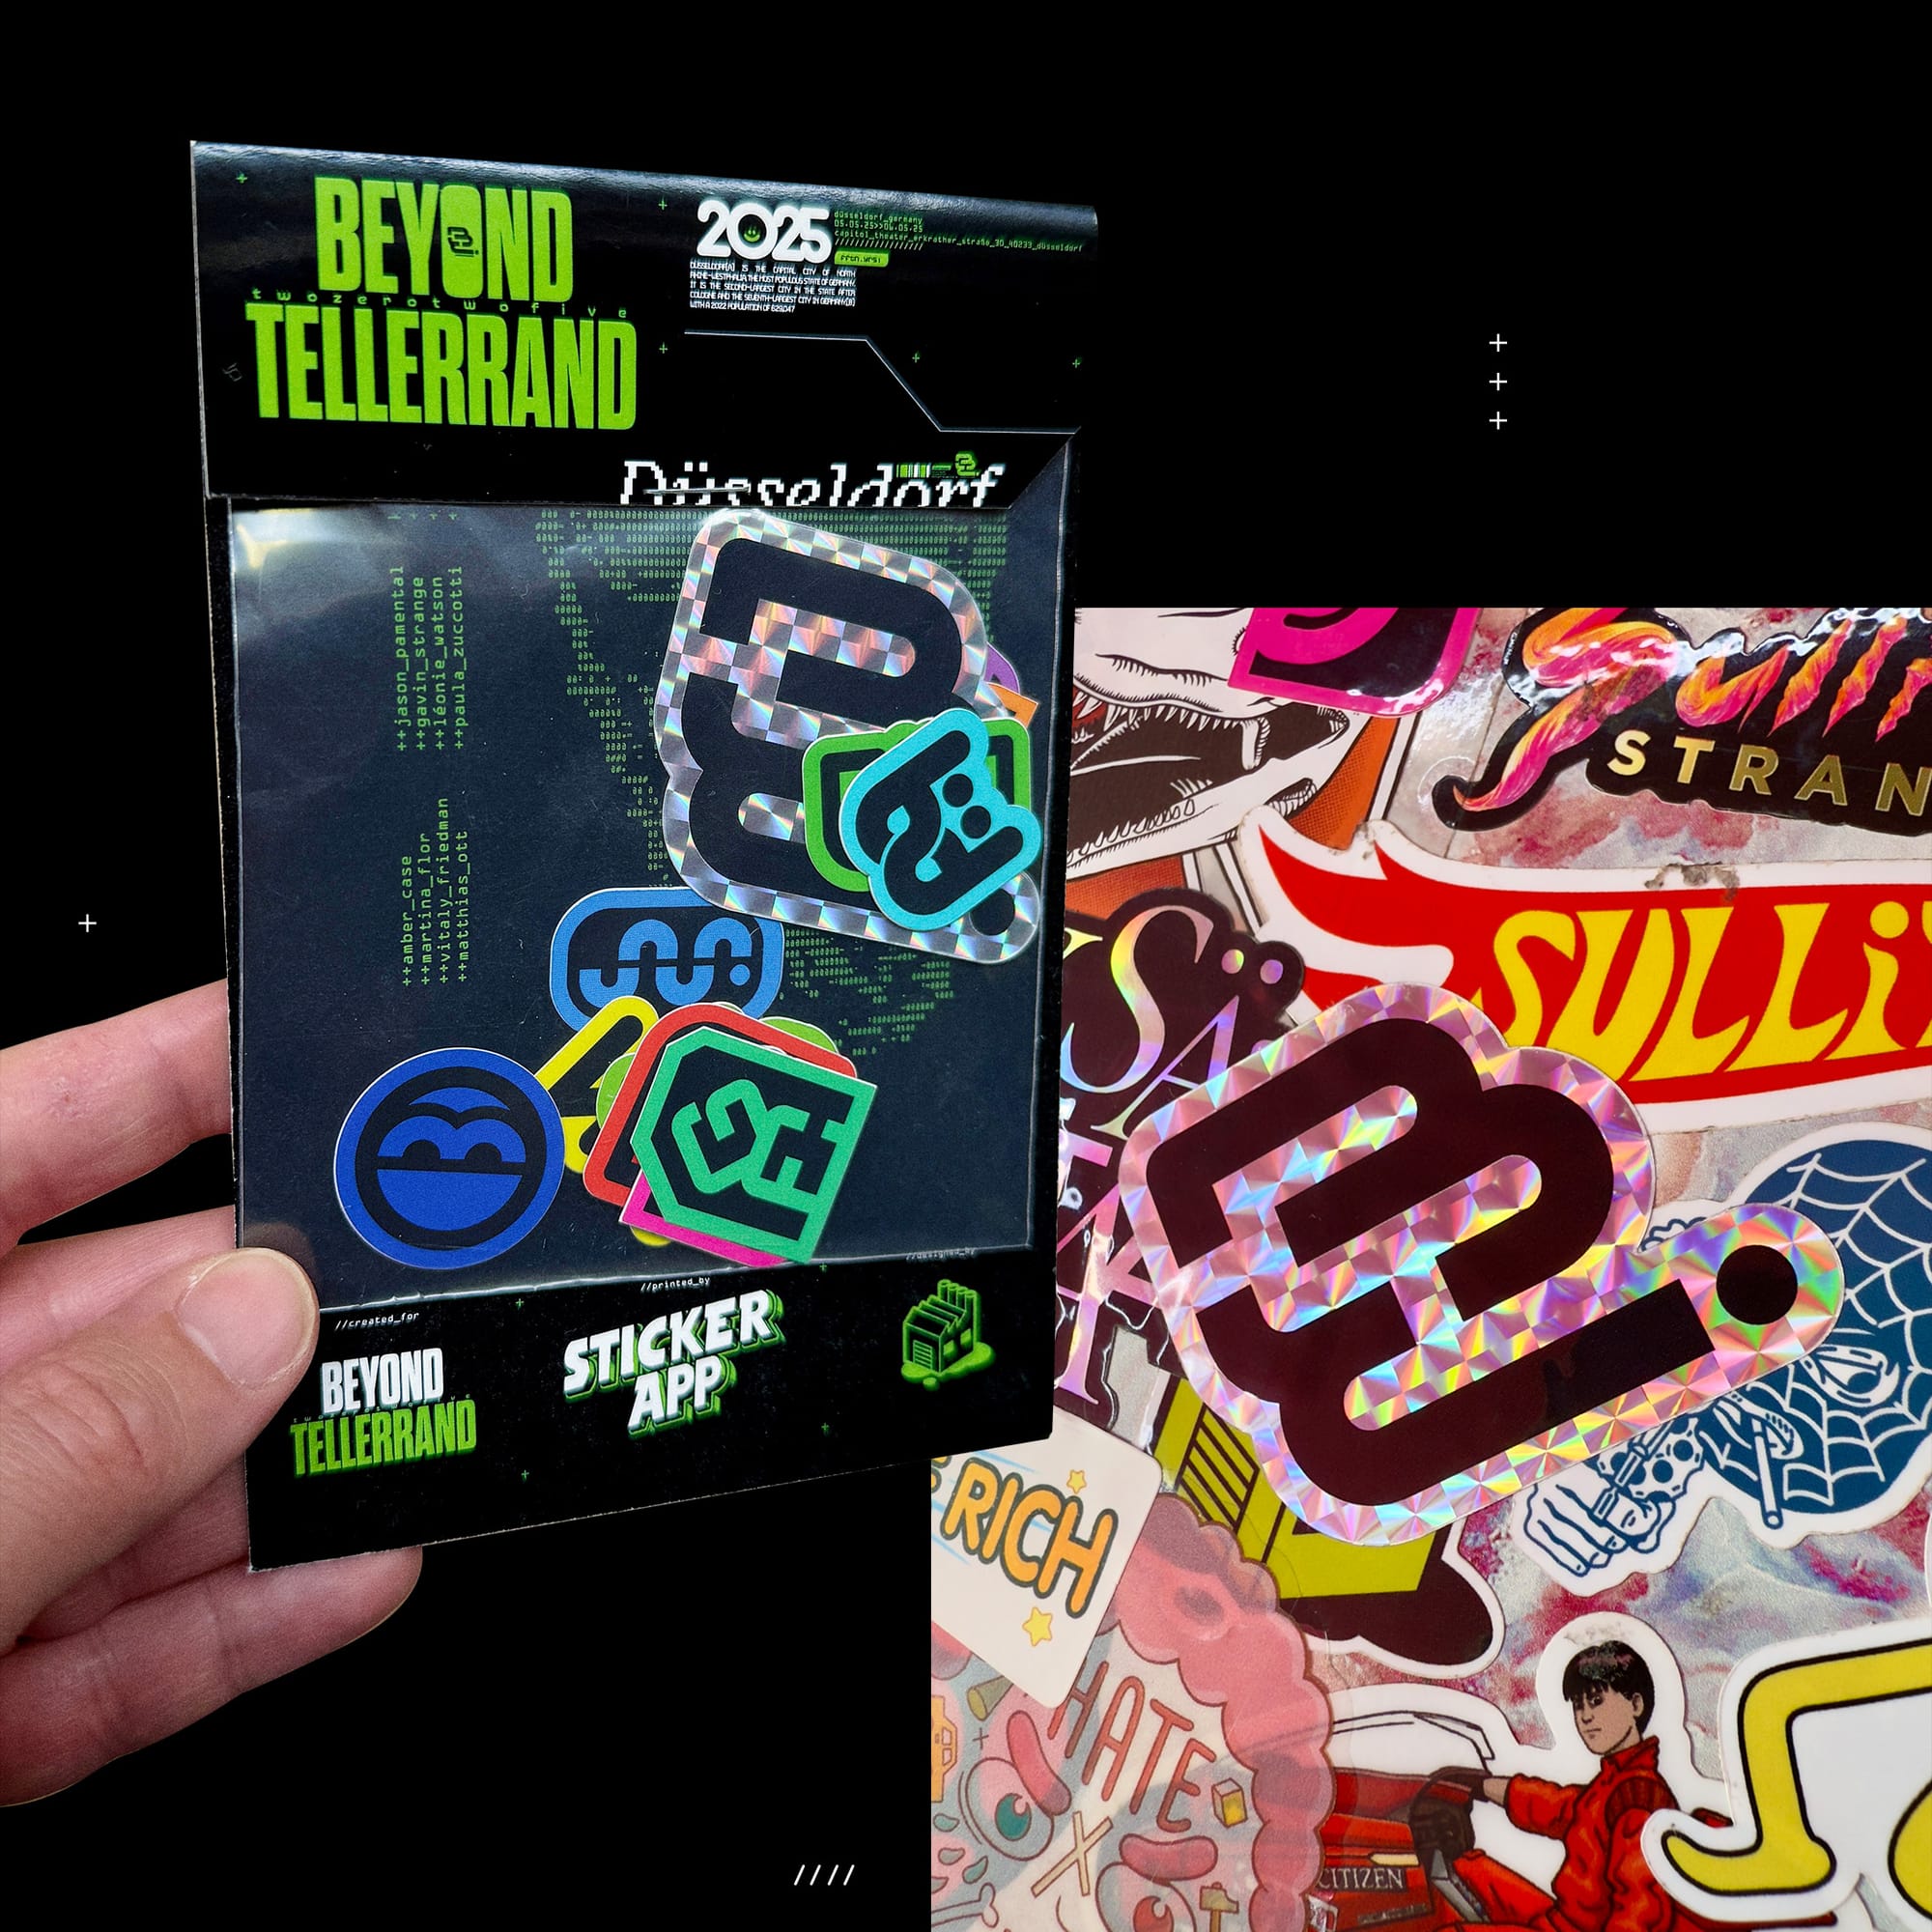
We even got to collaborate with our friends at StickerApp who kindly did a limited edition sticker pack featuring all 12 speaker monograms plus a shiny prismatic version of the main BT icon!
Marc has a tradition of creating A1 posters for each speaker at the event, and I was more than happy to oblige with a bit of print design! These prints looked great as you entered the venue, and we even got to take the prints home ourselves!
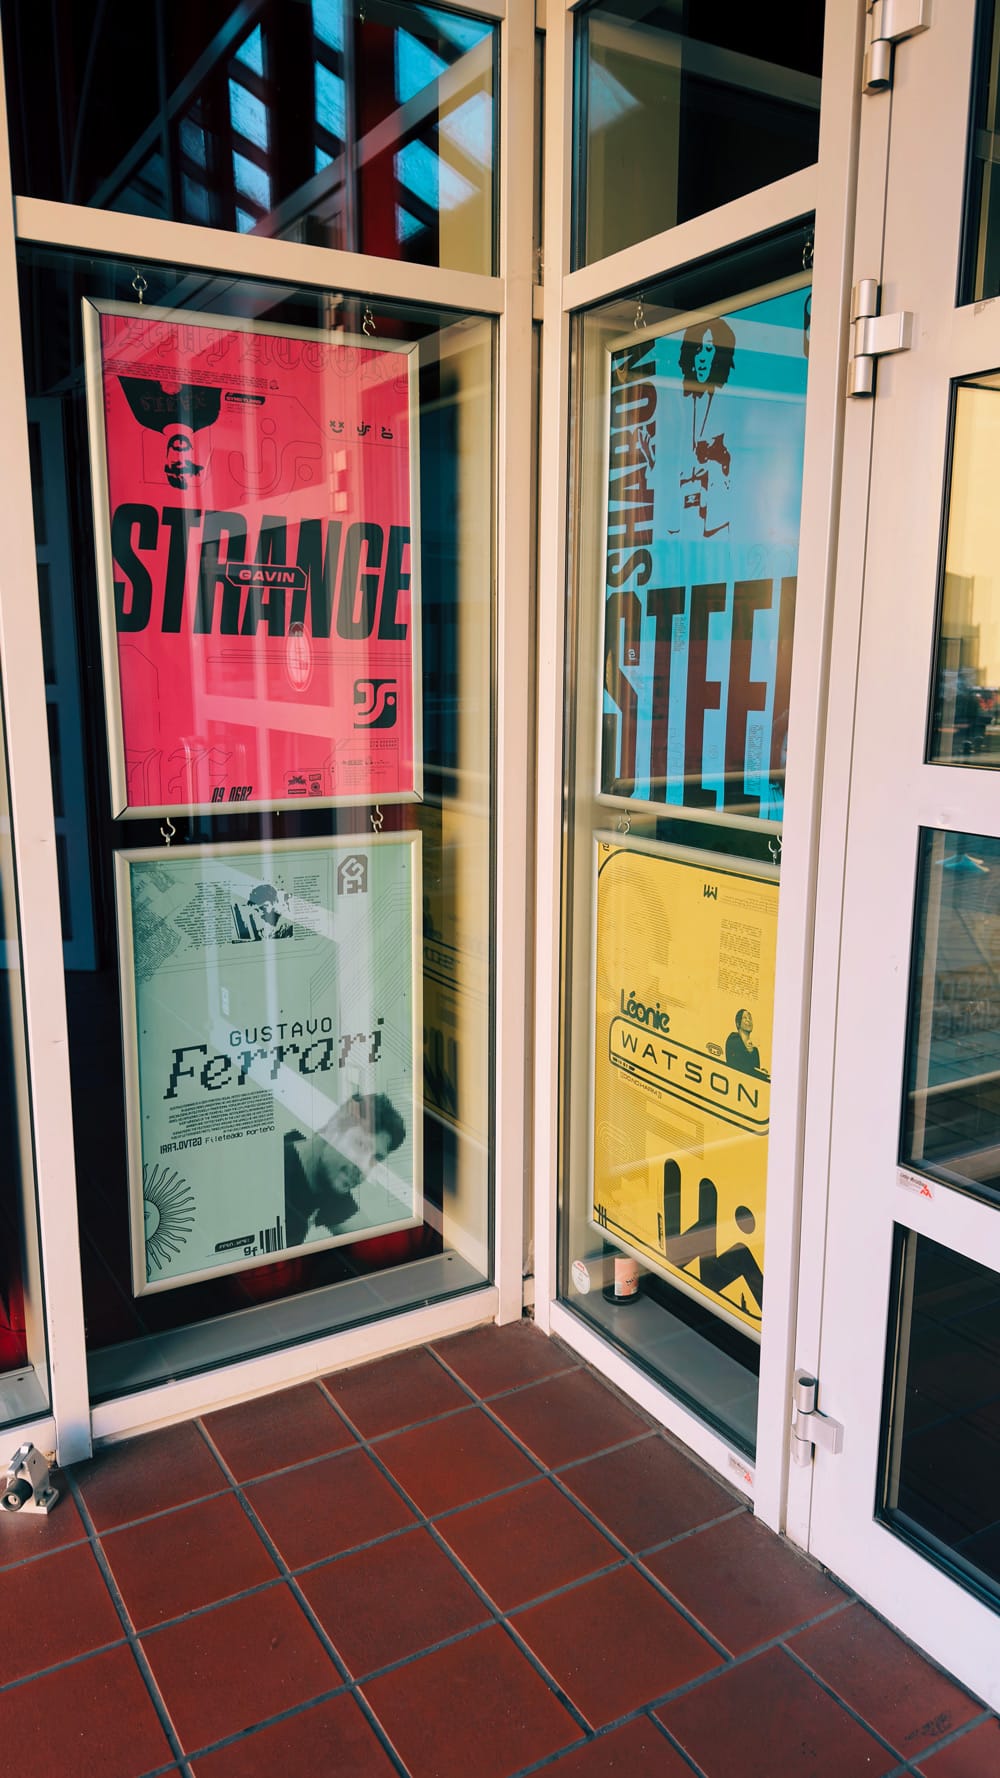
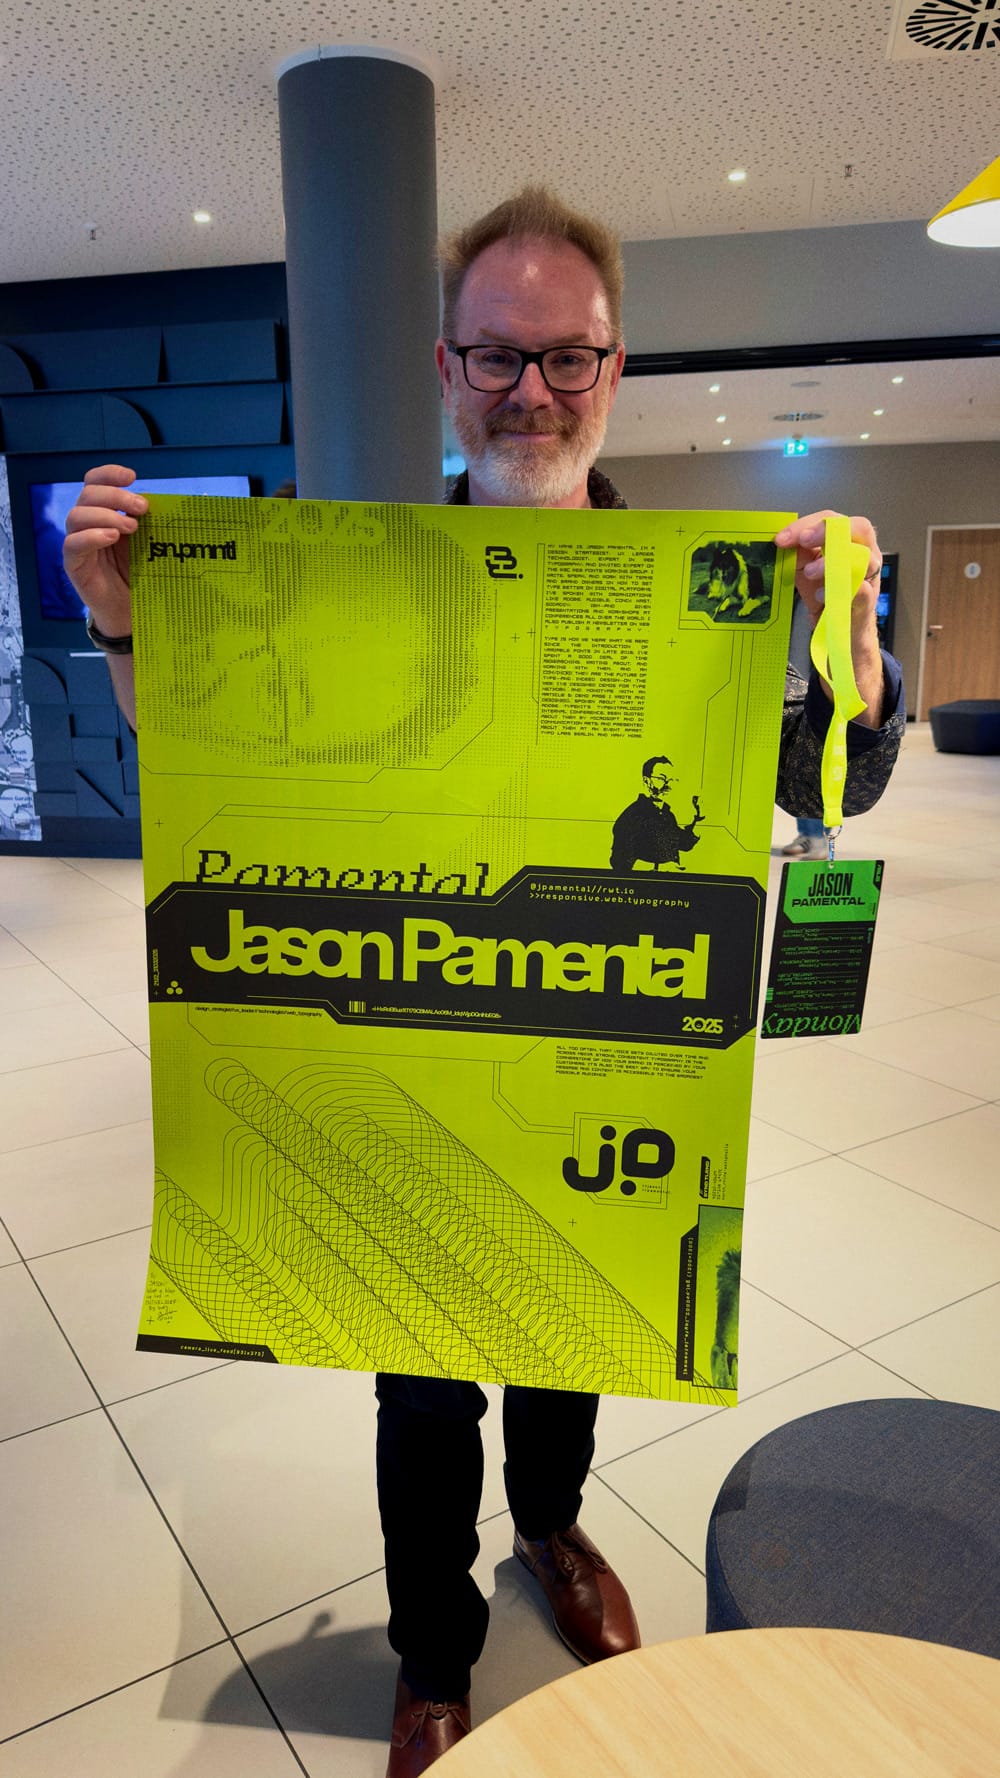
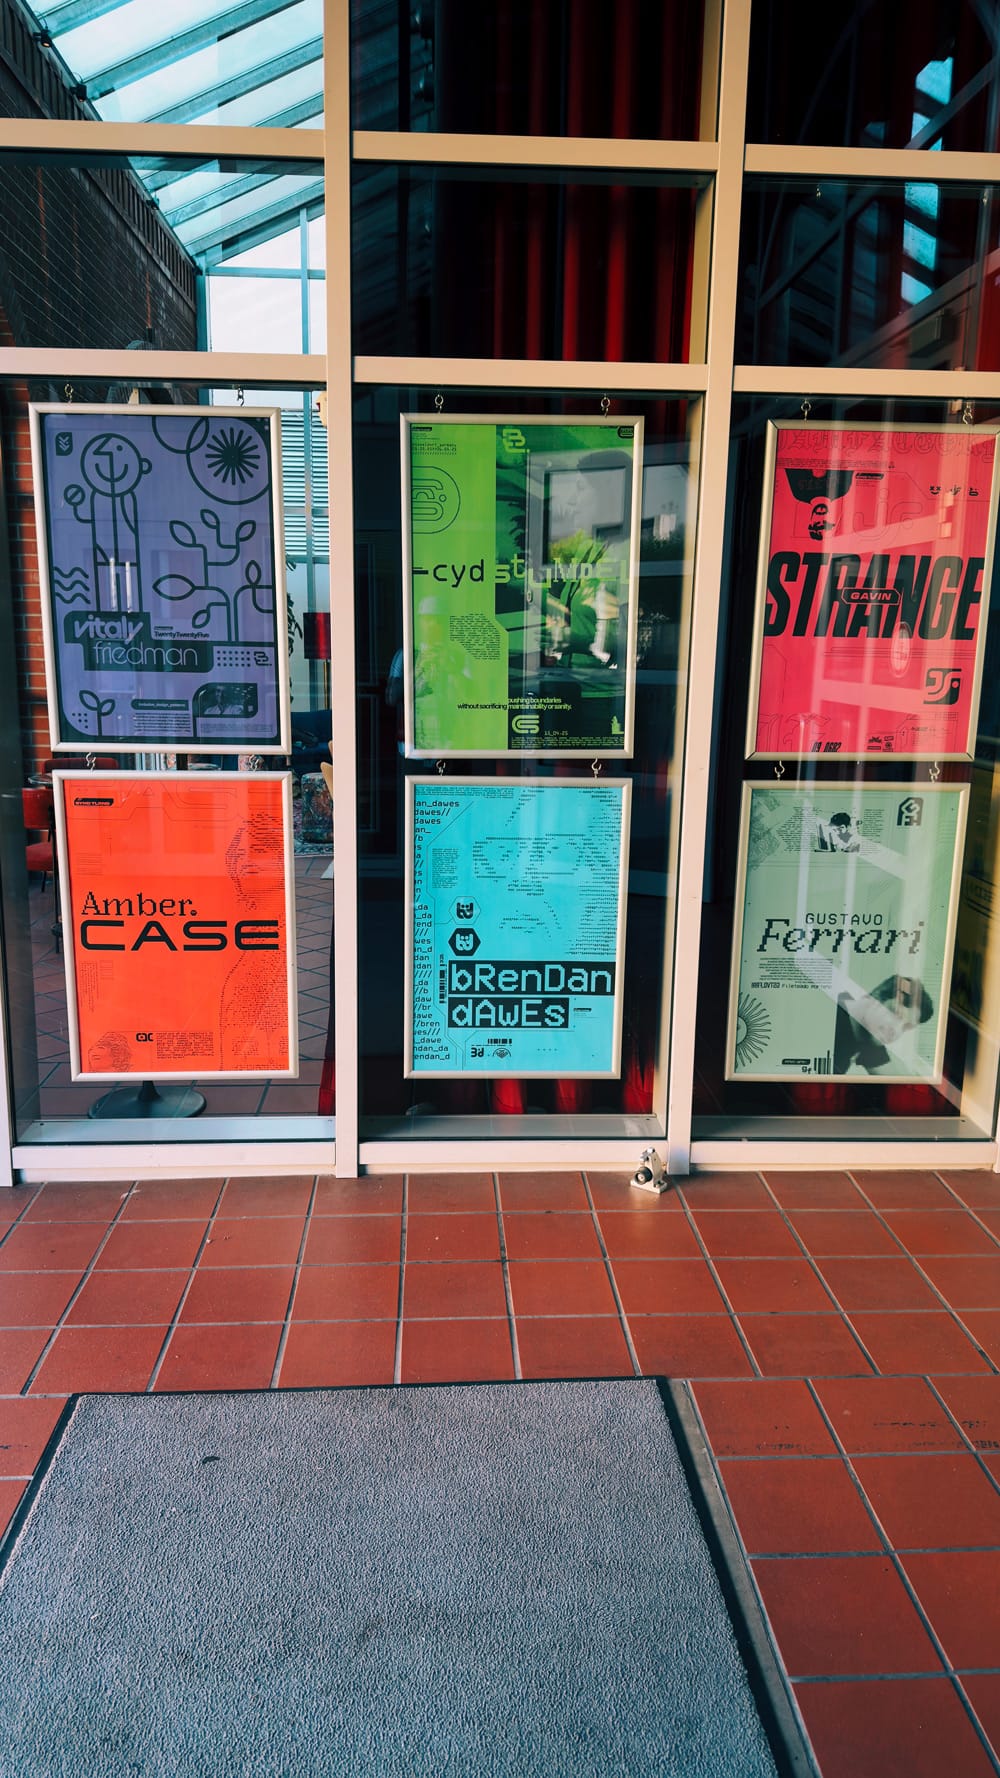
A1 Speaker prints in the venue doorway, plus Jason taking home his own print all the way back to the states!
All that's left to say is a huge thank you to Marc for the opportunity to do this. His trust and constant positivity gave me the freedom to make lots of fun things for lots of people, I appreciate that so much!

And there we have it, the story of the Beyond Tellerrand titles. What a ride it was.
Thanks so much for getting this far and reading it all, it's much appreciated. Big loves to you.
— Gav.